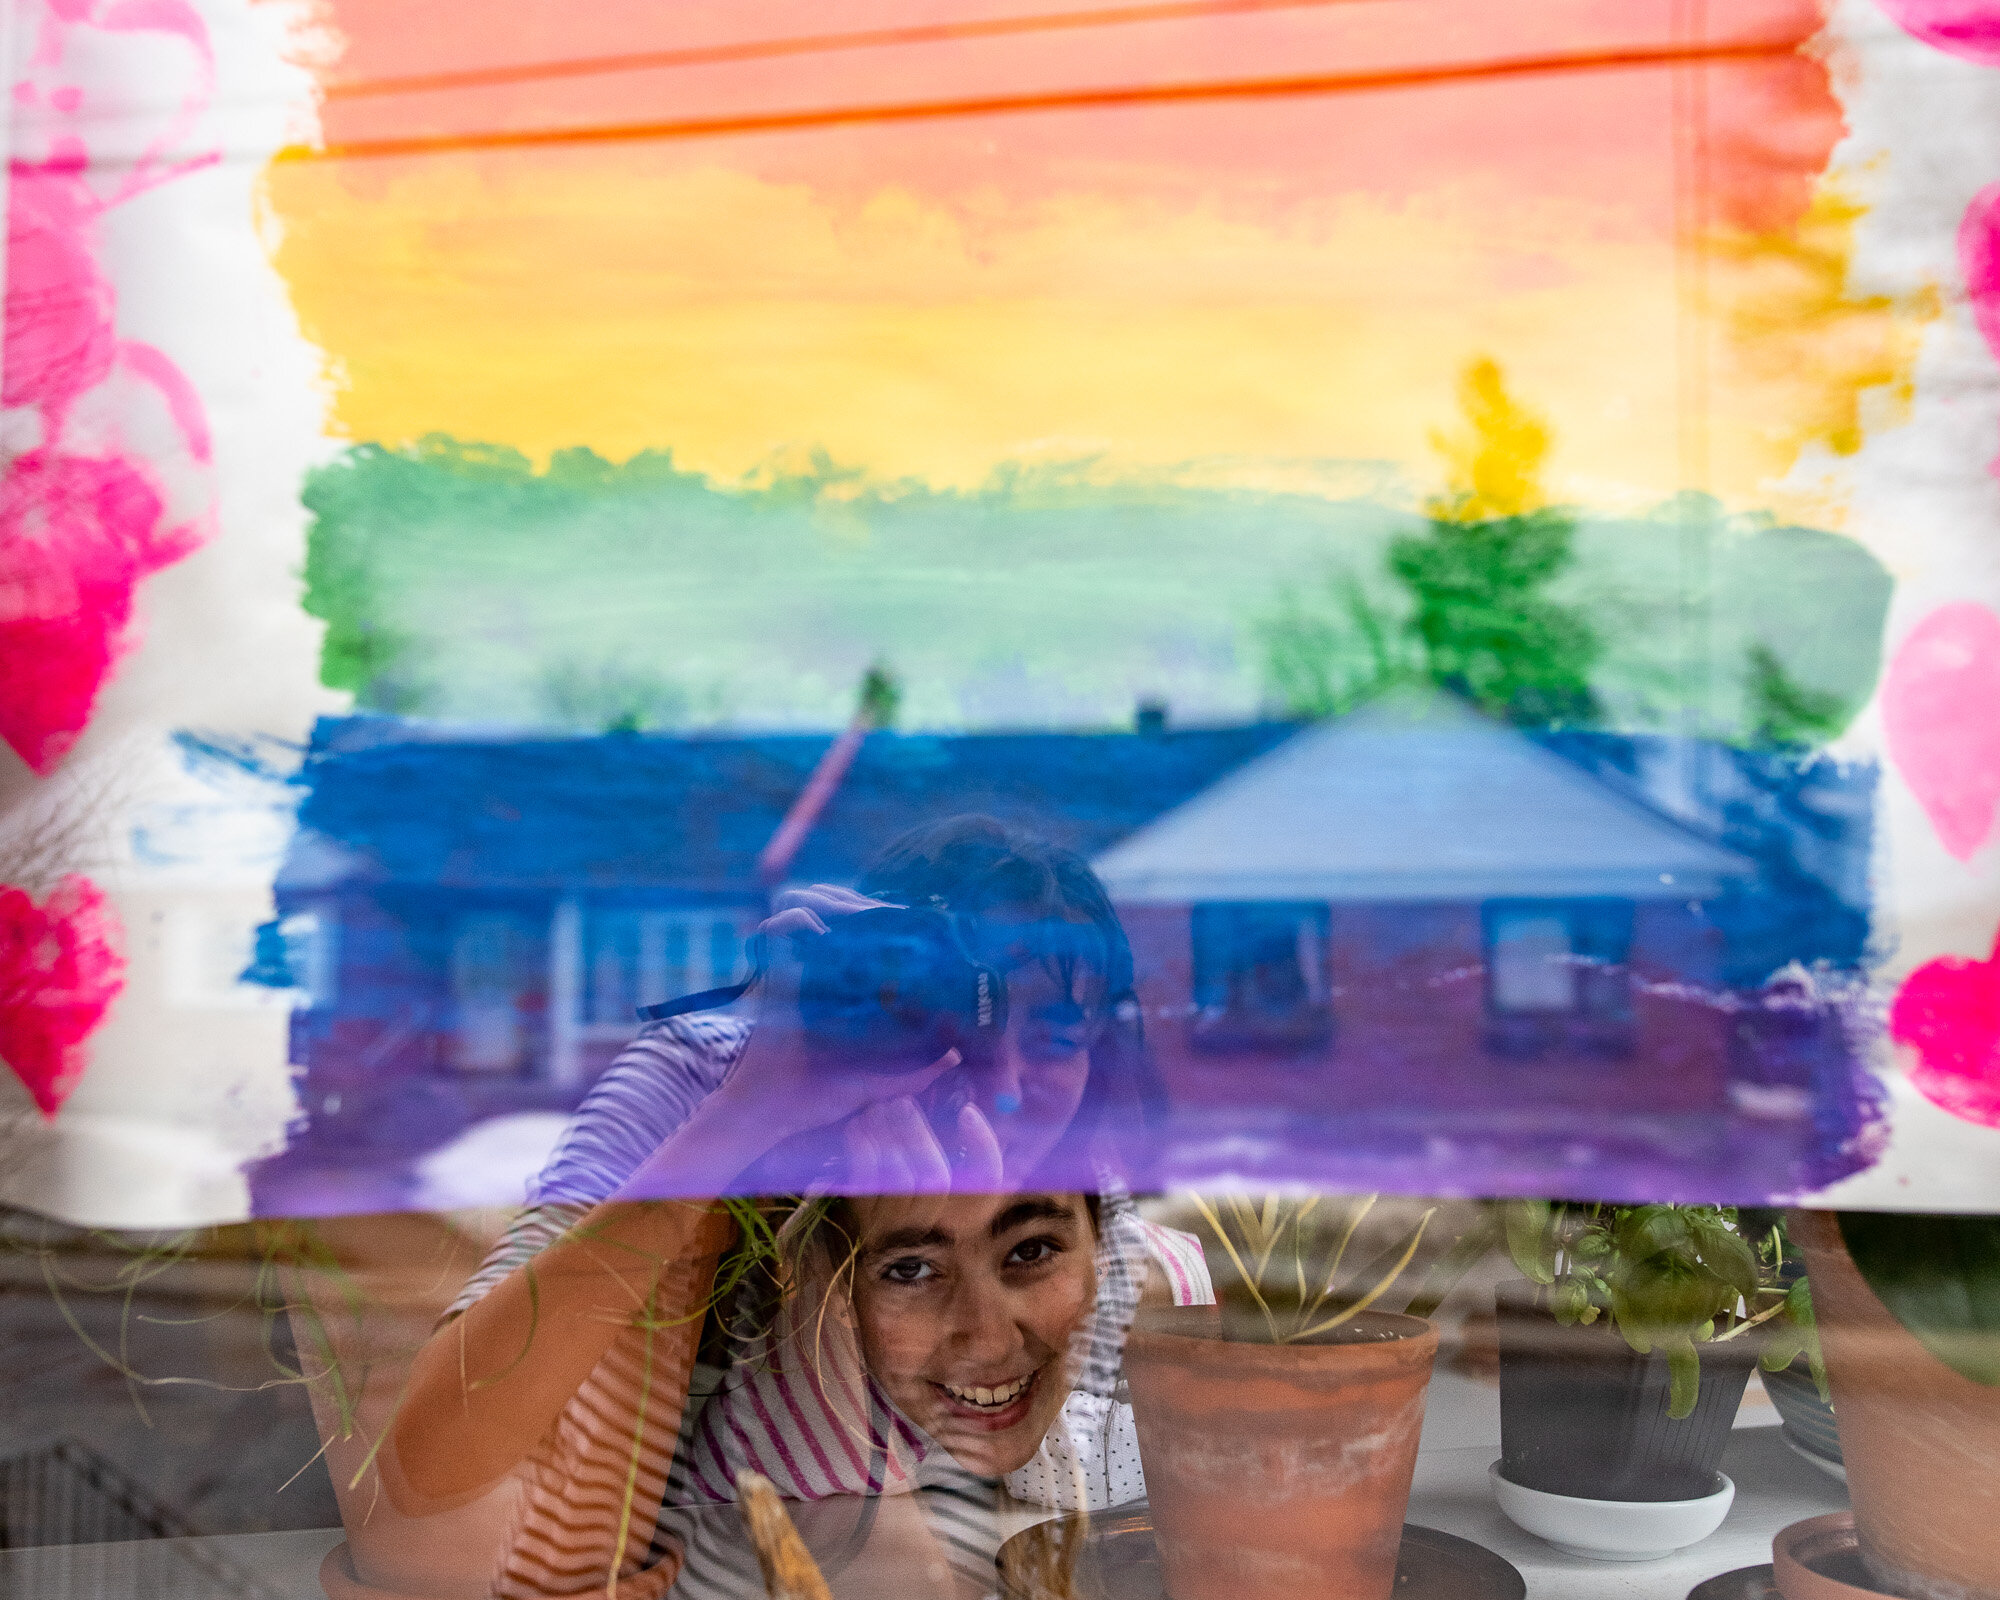
Have you been following the #letsallbewell [#andratuttobene #cavabienaller] movement? Families around the world have been drawing and painting rainbows and placing them in their windows to spread a message of love and hope. I thought it would be fun to share different ways to add rainbows creatively to our photos and maybe fill our instagram feeds with even more hope and love. If you use any of the techniques below or even have some others ways to create rainbows, please share them with us by tagging your photos with #stayhomemakerainbows. We can’t wait to see what you create!
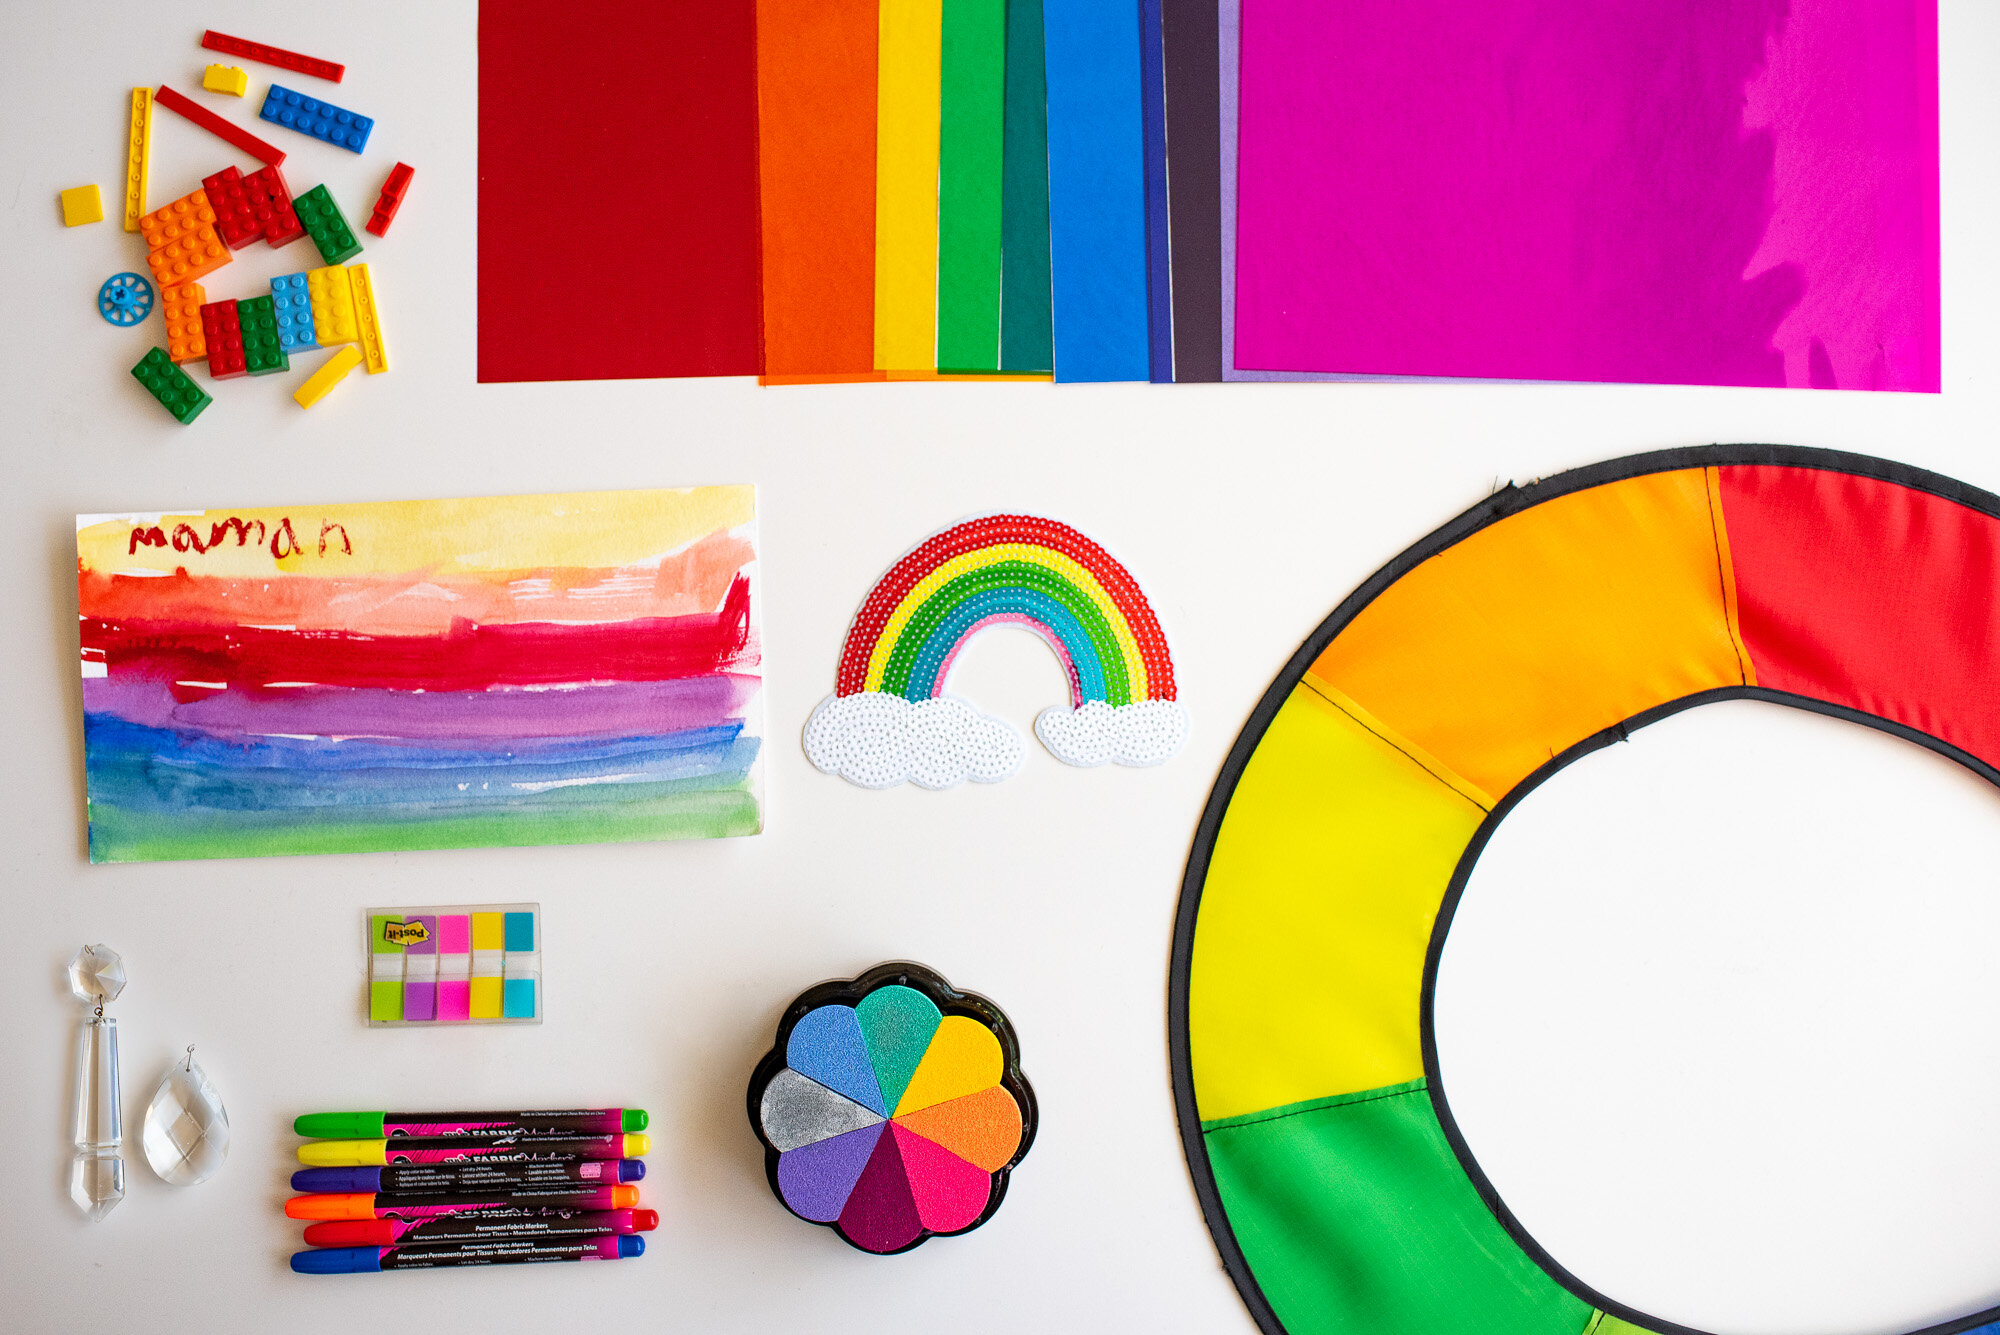
First, gather some supplies… anything colourful, from post it notes to Christmas lights, freebies and sequins patches.
One of the simplest ways to add a rainbow to your photo is with a prism. You just need to make sure the light is hitting the prism right. It can get tricky holding the prism in one hand, focus and clicking the shutter all at once. I recommend getting the longer (6”) prisms so that you can hold the end comfortably. There are some nifty fractal prism out there too, that have finger holders and make the job easier. Lensbaby has a cool filter and prism kit too. If not you can always get a friend to help!
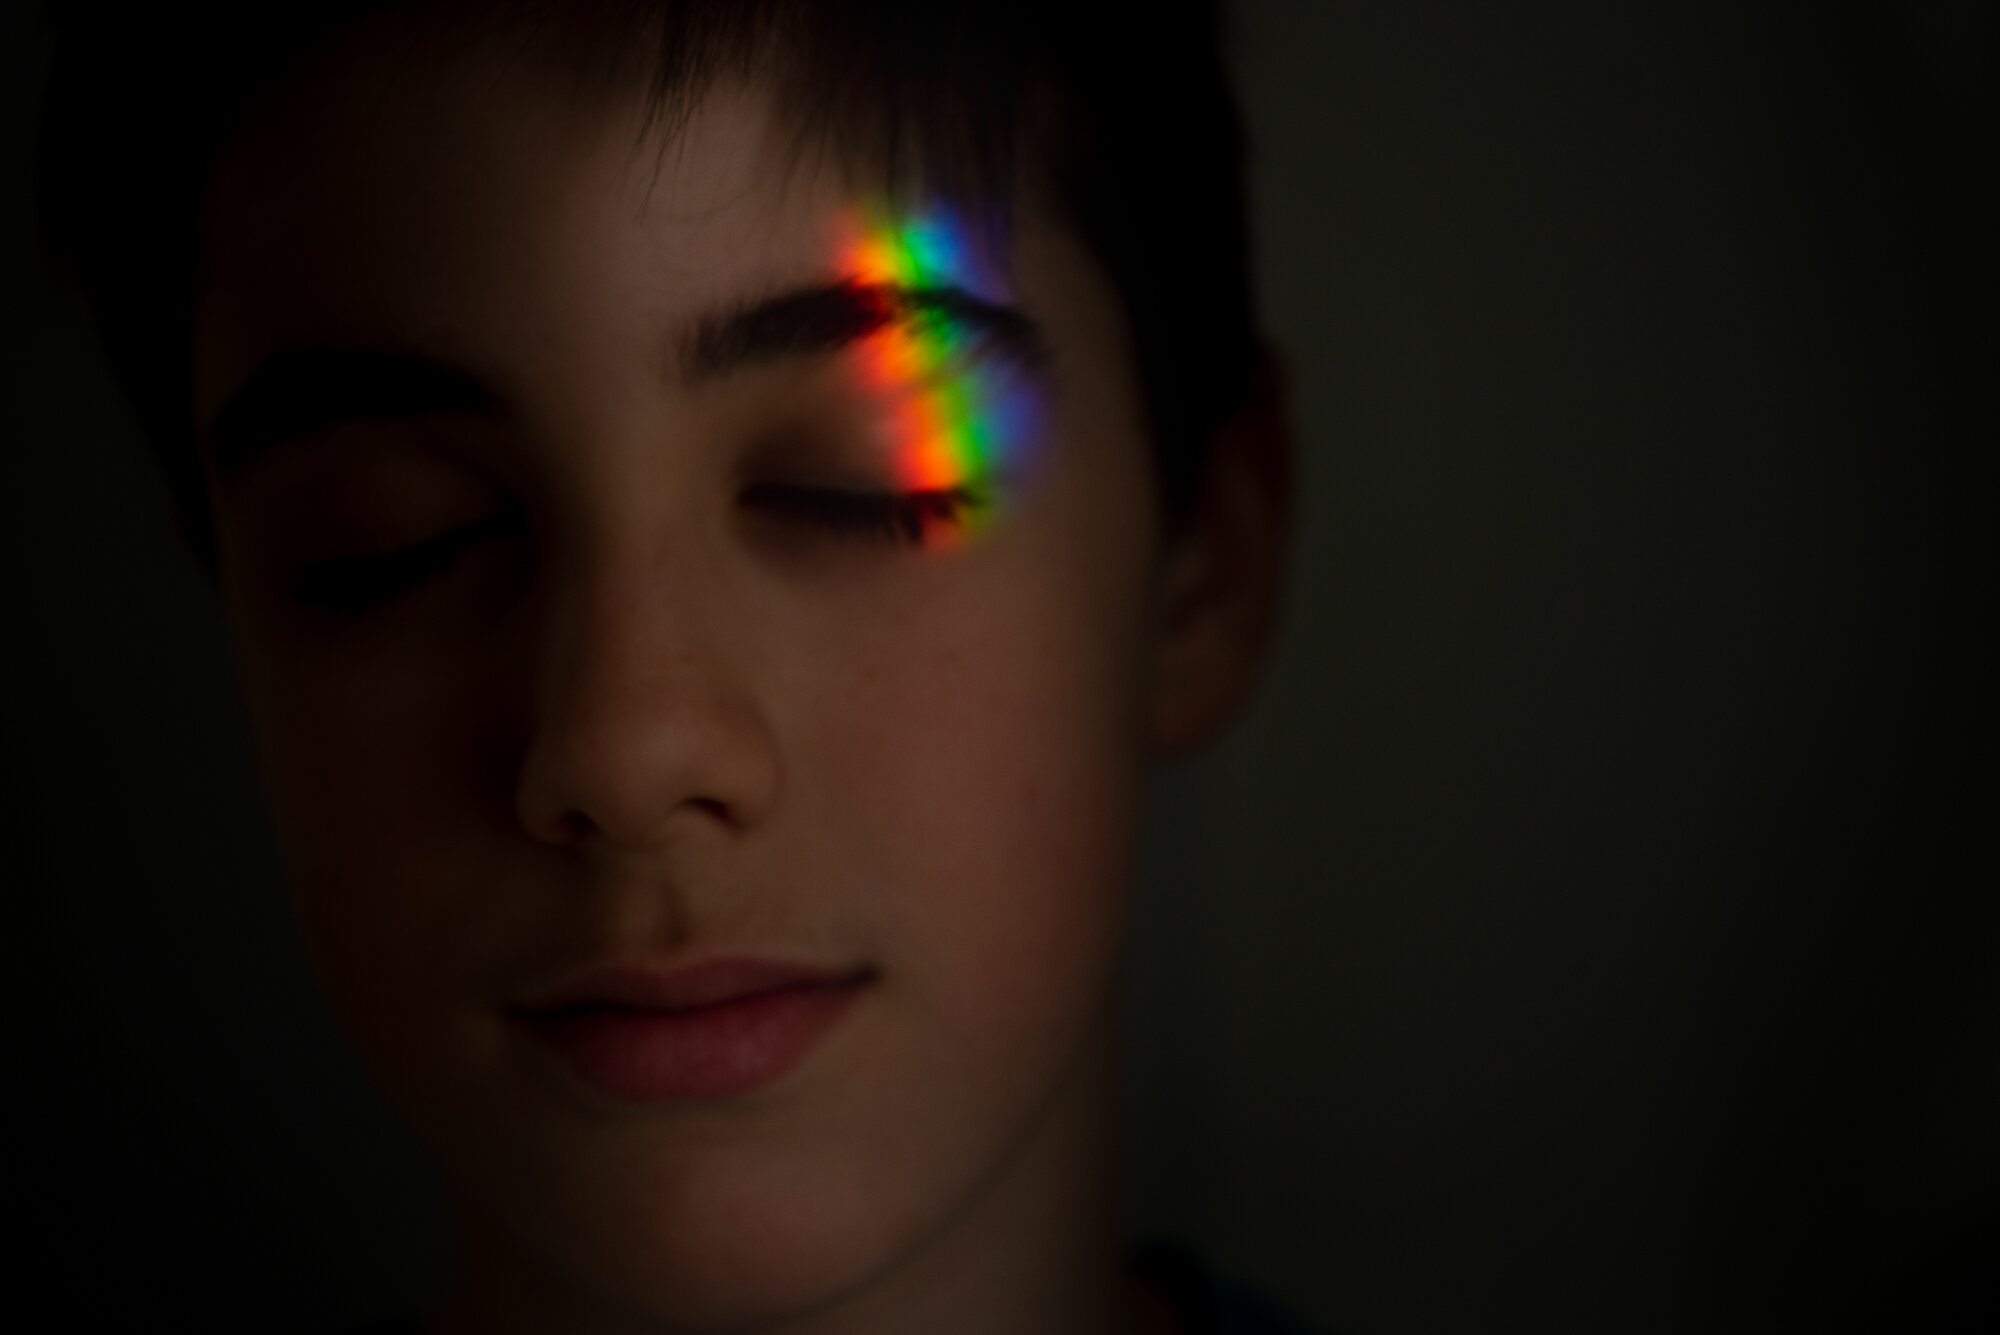
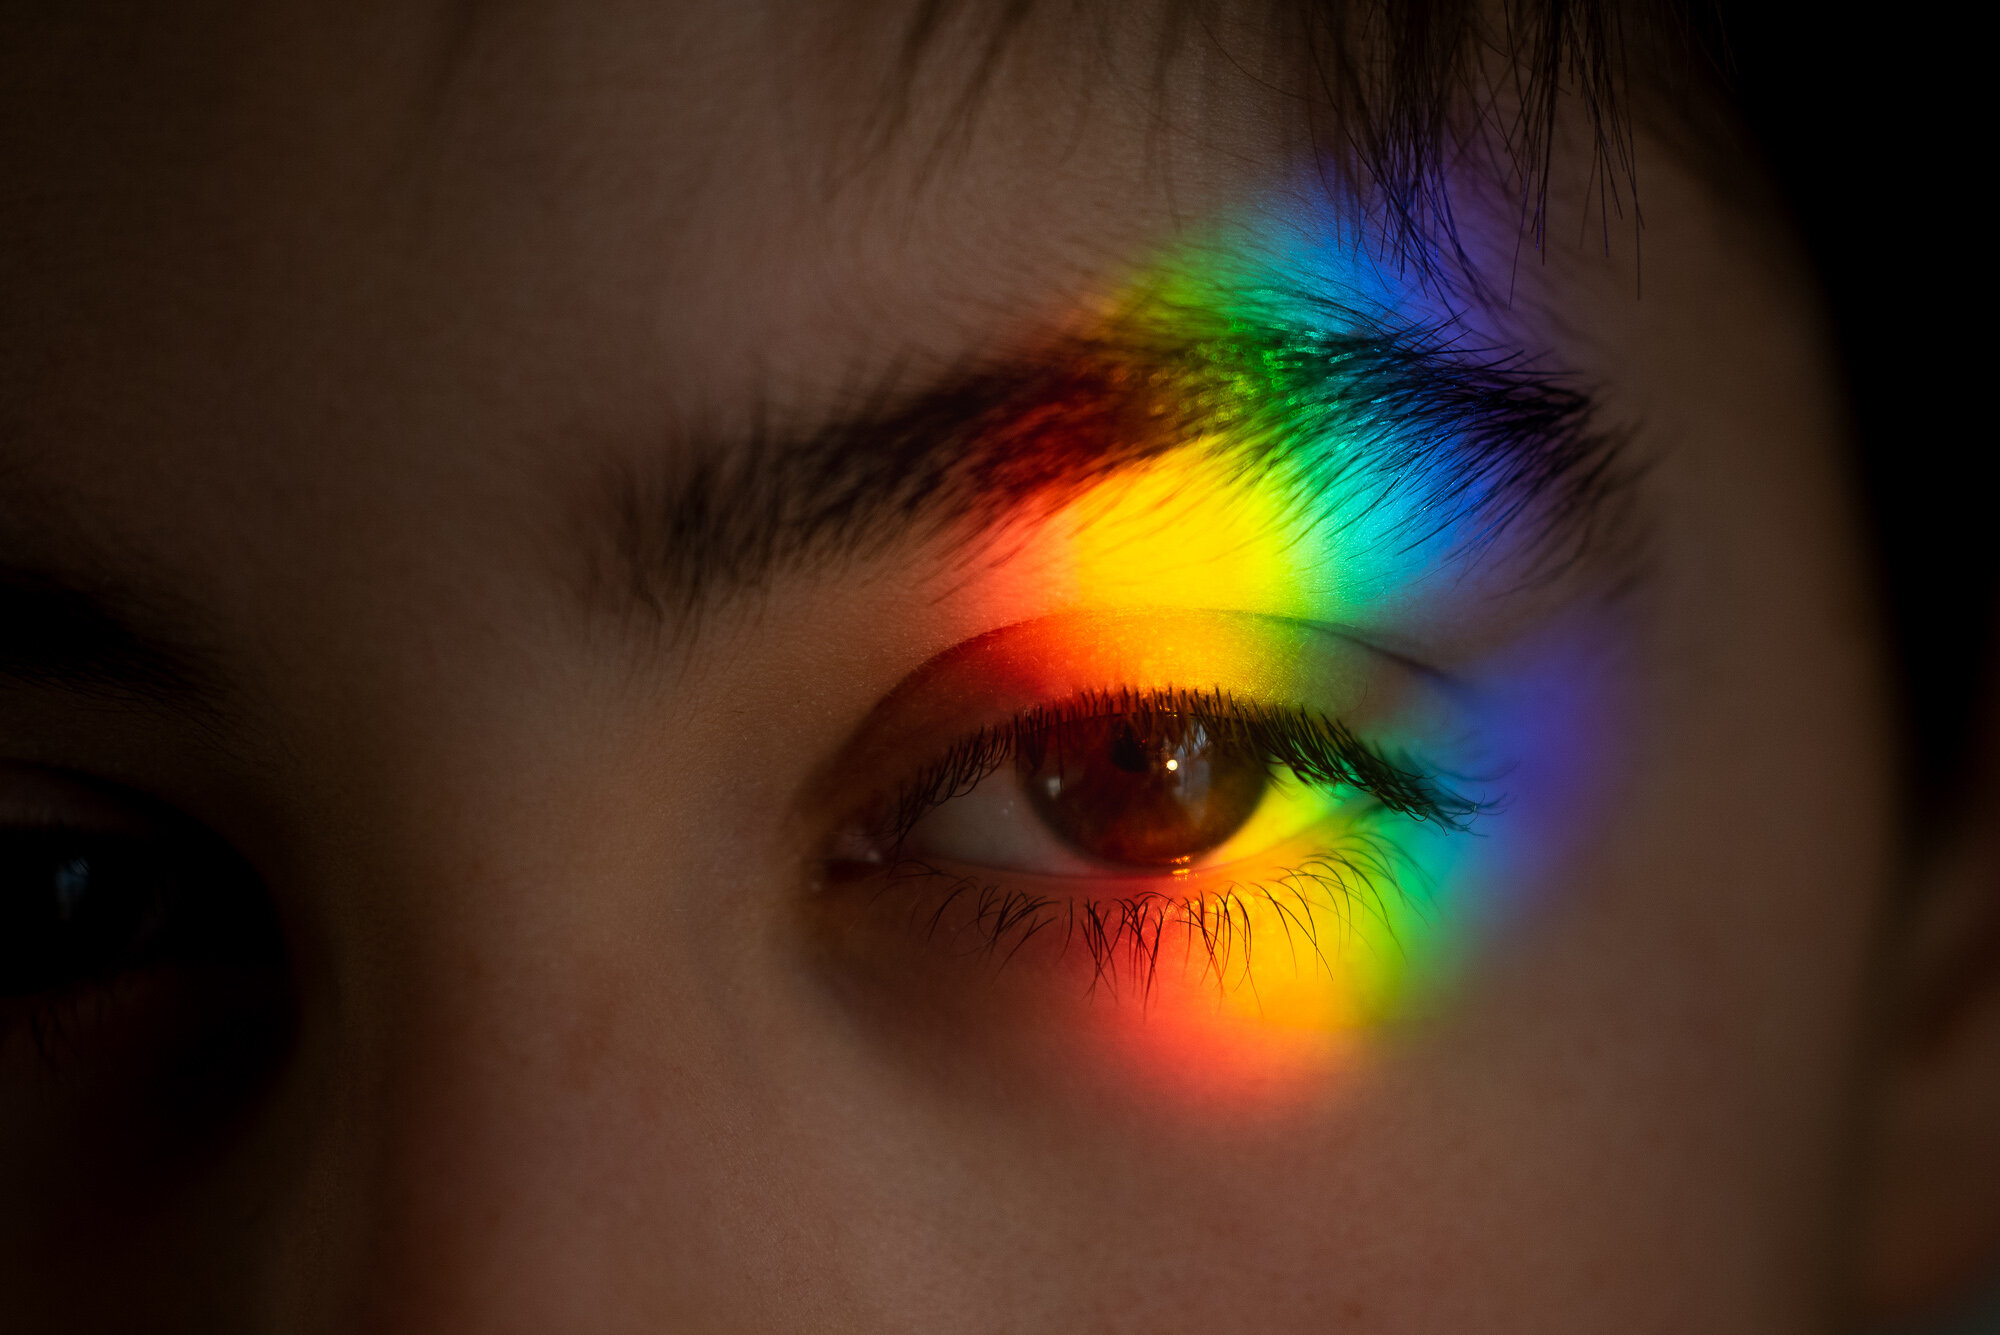
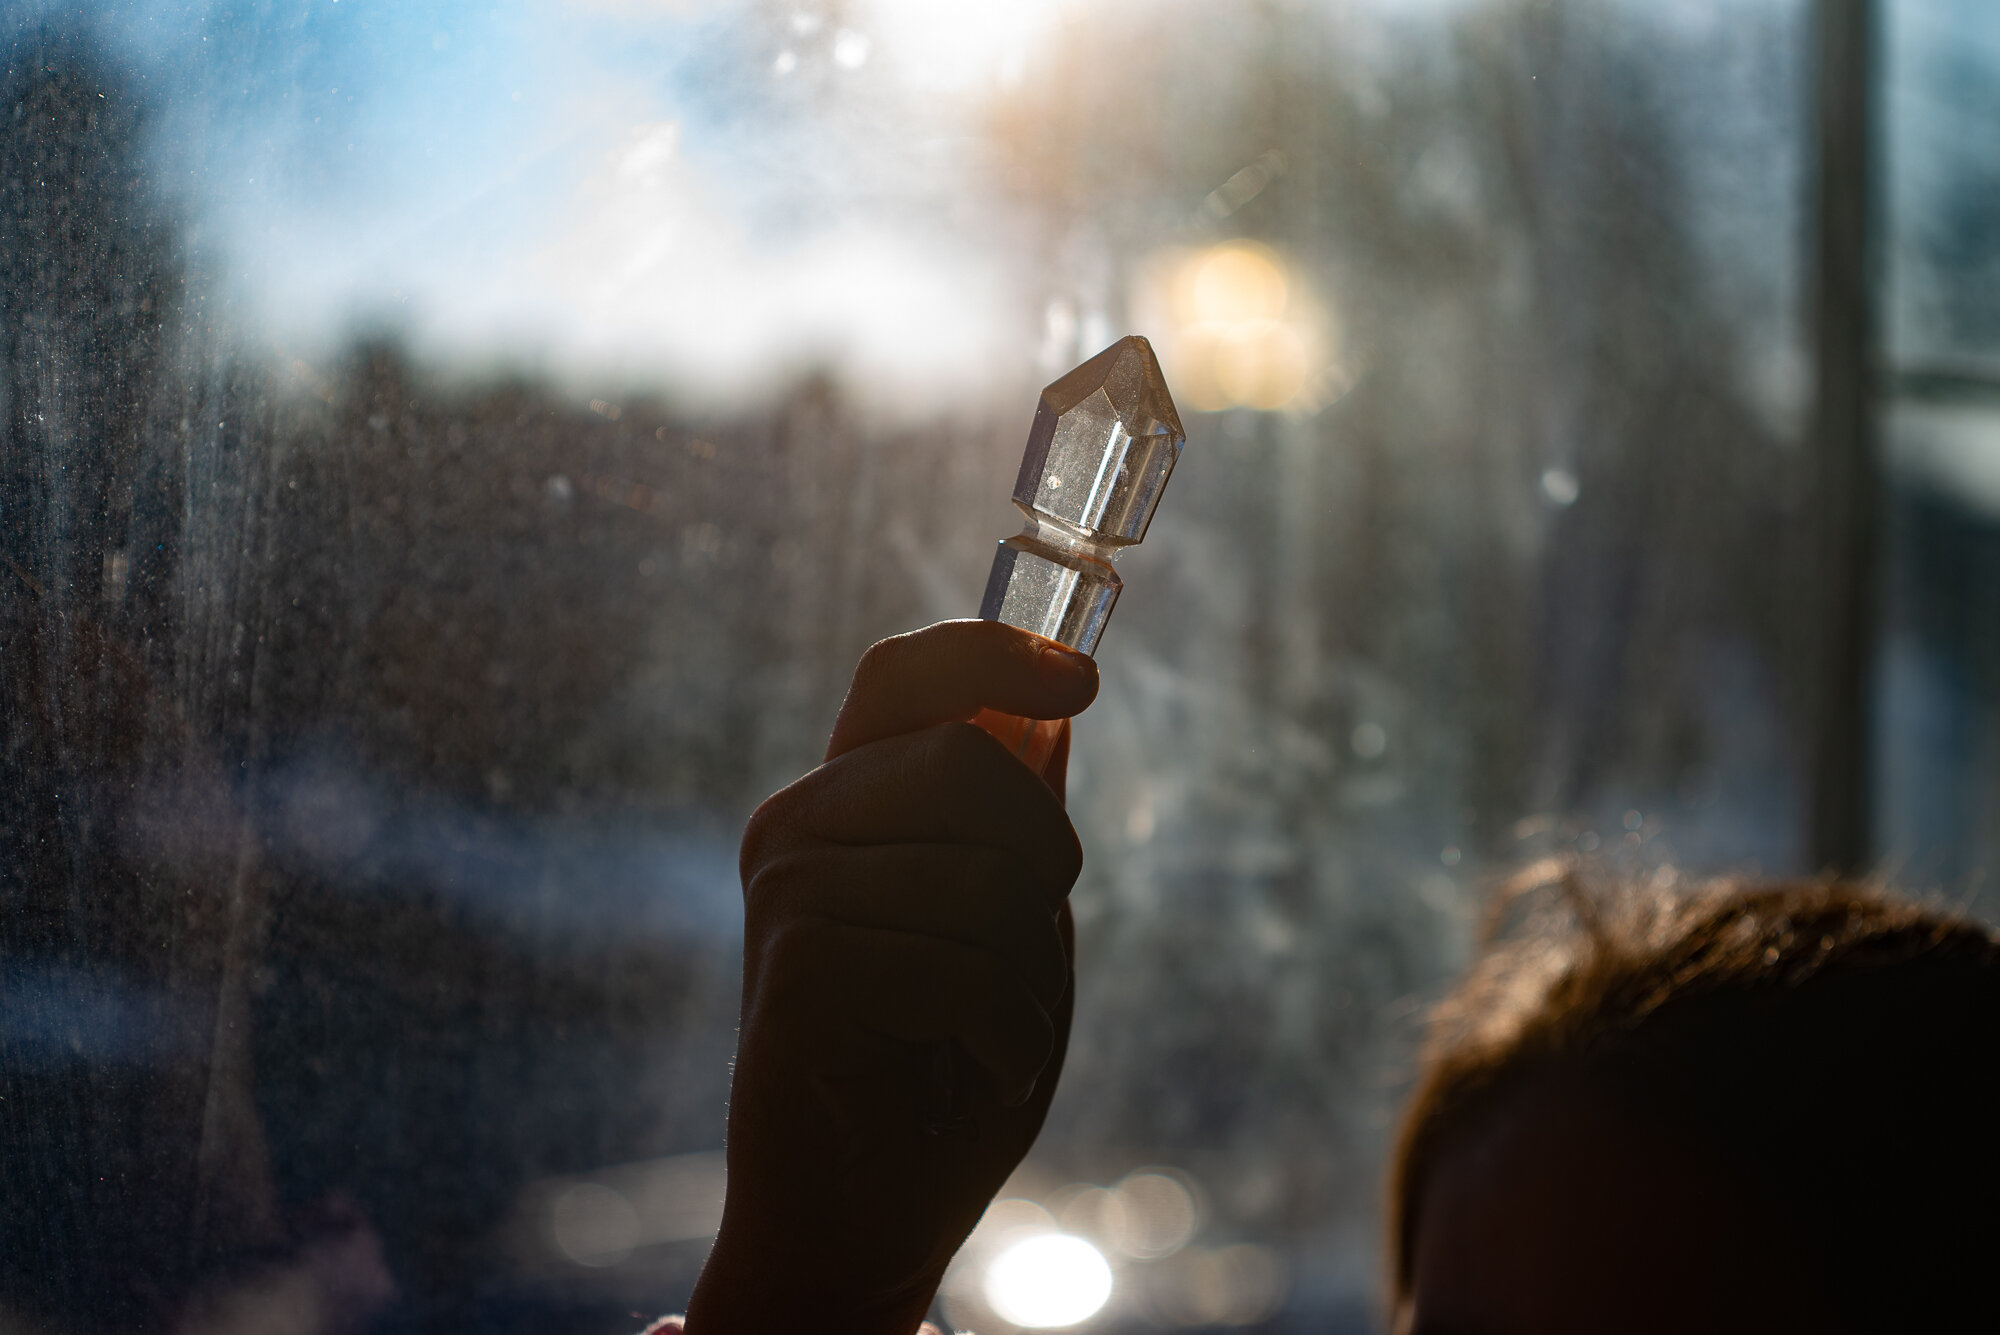
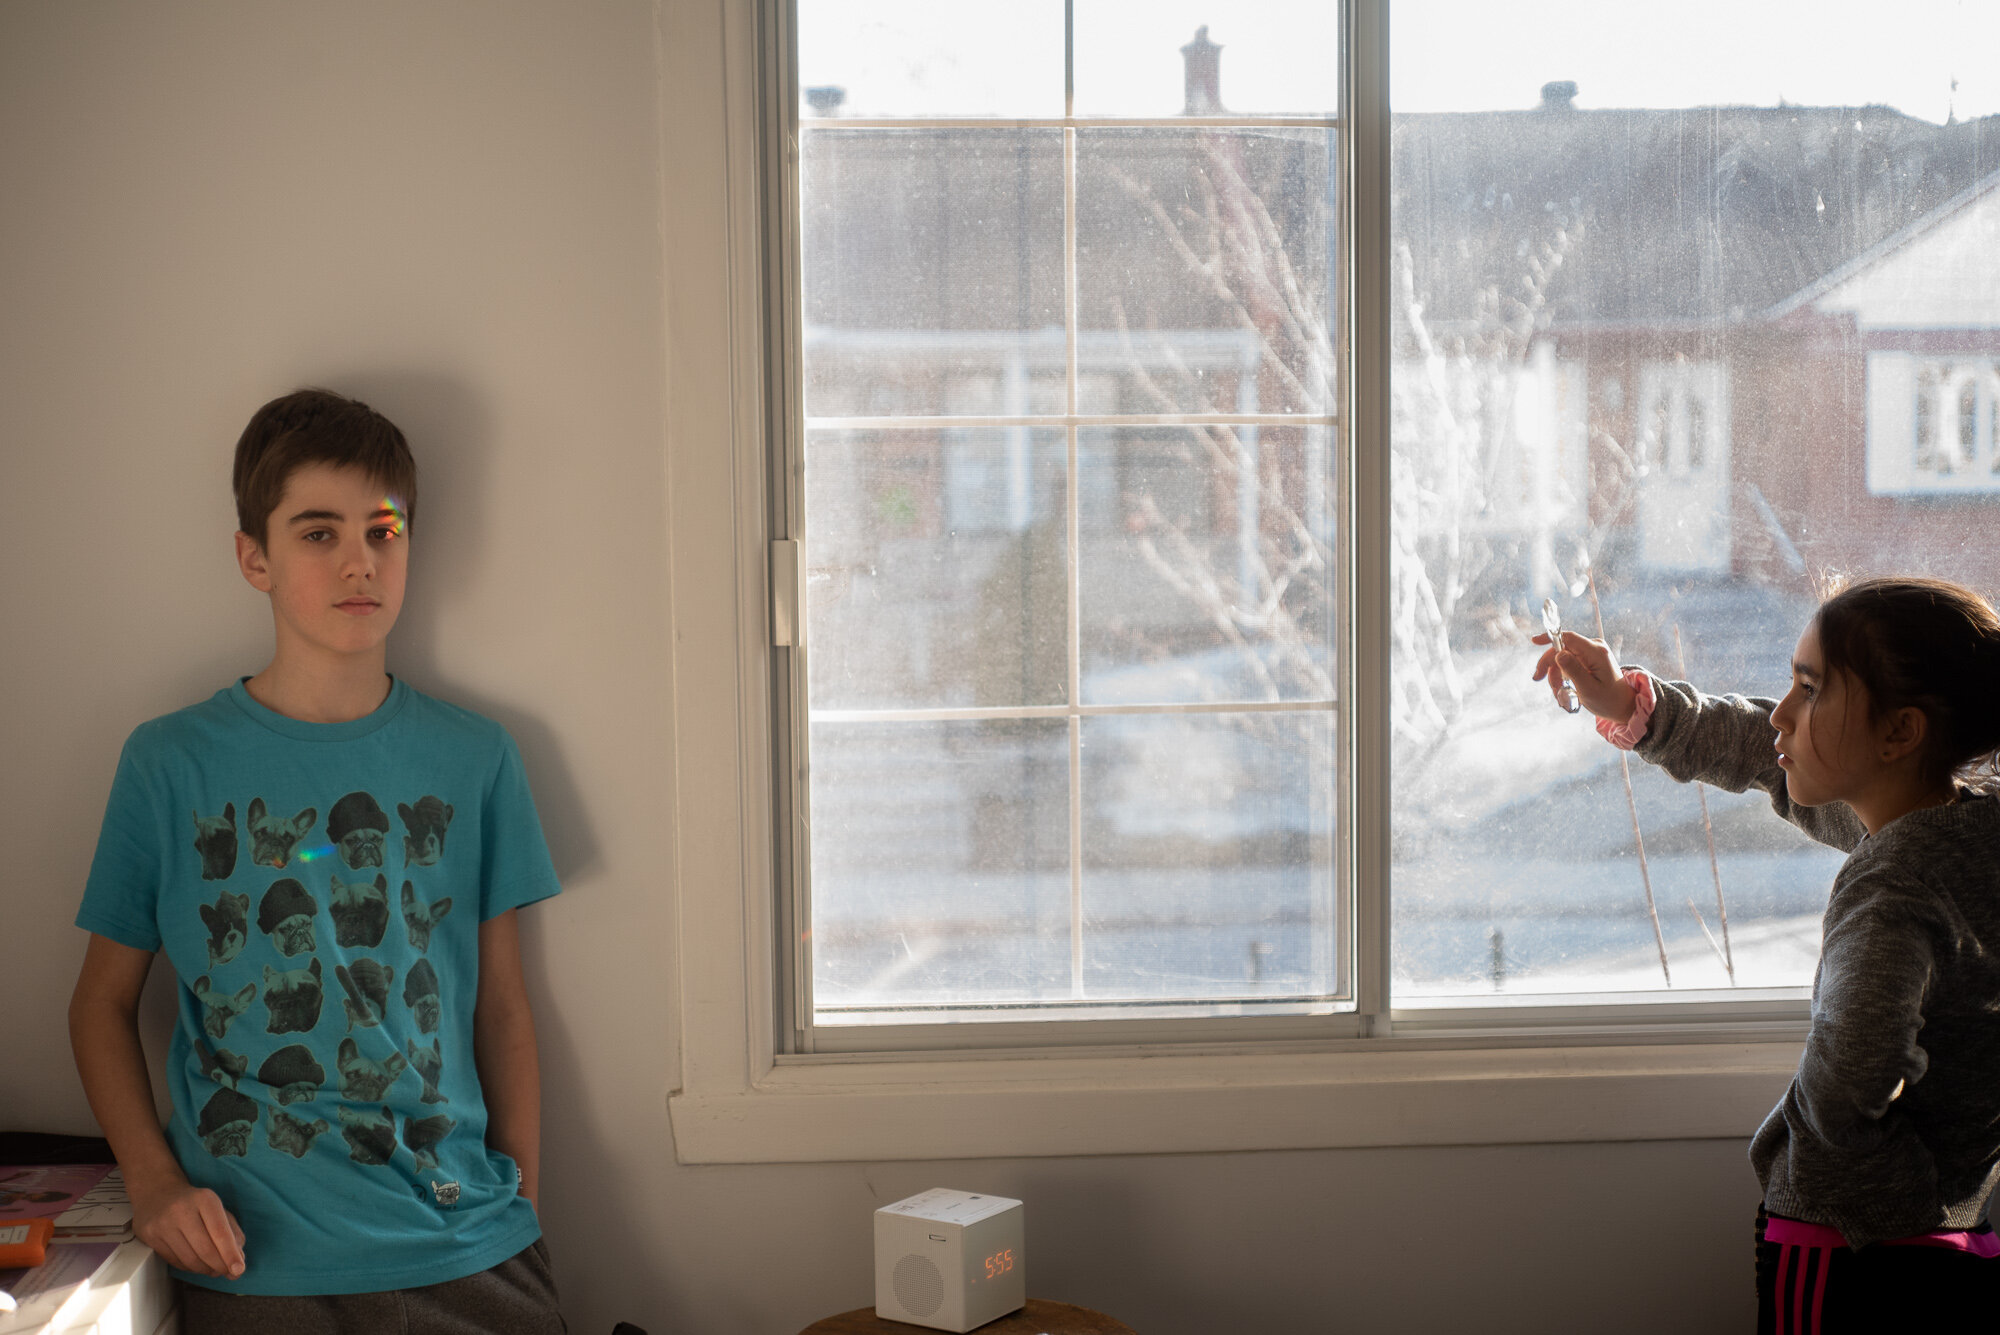
If you don’t have a prism you can use some crystals from a chandelier or even try with a cut wine glass (Etsy has plenty to choose from). The lower the sun is in the sky and the brighter it is, the easier it will be to get some really defined and saturated colors. I’ve shared some behind the scenes to show you how my children were positioned. It also helps to have some extra hands available to help. The round crystals will make circular rainbows, whereas the elongated ones will make straighter rainbows.
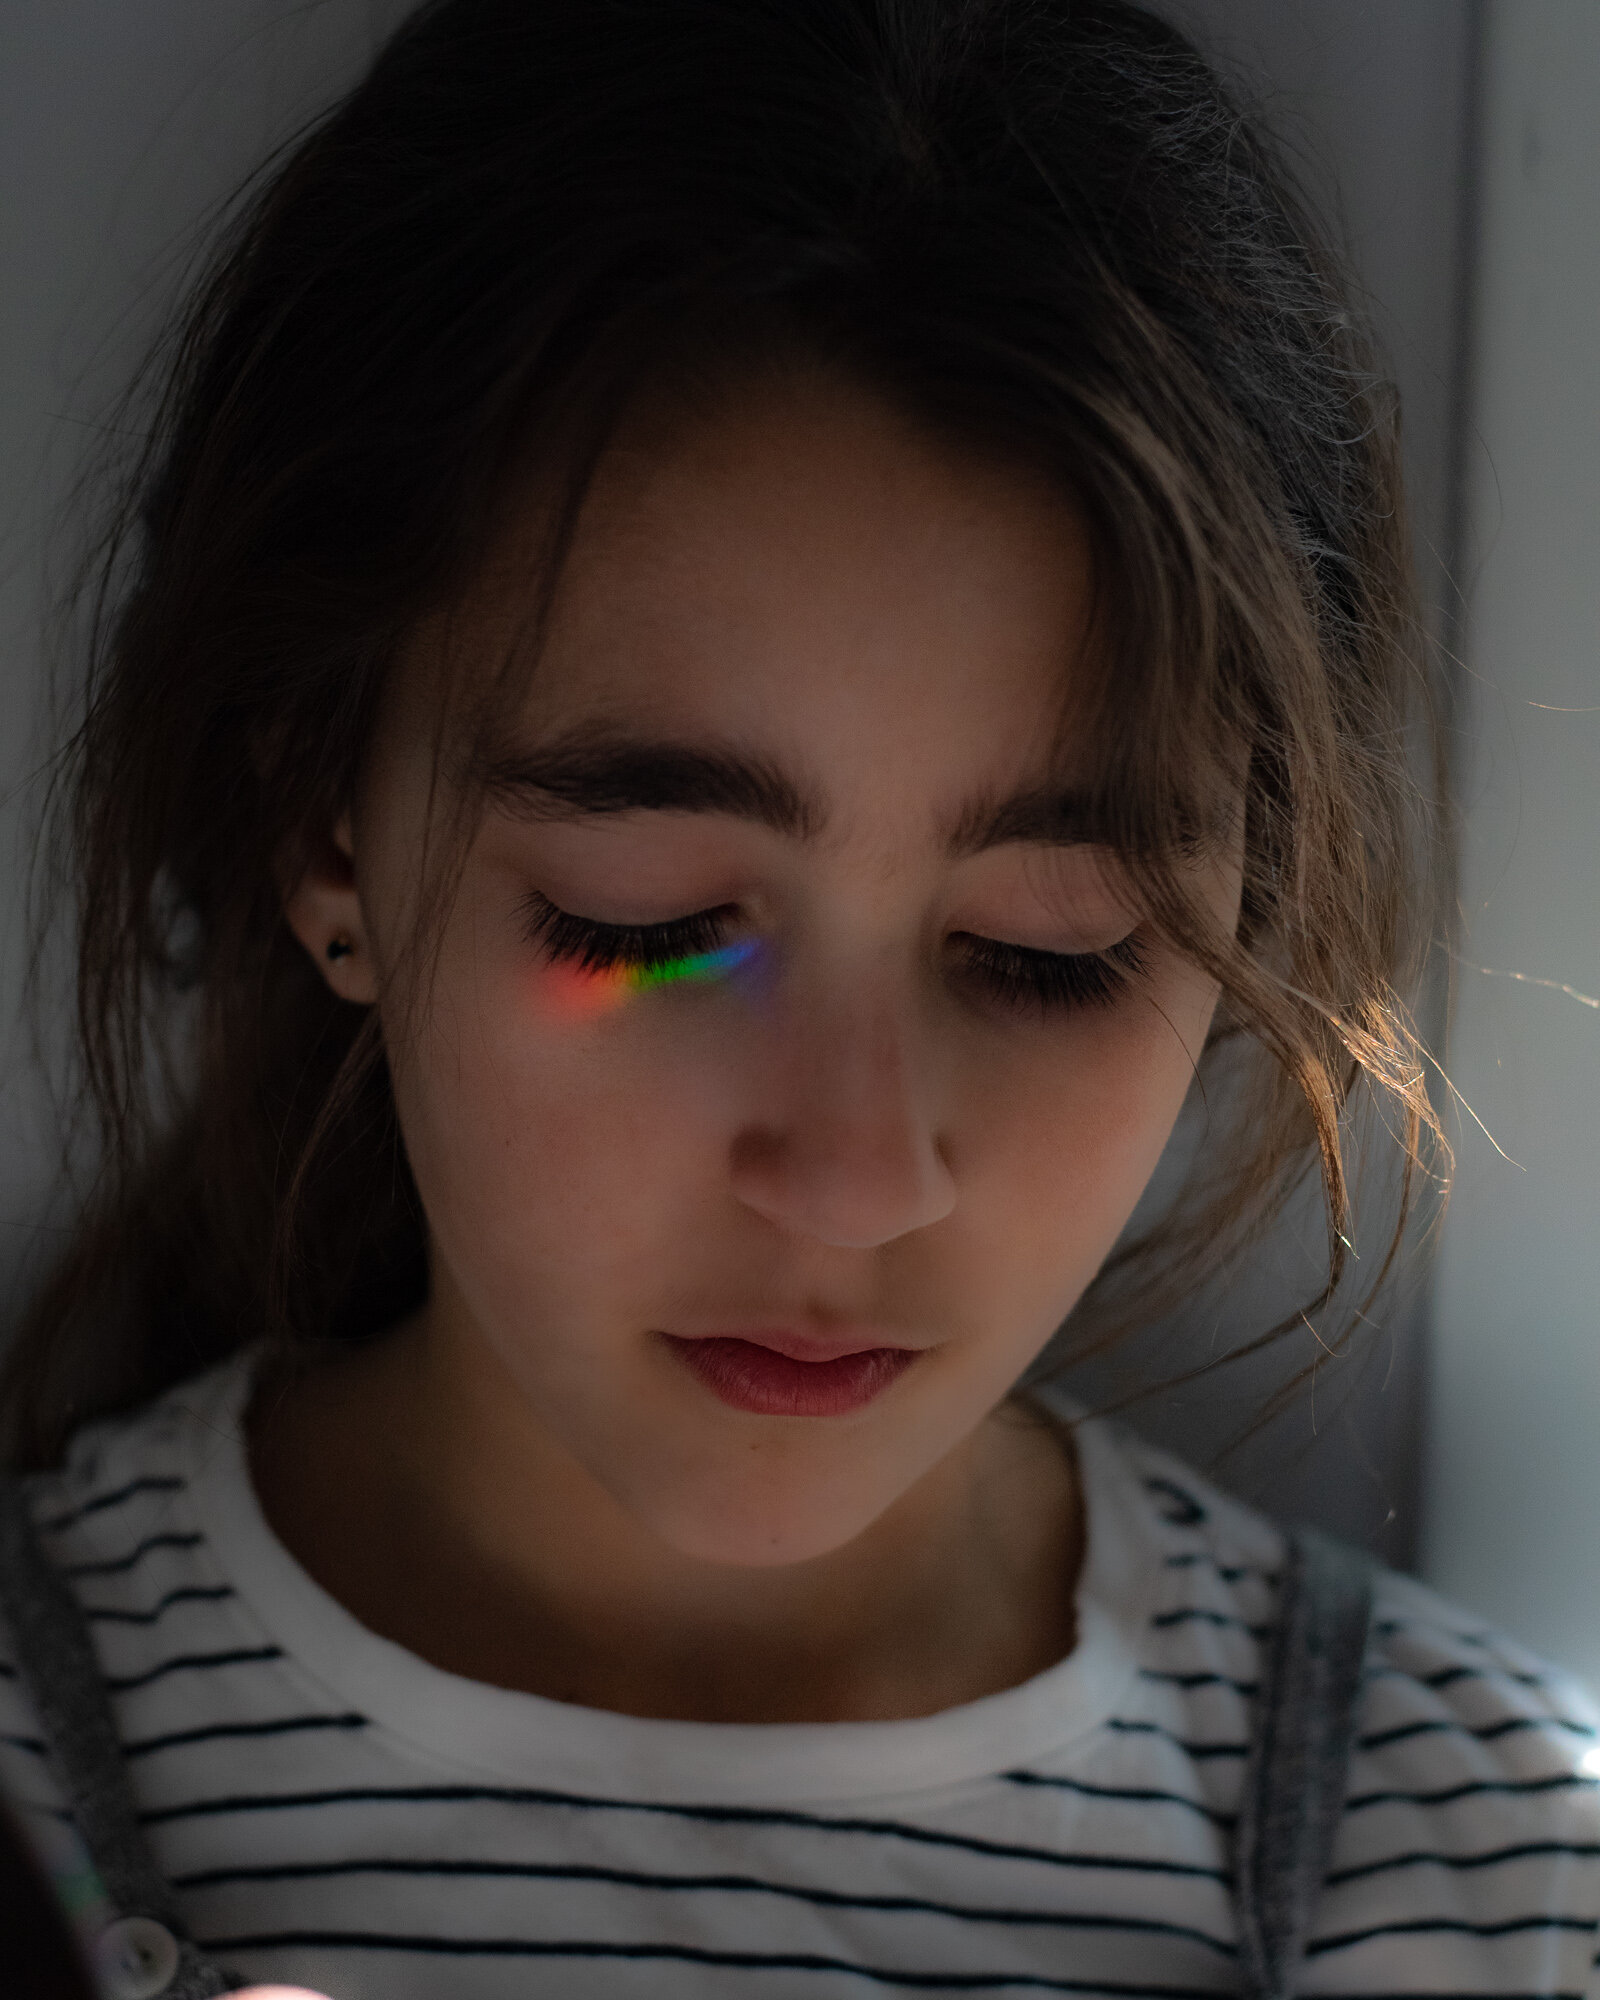
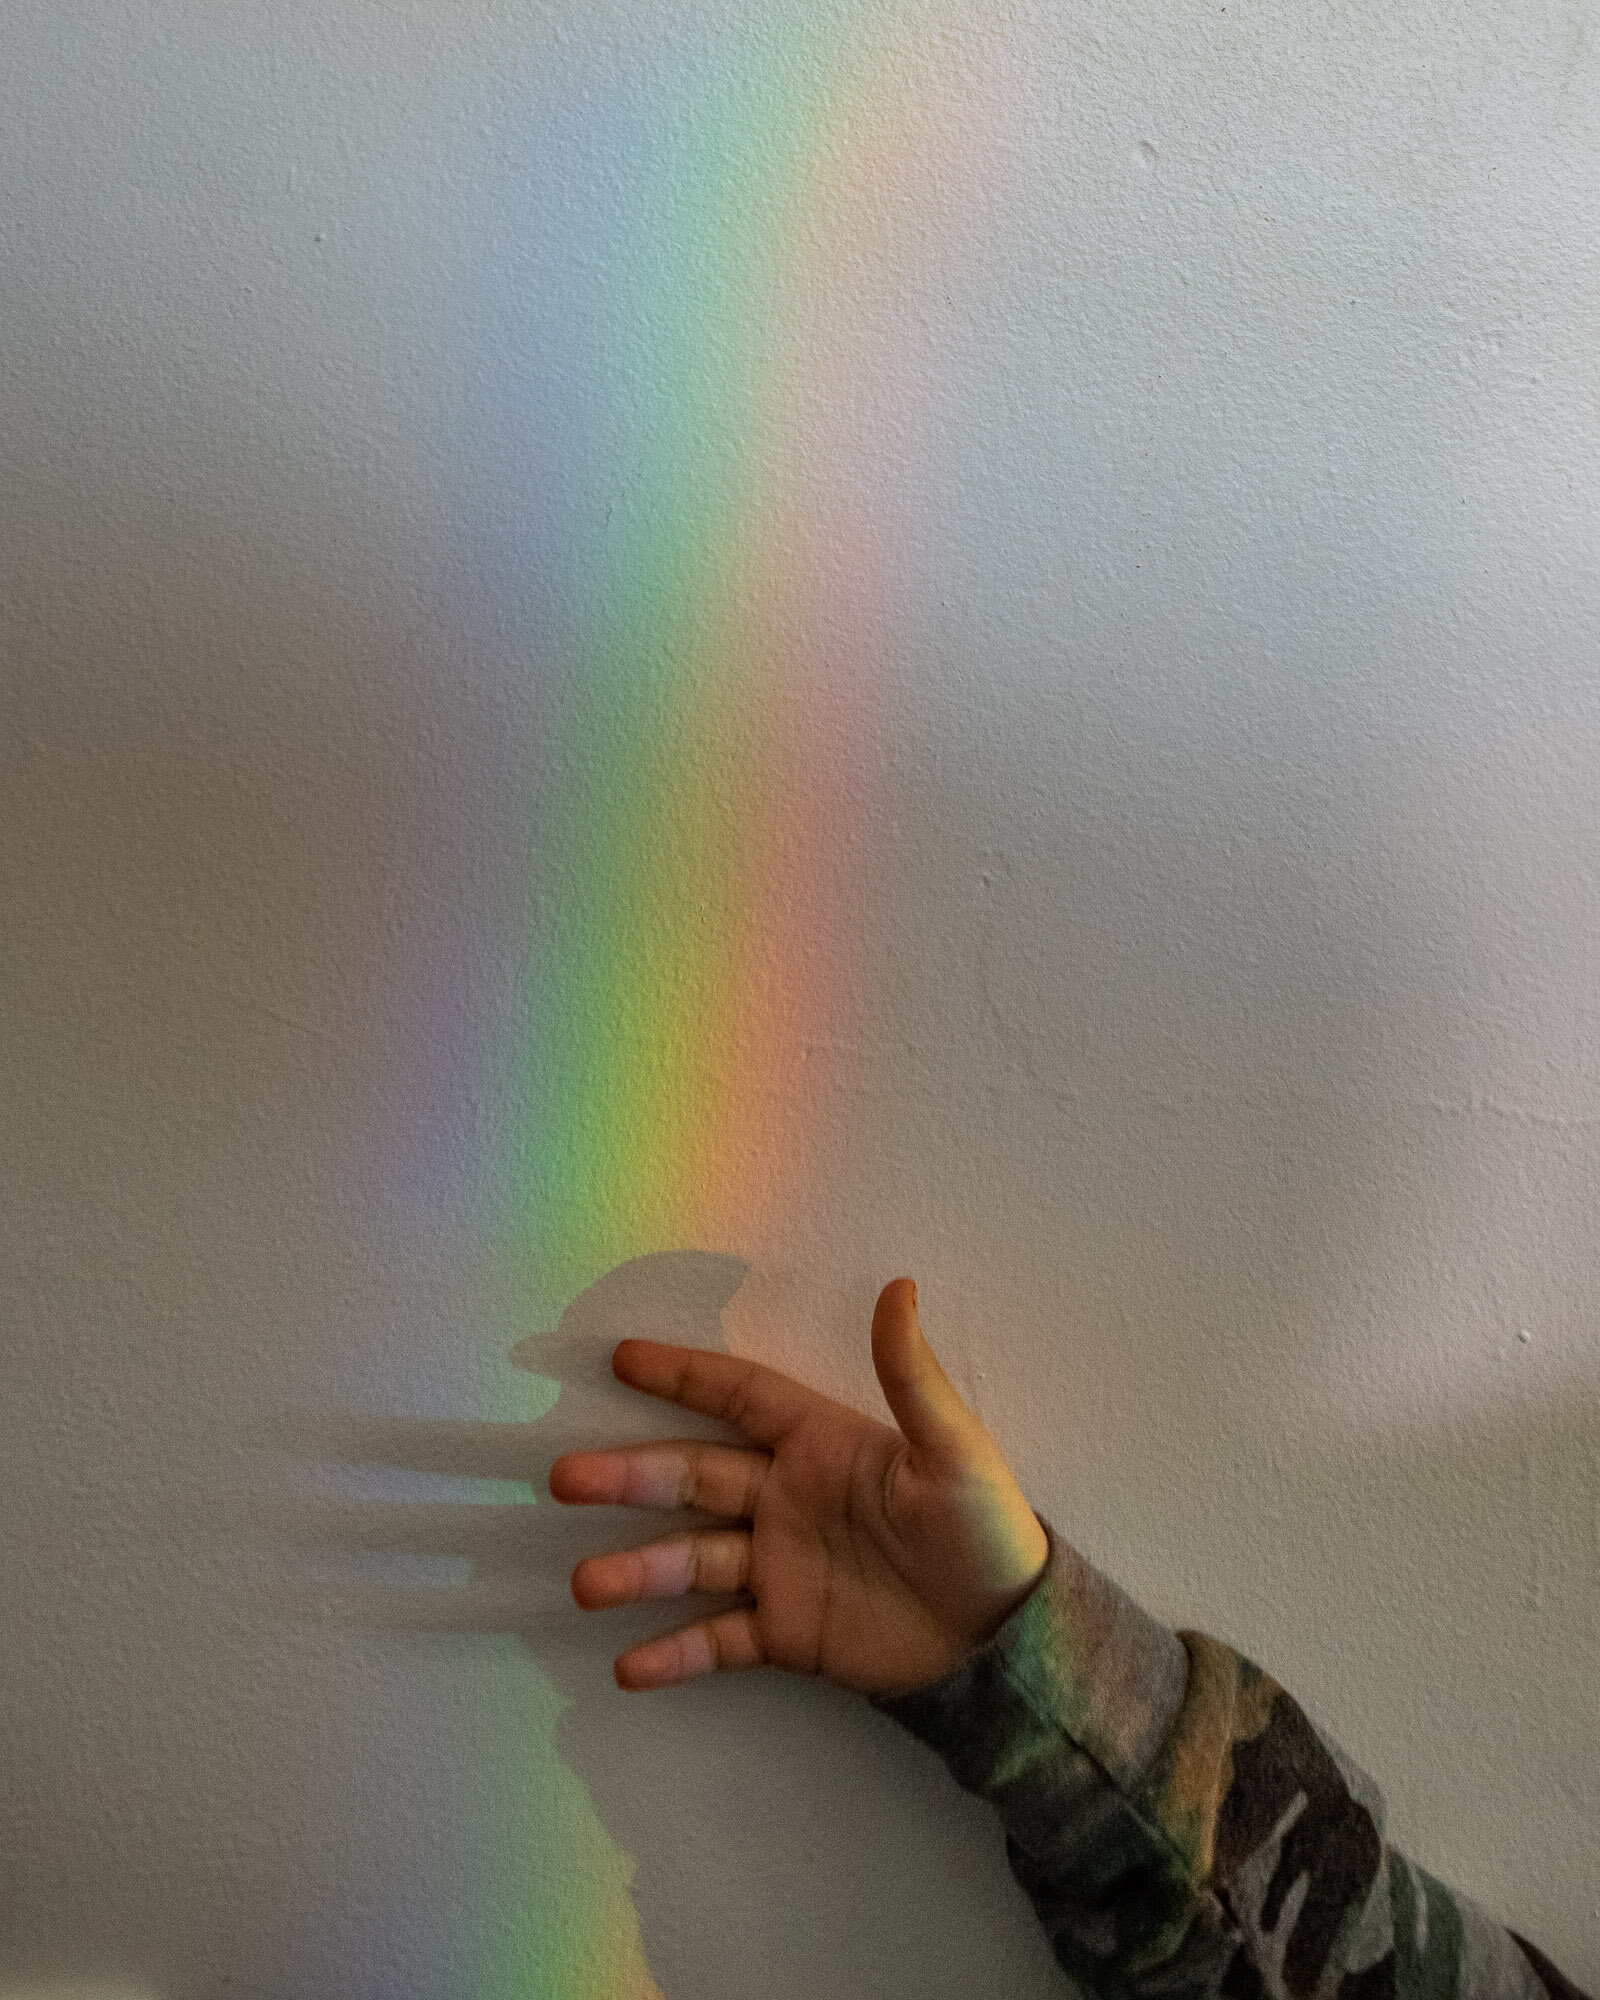
You can even use the back of a CD or a mirror to create rainbows. The light needs to hit the cd or the mirror at the right angle for it to be reflected. If the sun isn’t shinning, you can try adding light with a flashlight. Every spring and fall, the sun hits the full length mirror in my bedroom and creates a beautiful rainbow on our walls. This only last a couple of weeks each season but the kids and I are always so excited to see it.
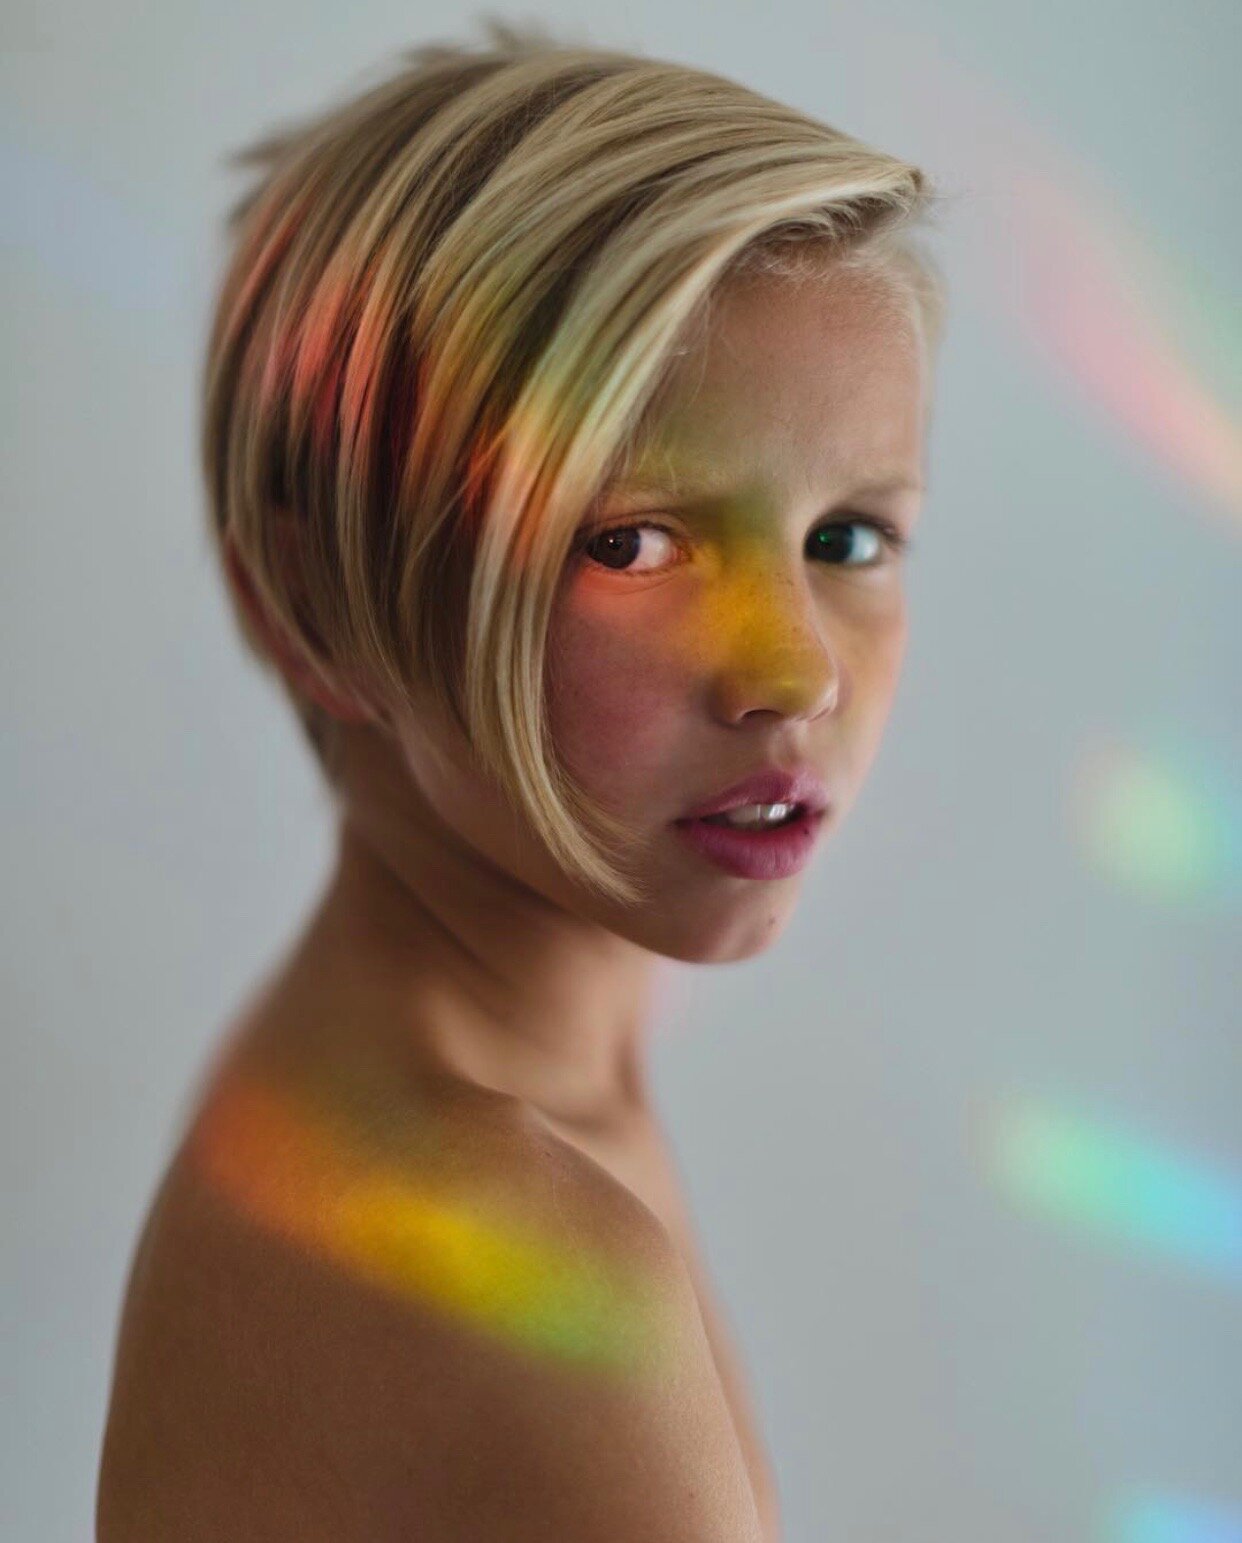
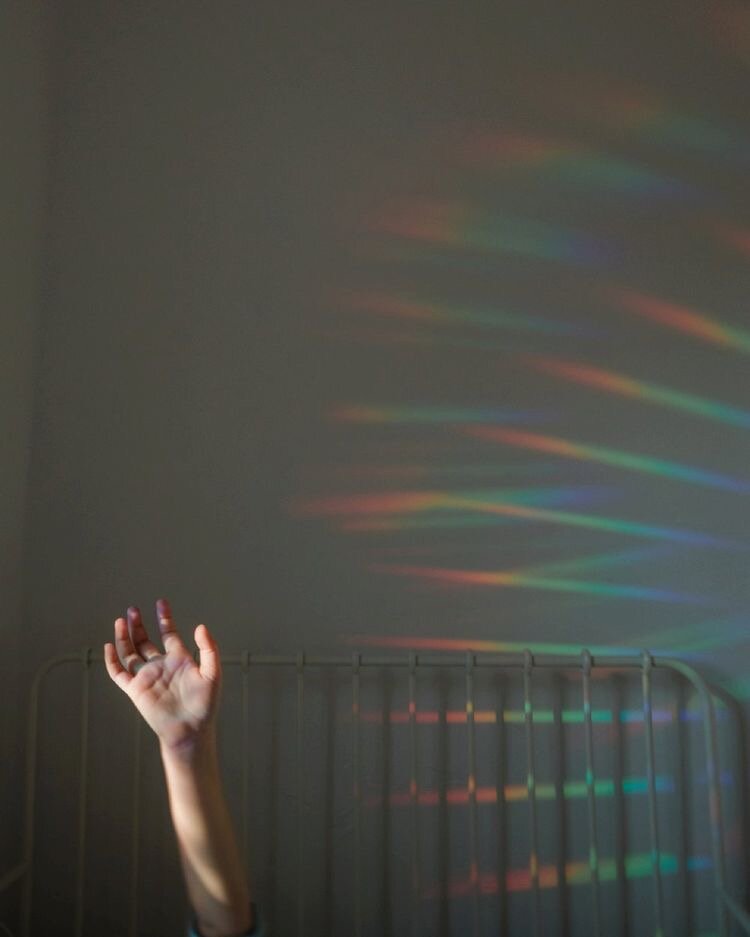
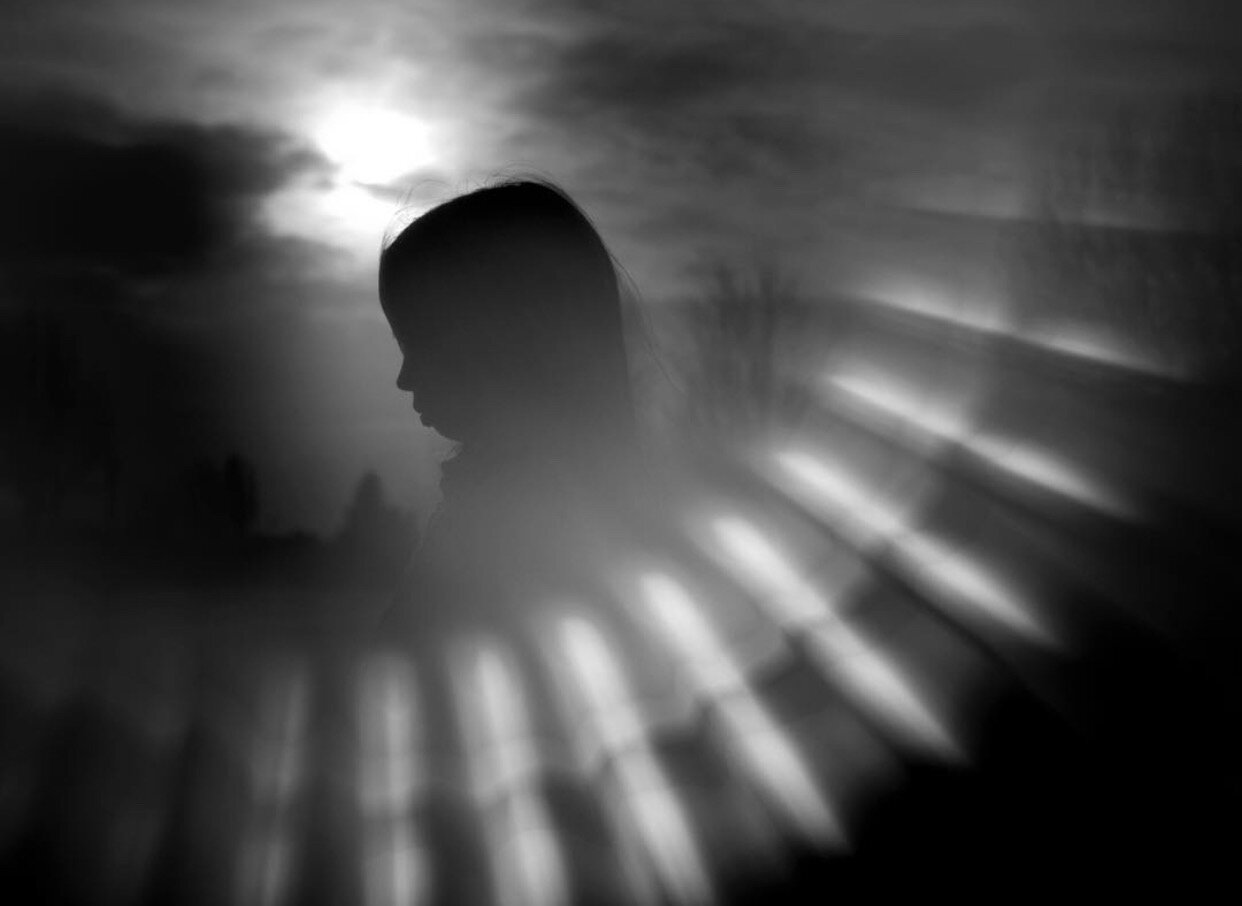
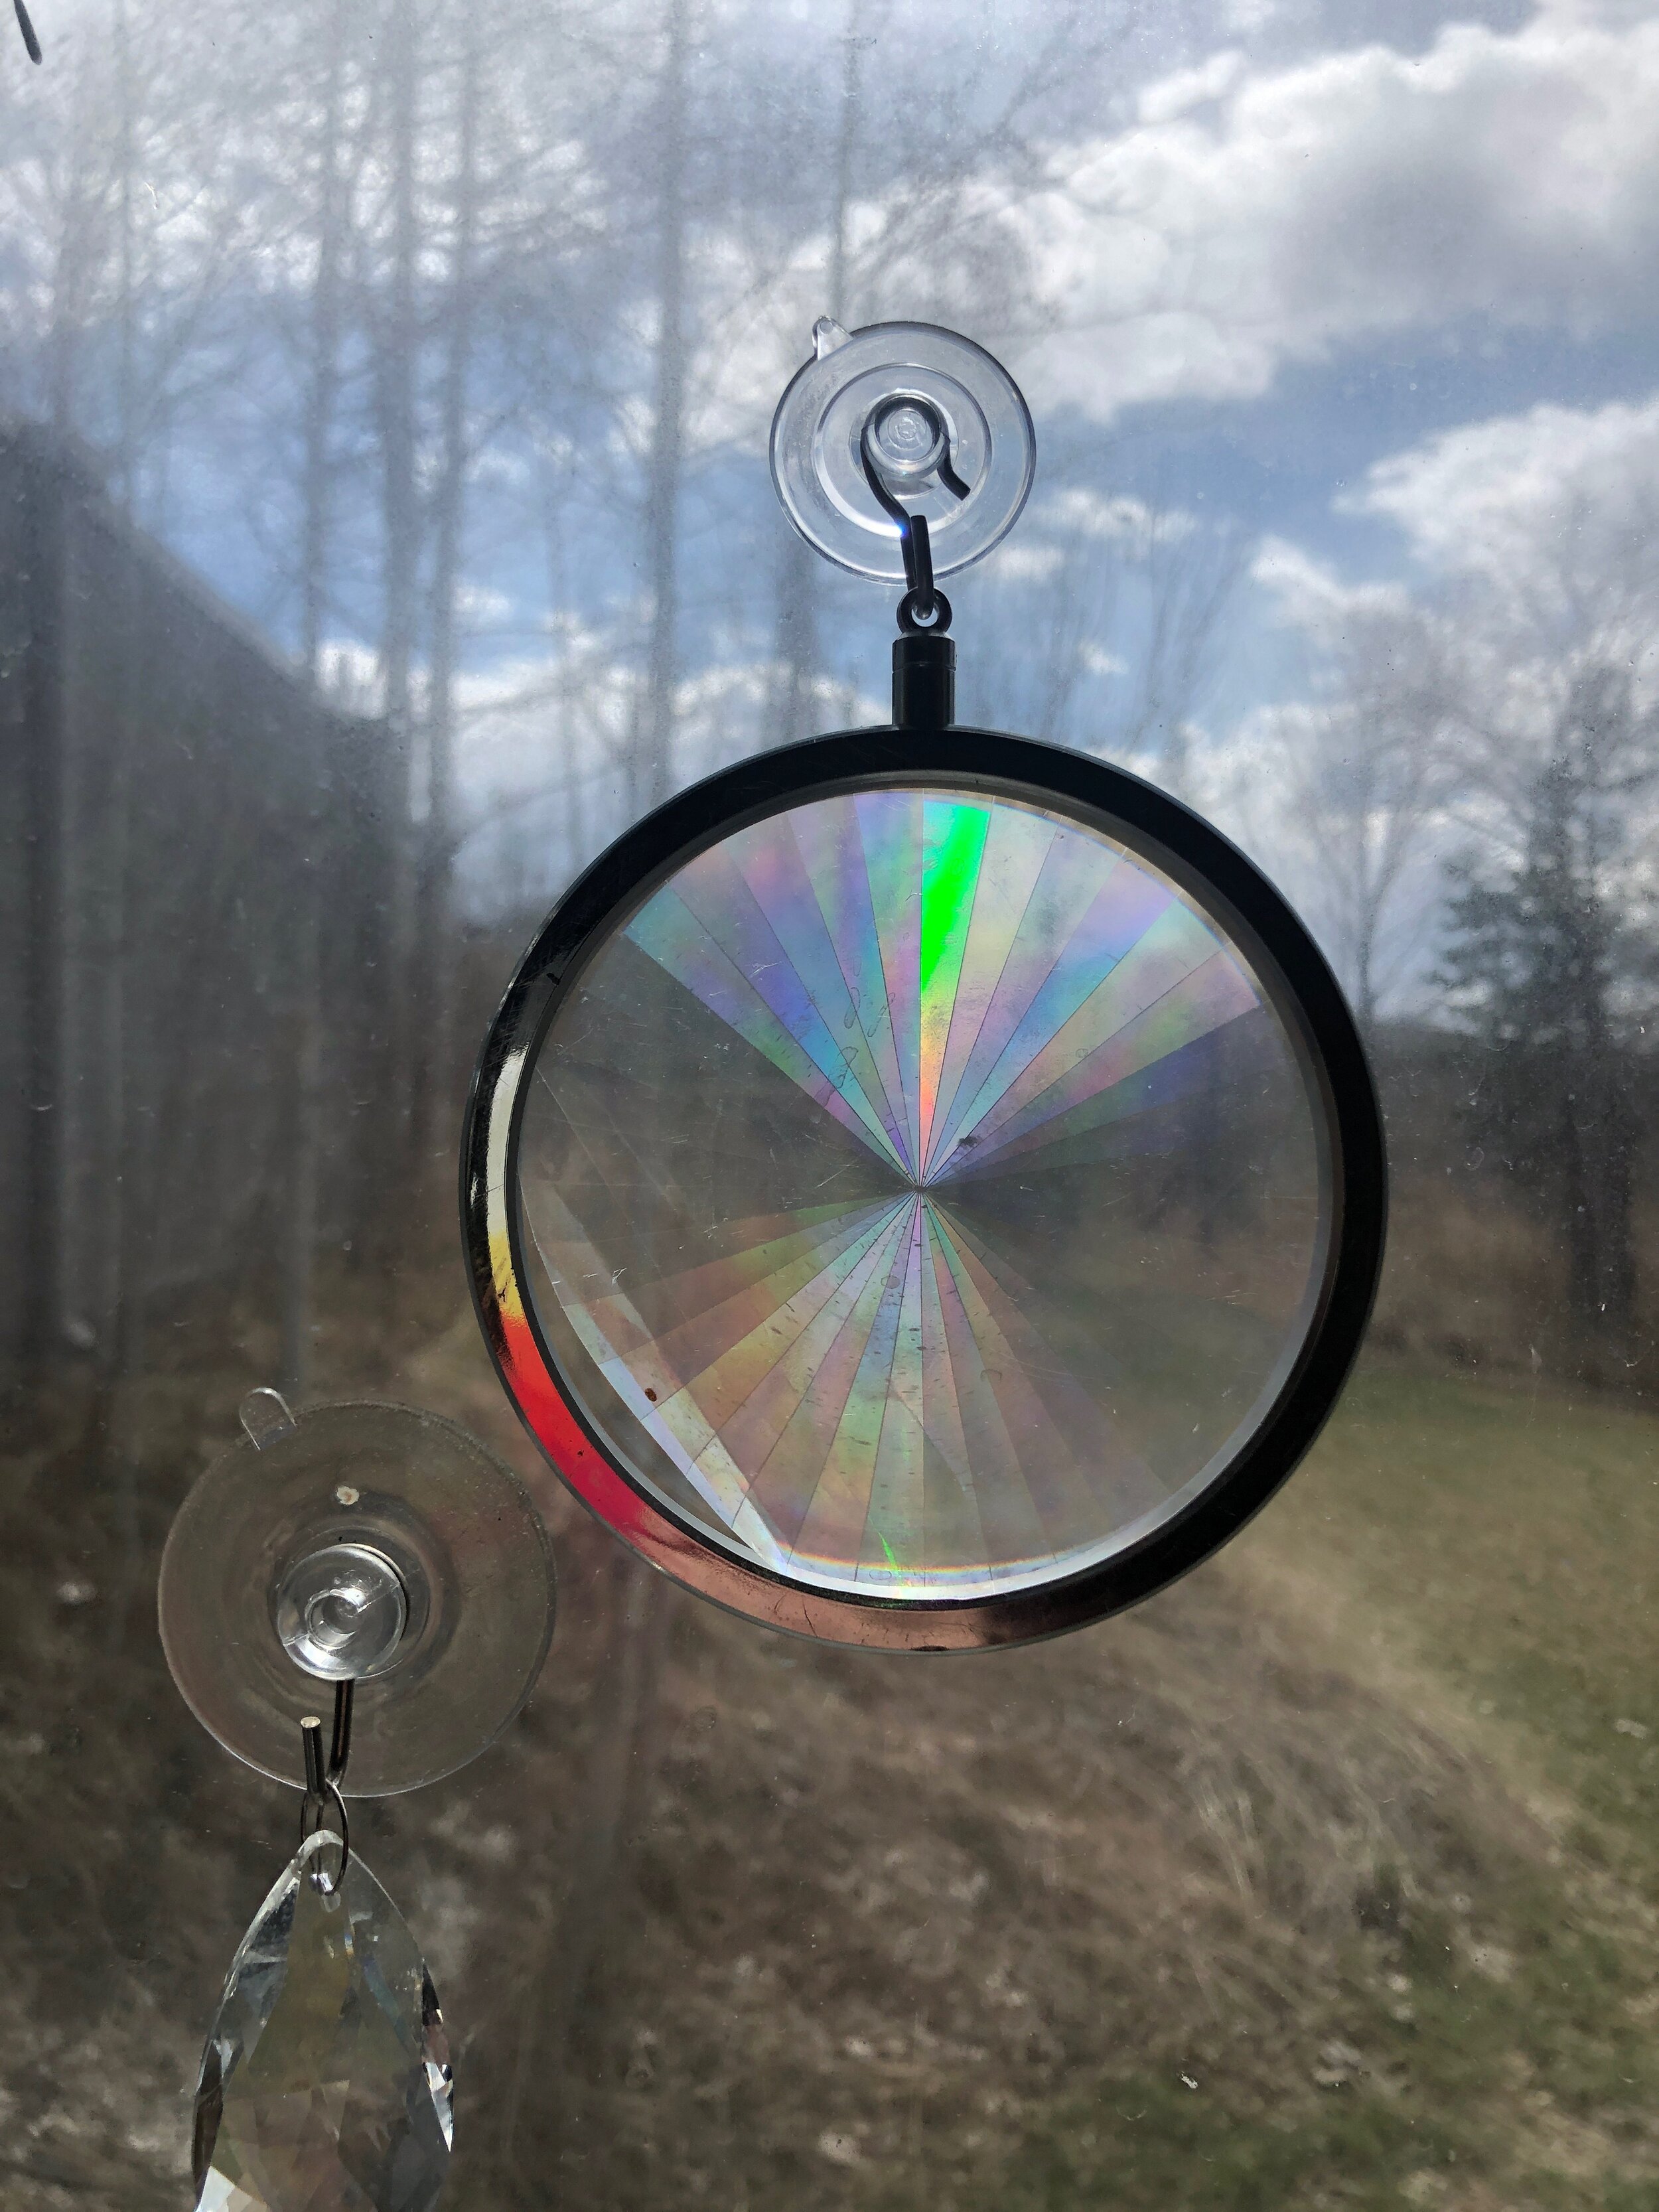
Sun catchers or rainbow makers are so fun to have around the house. Place them in your windows and see them create magic every time the sun comes out or use it in front of your lens for some pretty cool effects. Even in black and white it’s spectacular.

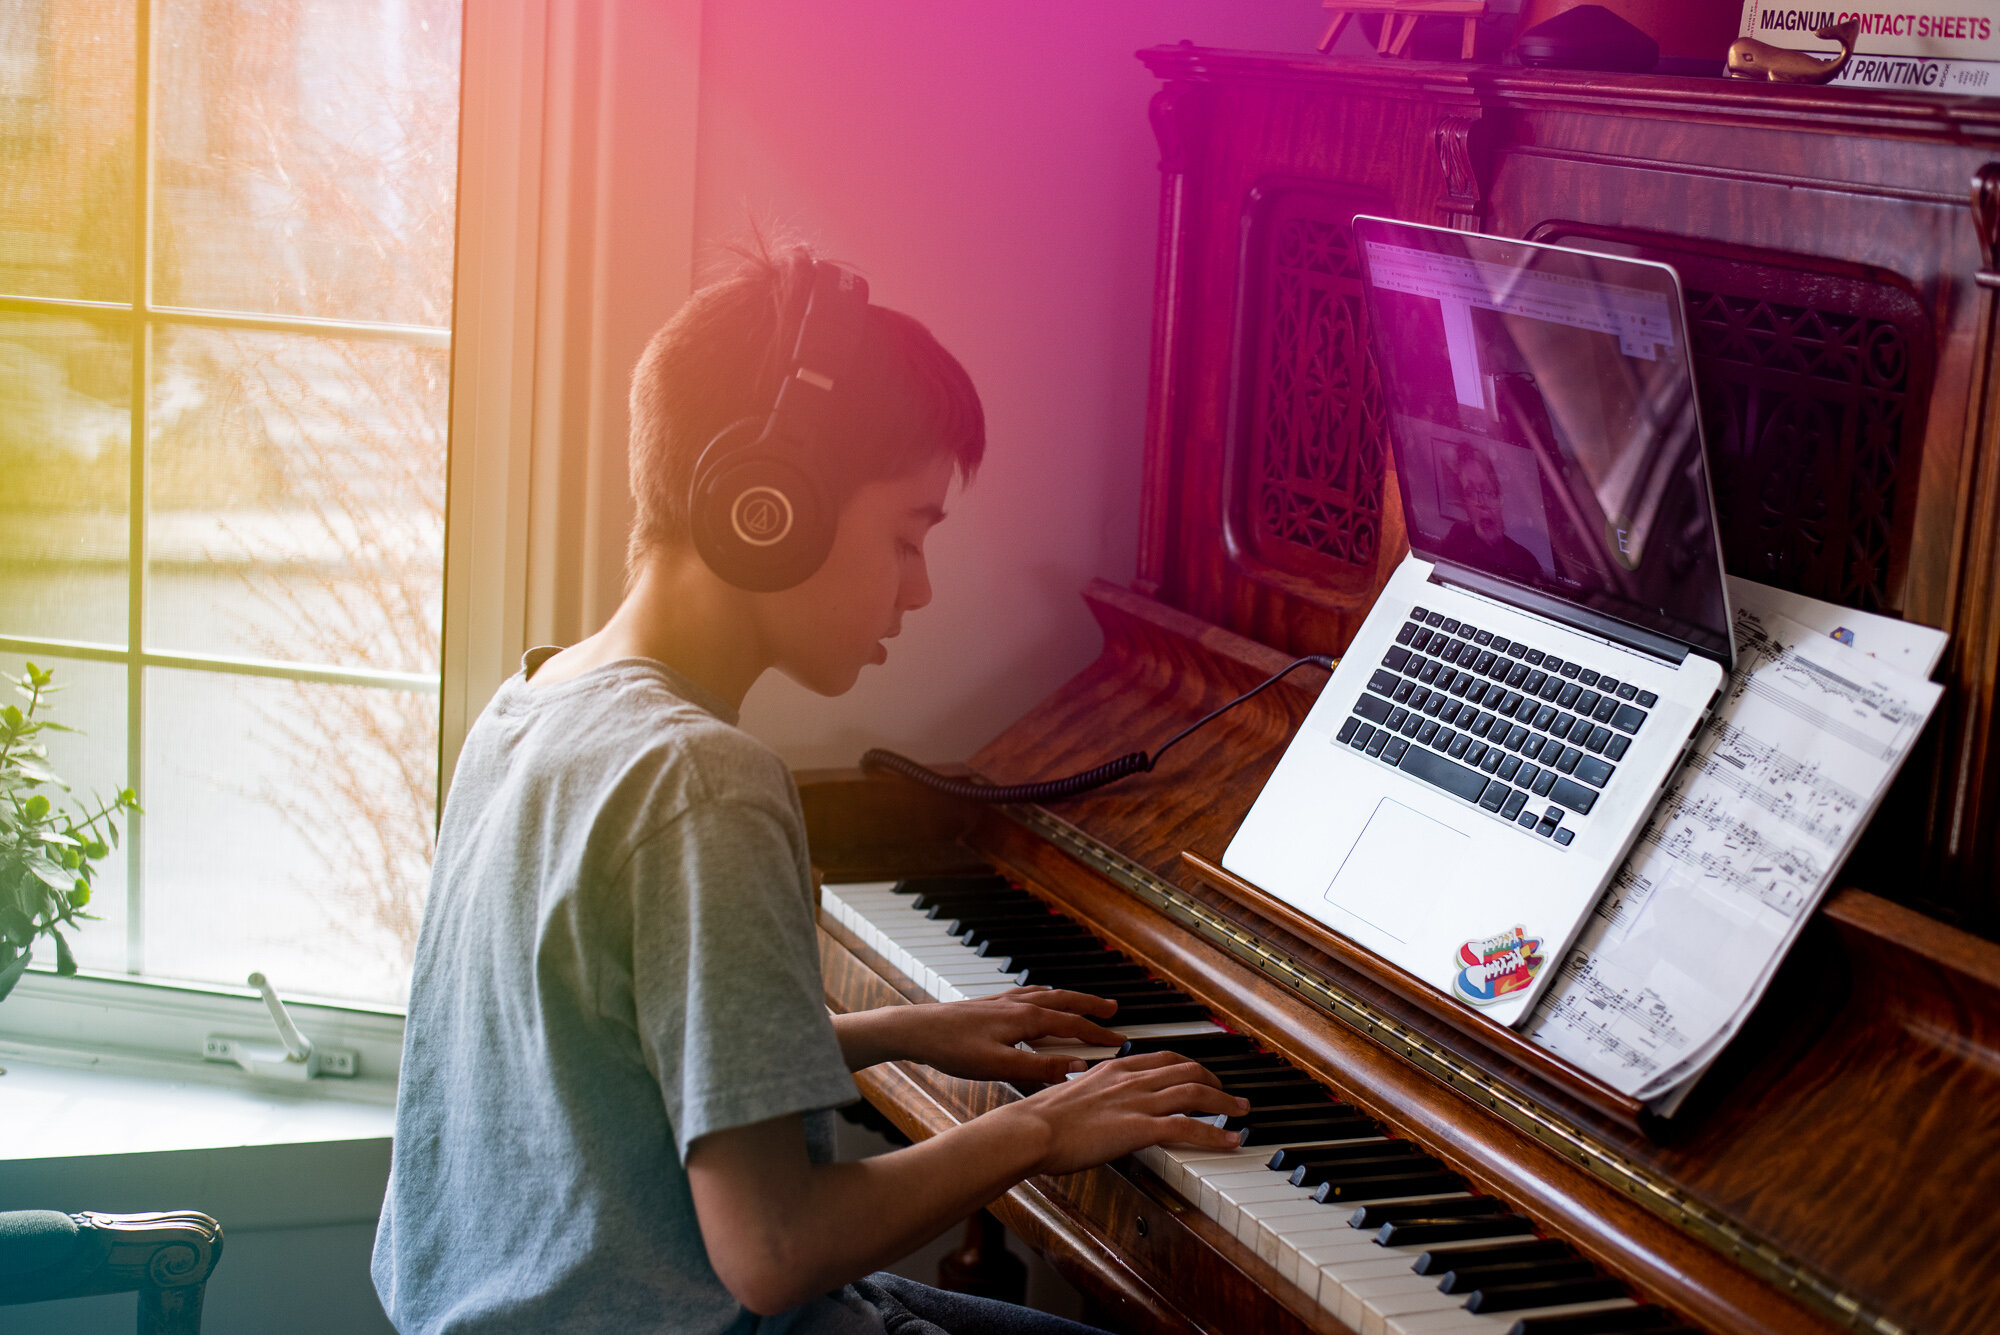
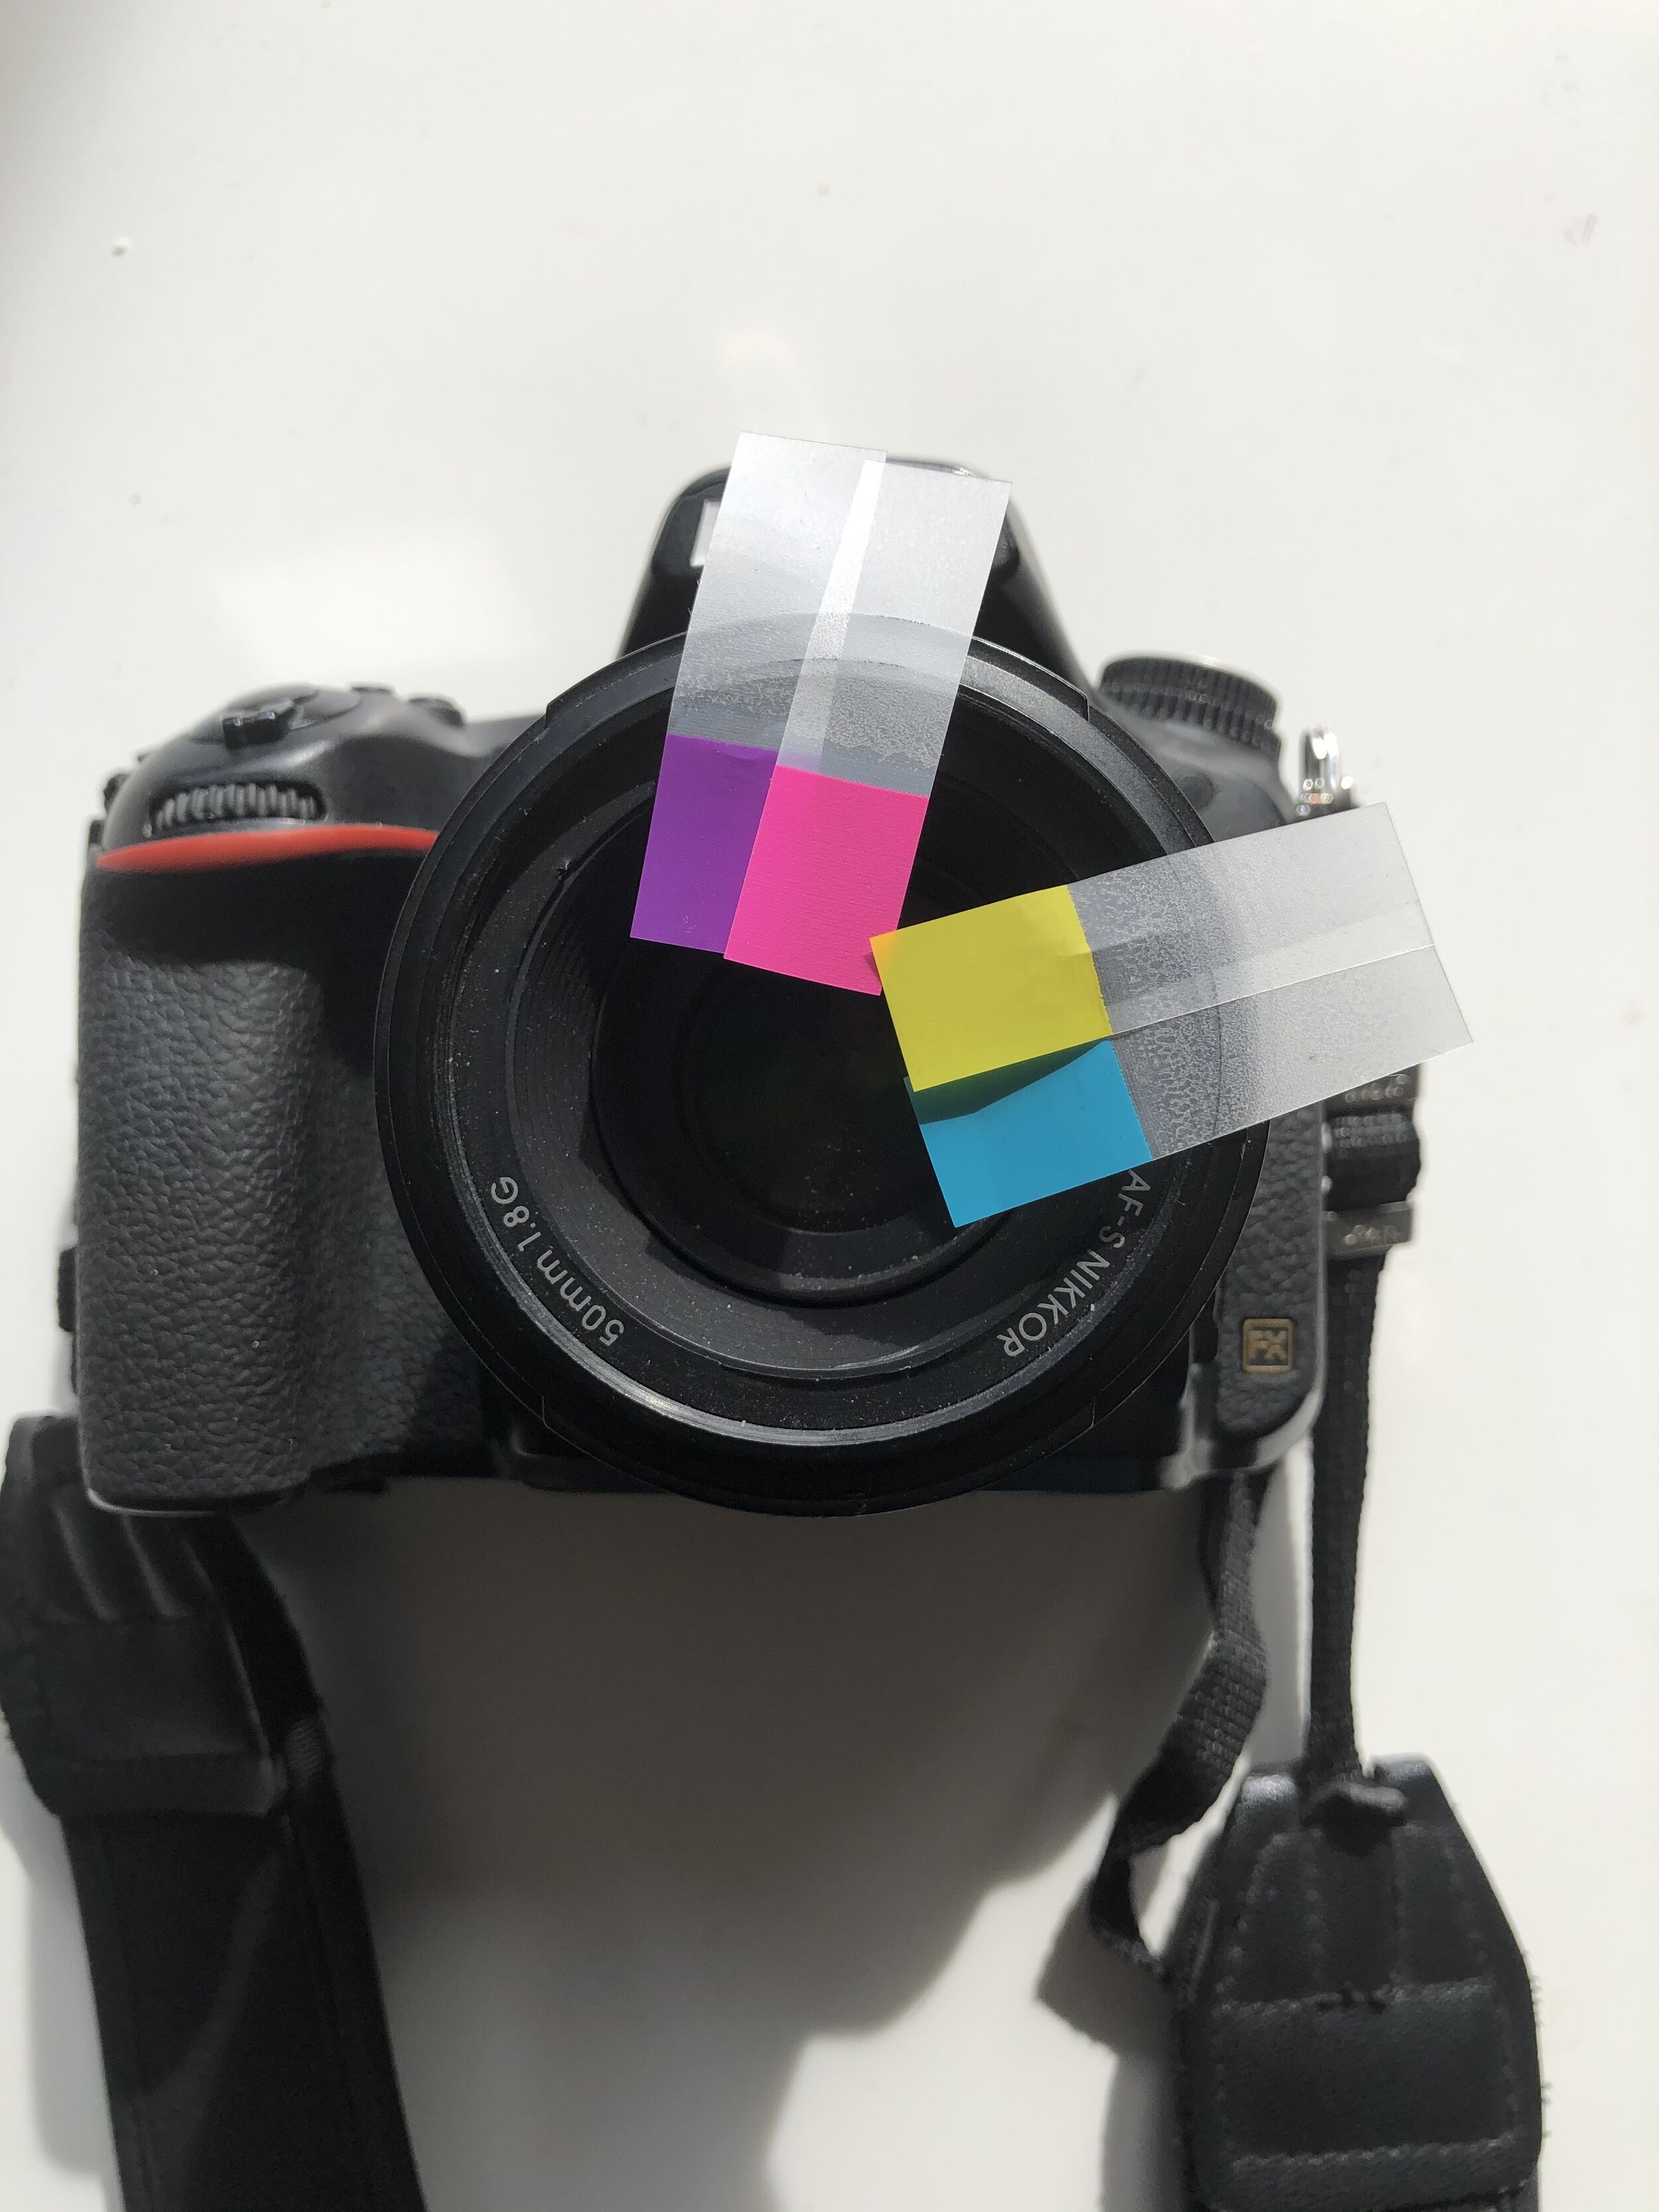
An easy way to add colours to your photos is by simply placing some strips of colorful paper in front of your lens. The sticky post-it notes come in handy because they stick just enough to the side of your lens. You can see how I paced them here to take the photos of my son playing the piano. It is important to keep your aperture around 2.8 to get a fuzzy and subtle effect.
Look for colourful objects and place them in front of your lens. Have your child draw a rainbow, roll up the paper with the rainbow on the inside and shoot through the tube. Shoot through a slinky like in this photo of my son reading. Make an ordinary moment extraordinary!
If you have dry erase markers, you can draw right on your lens, as it will wipe off easily with a paper towel. You can also draw on some cellophane and wrap that around your lens.
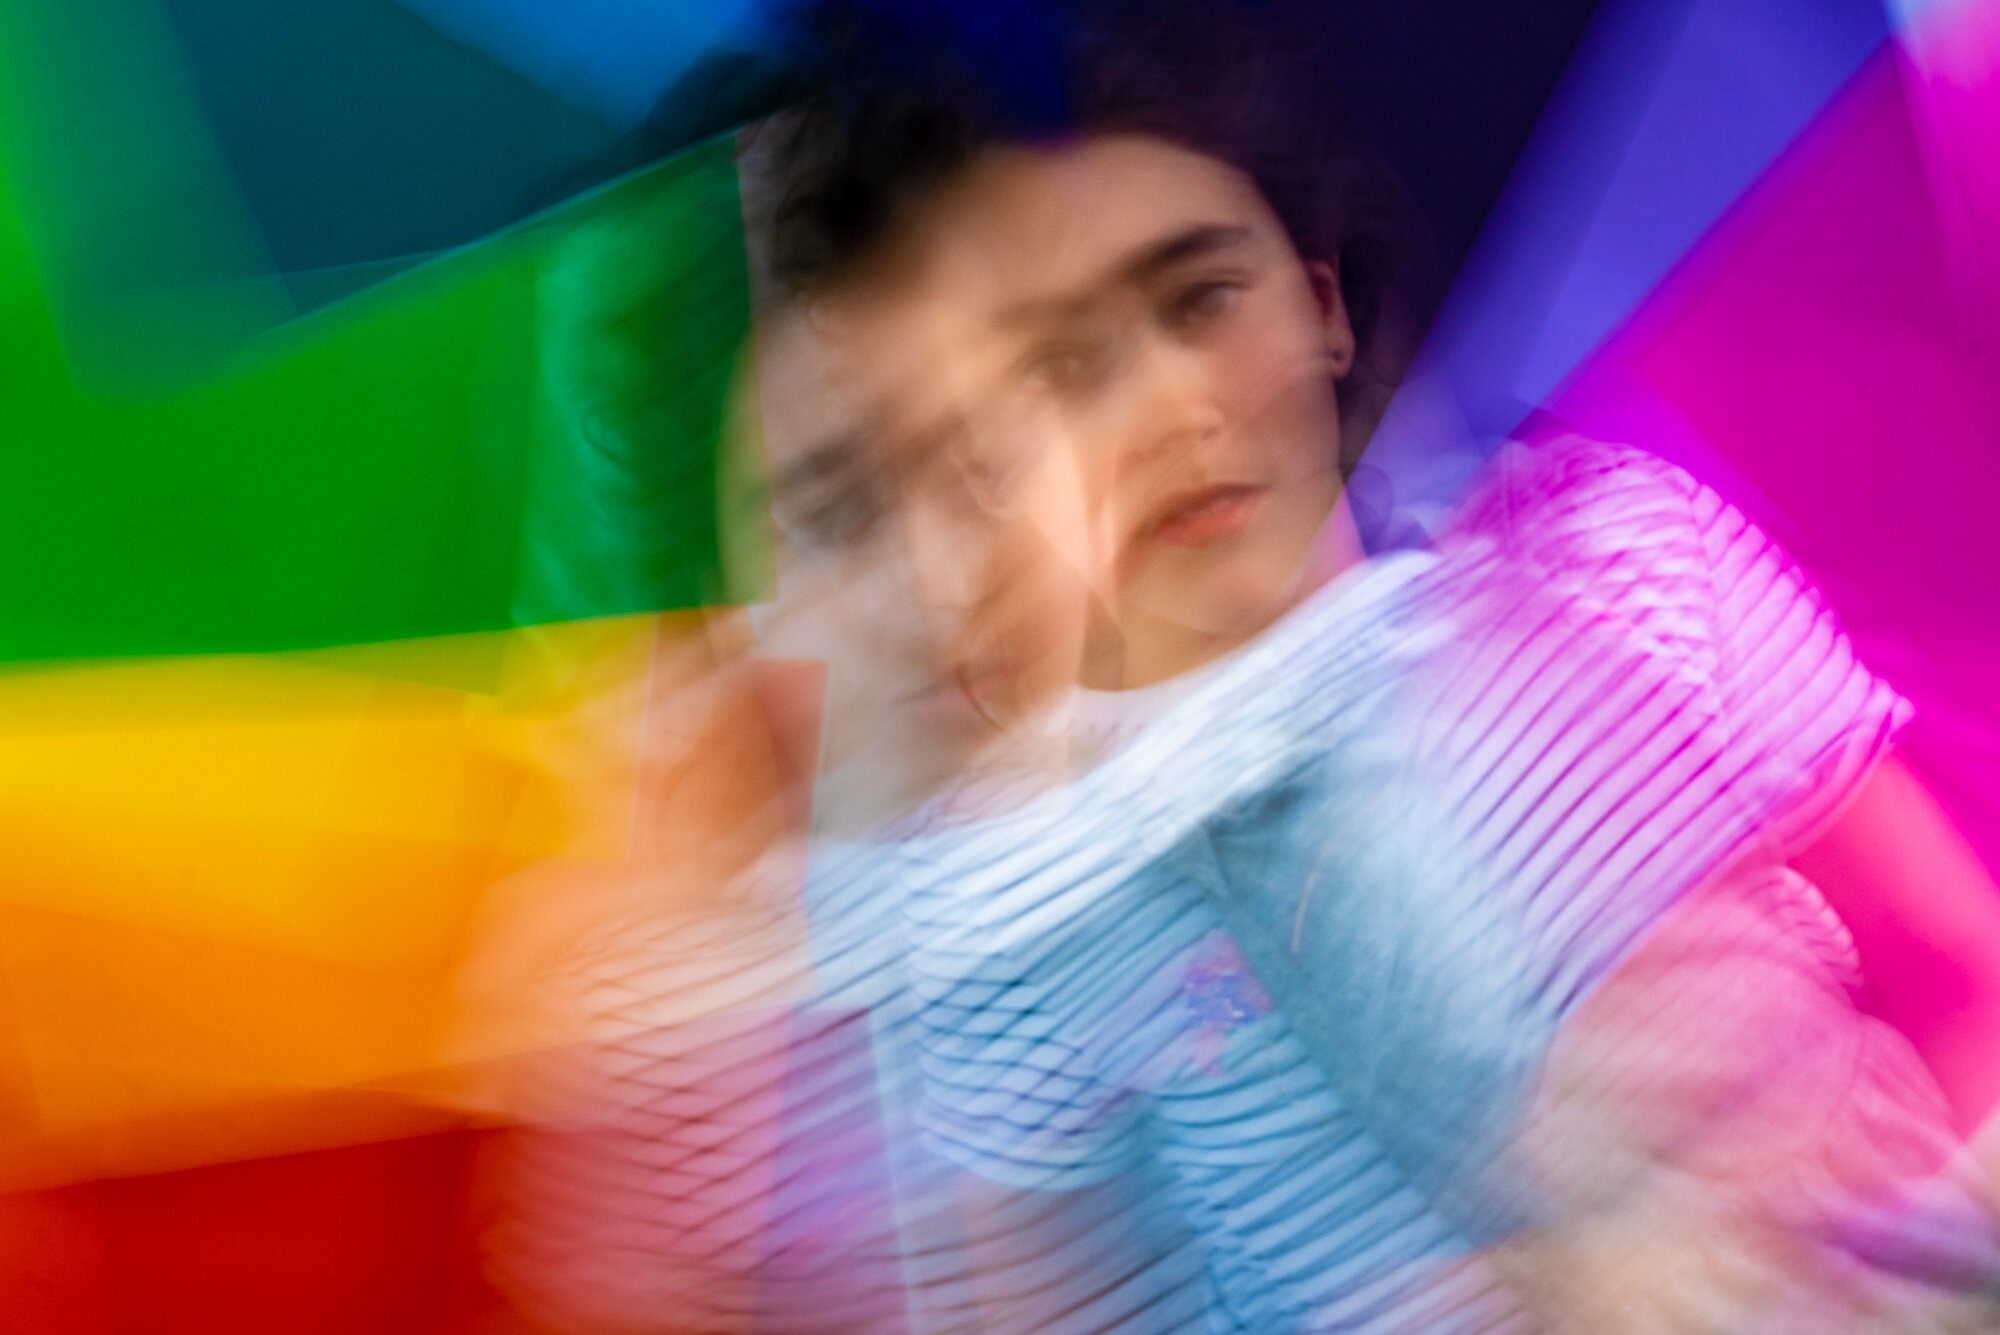
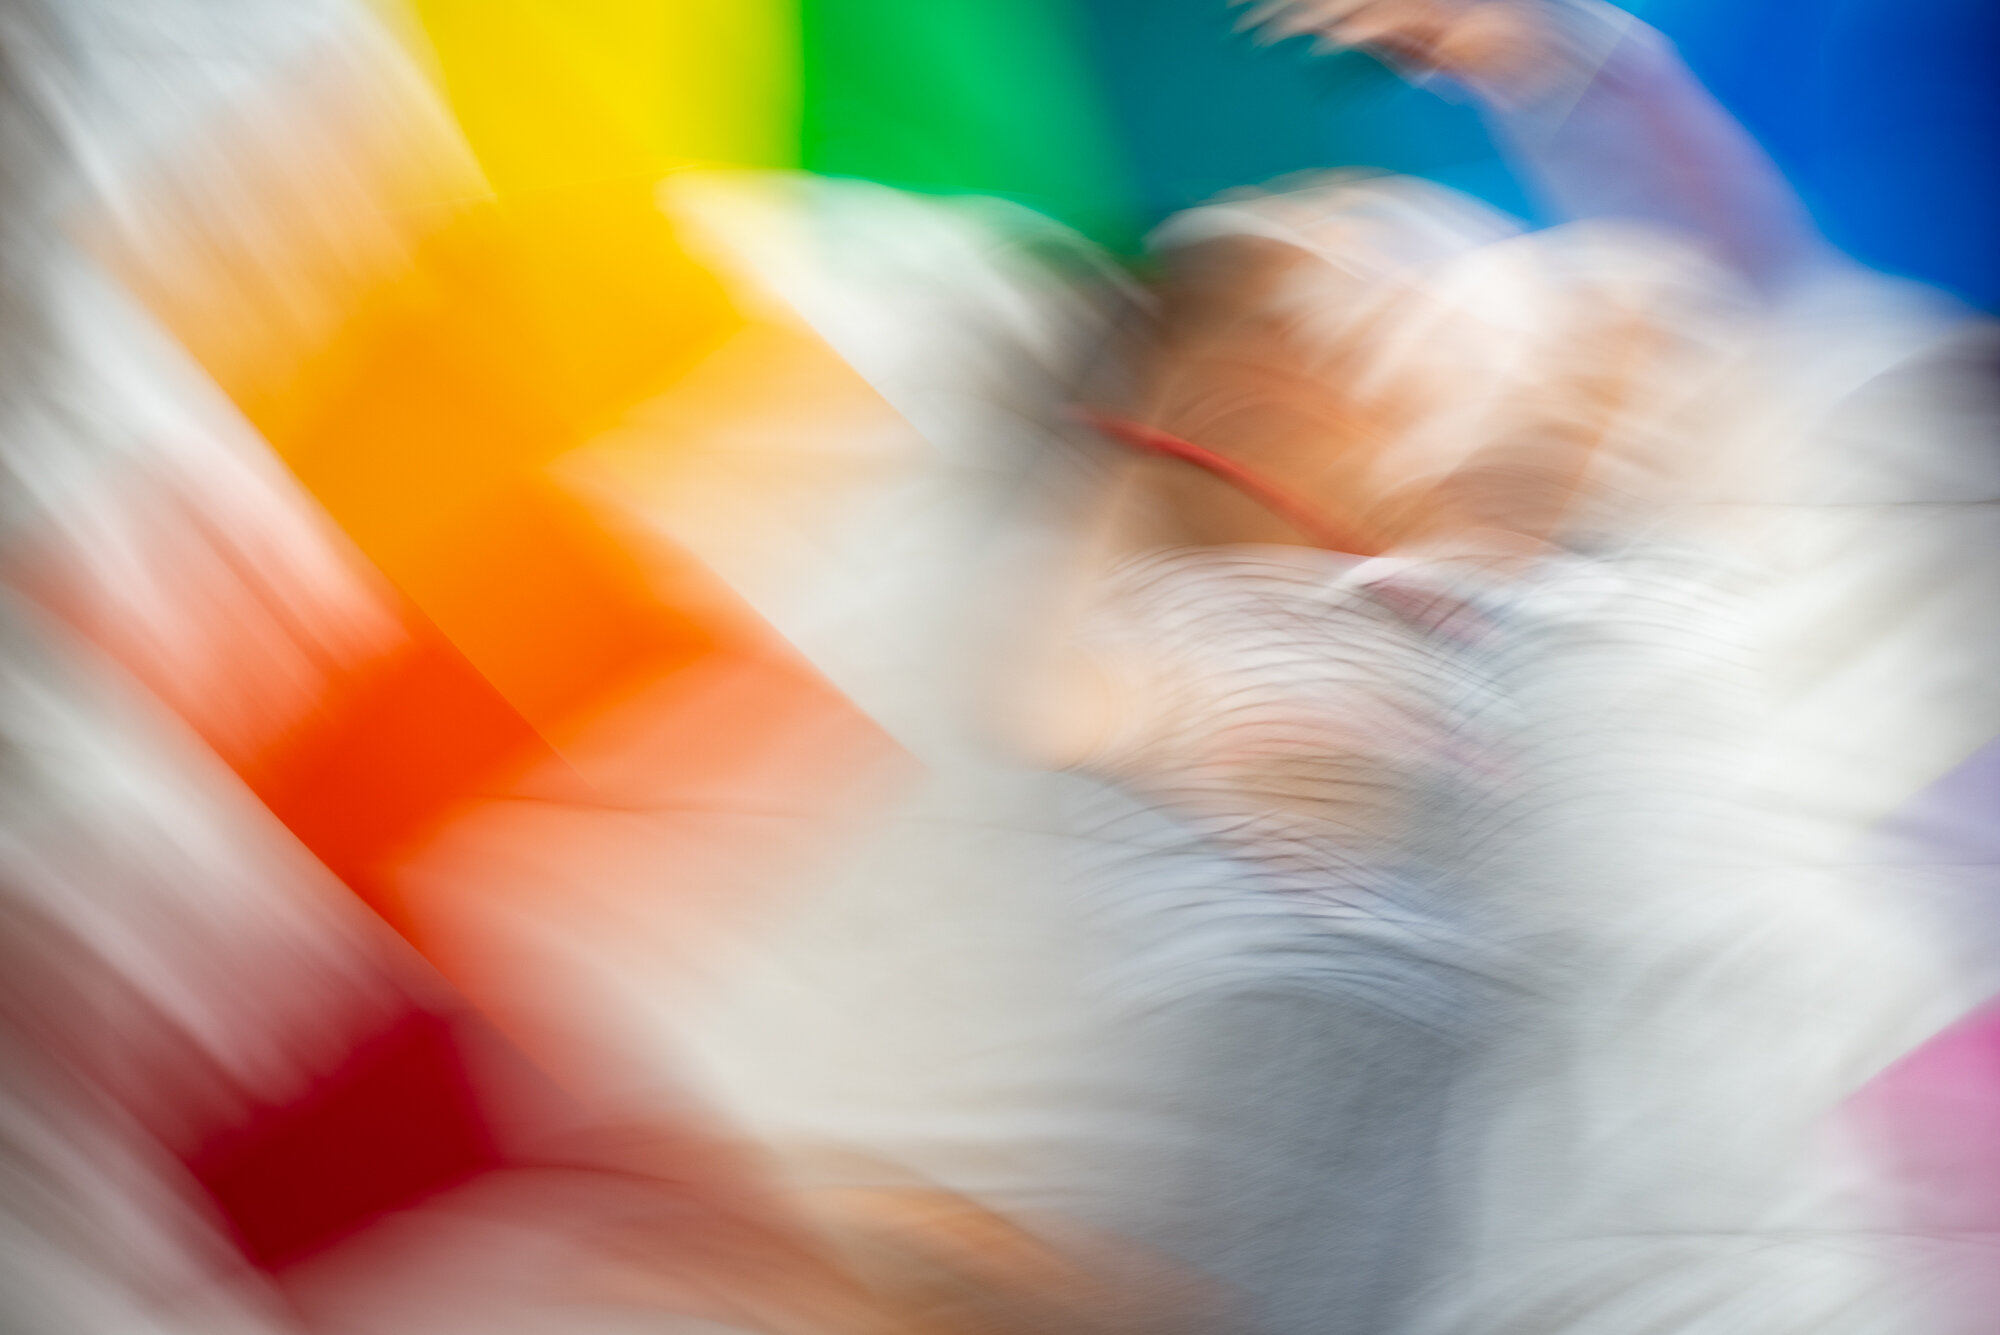
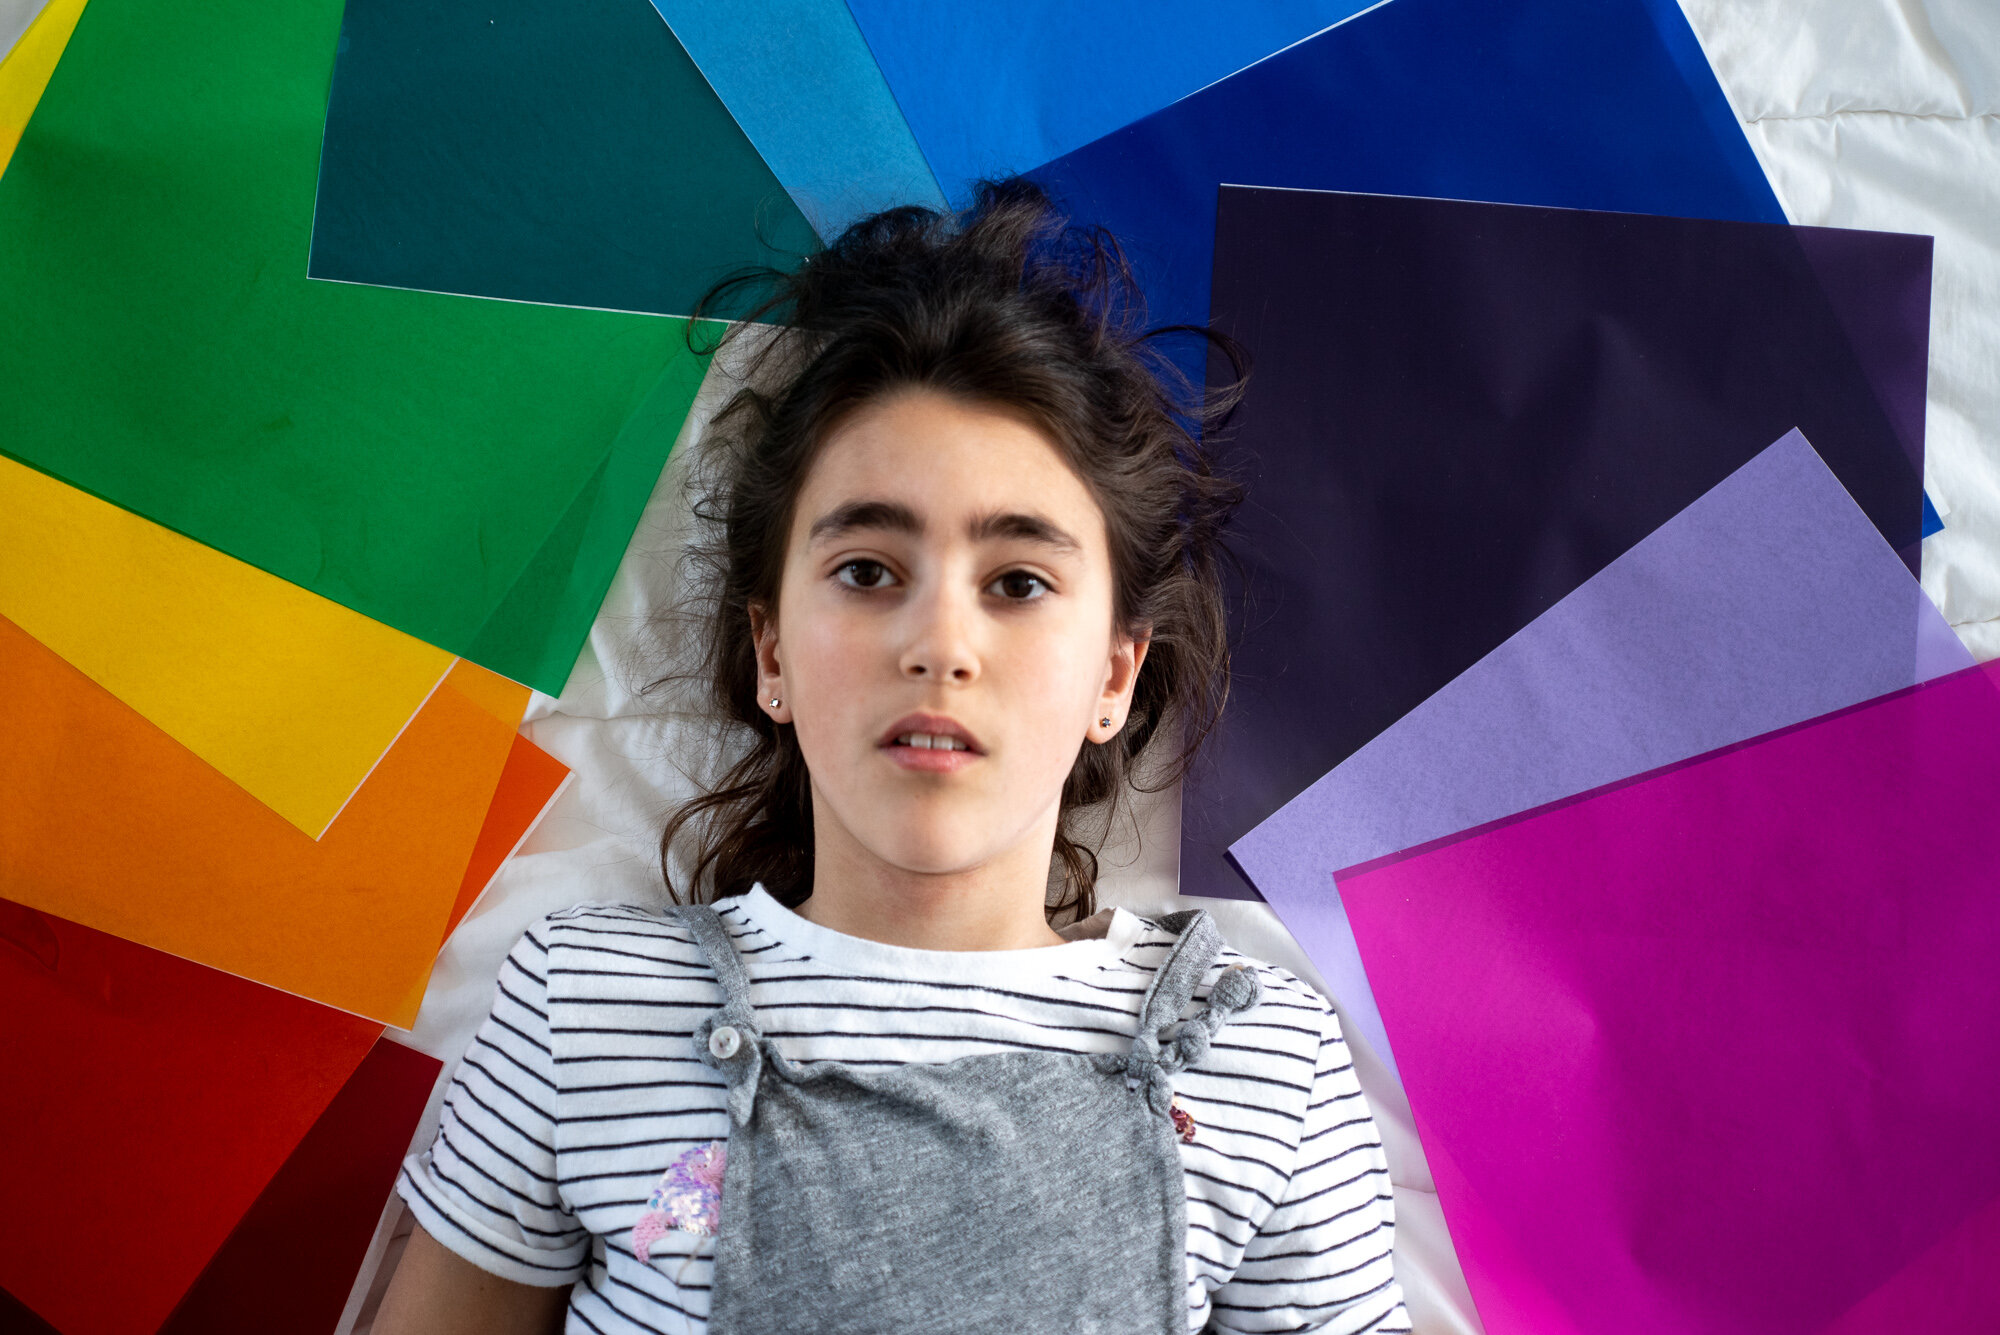
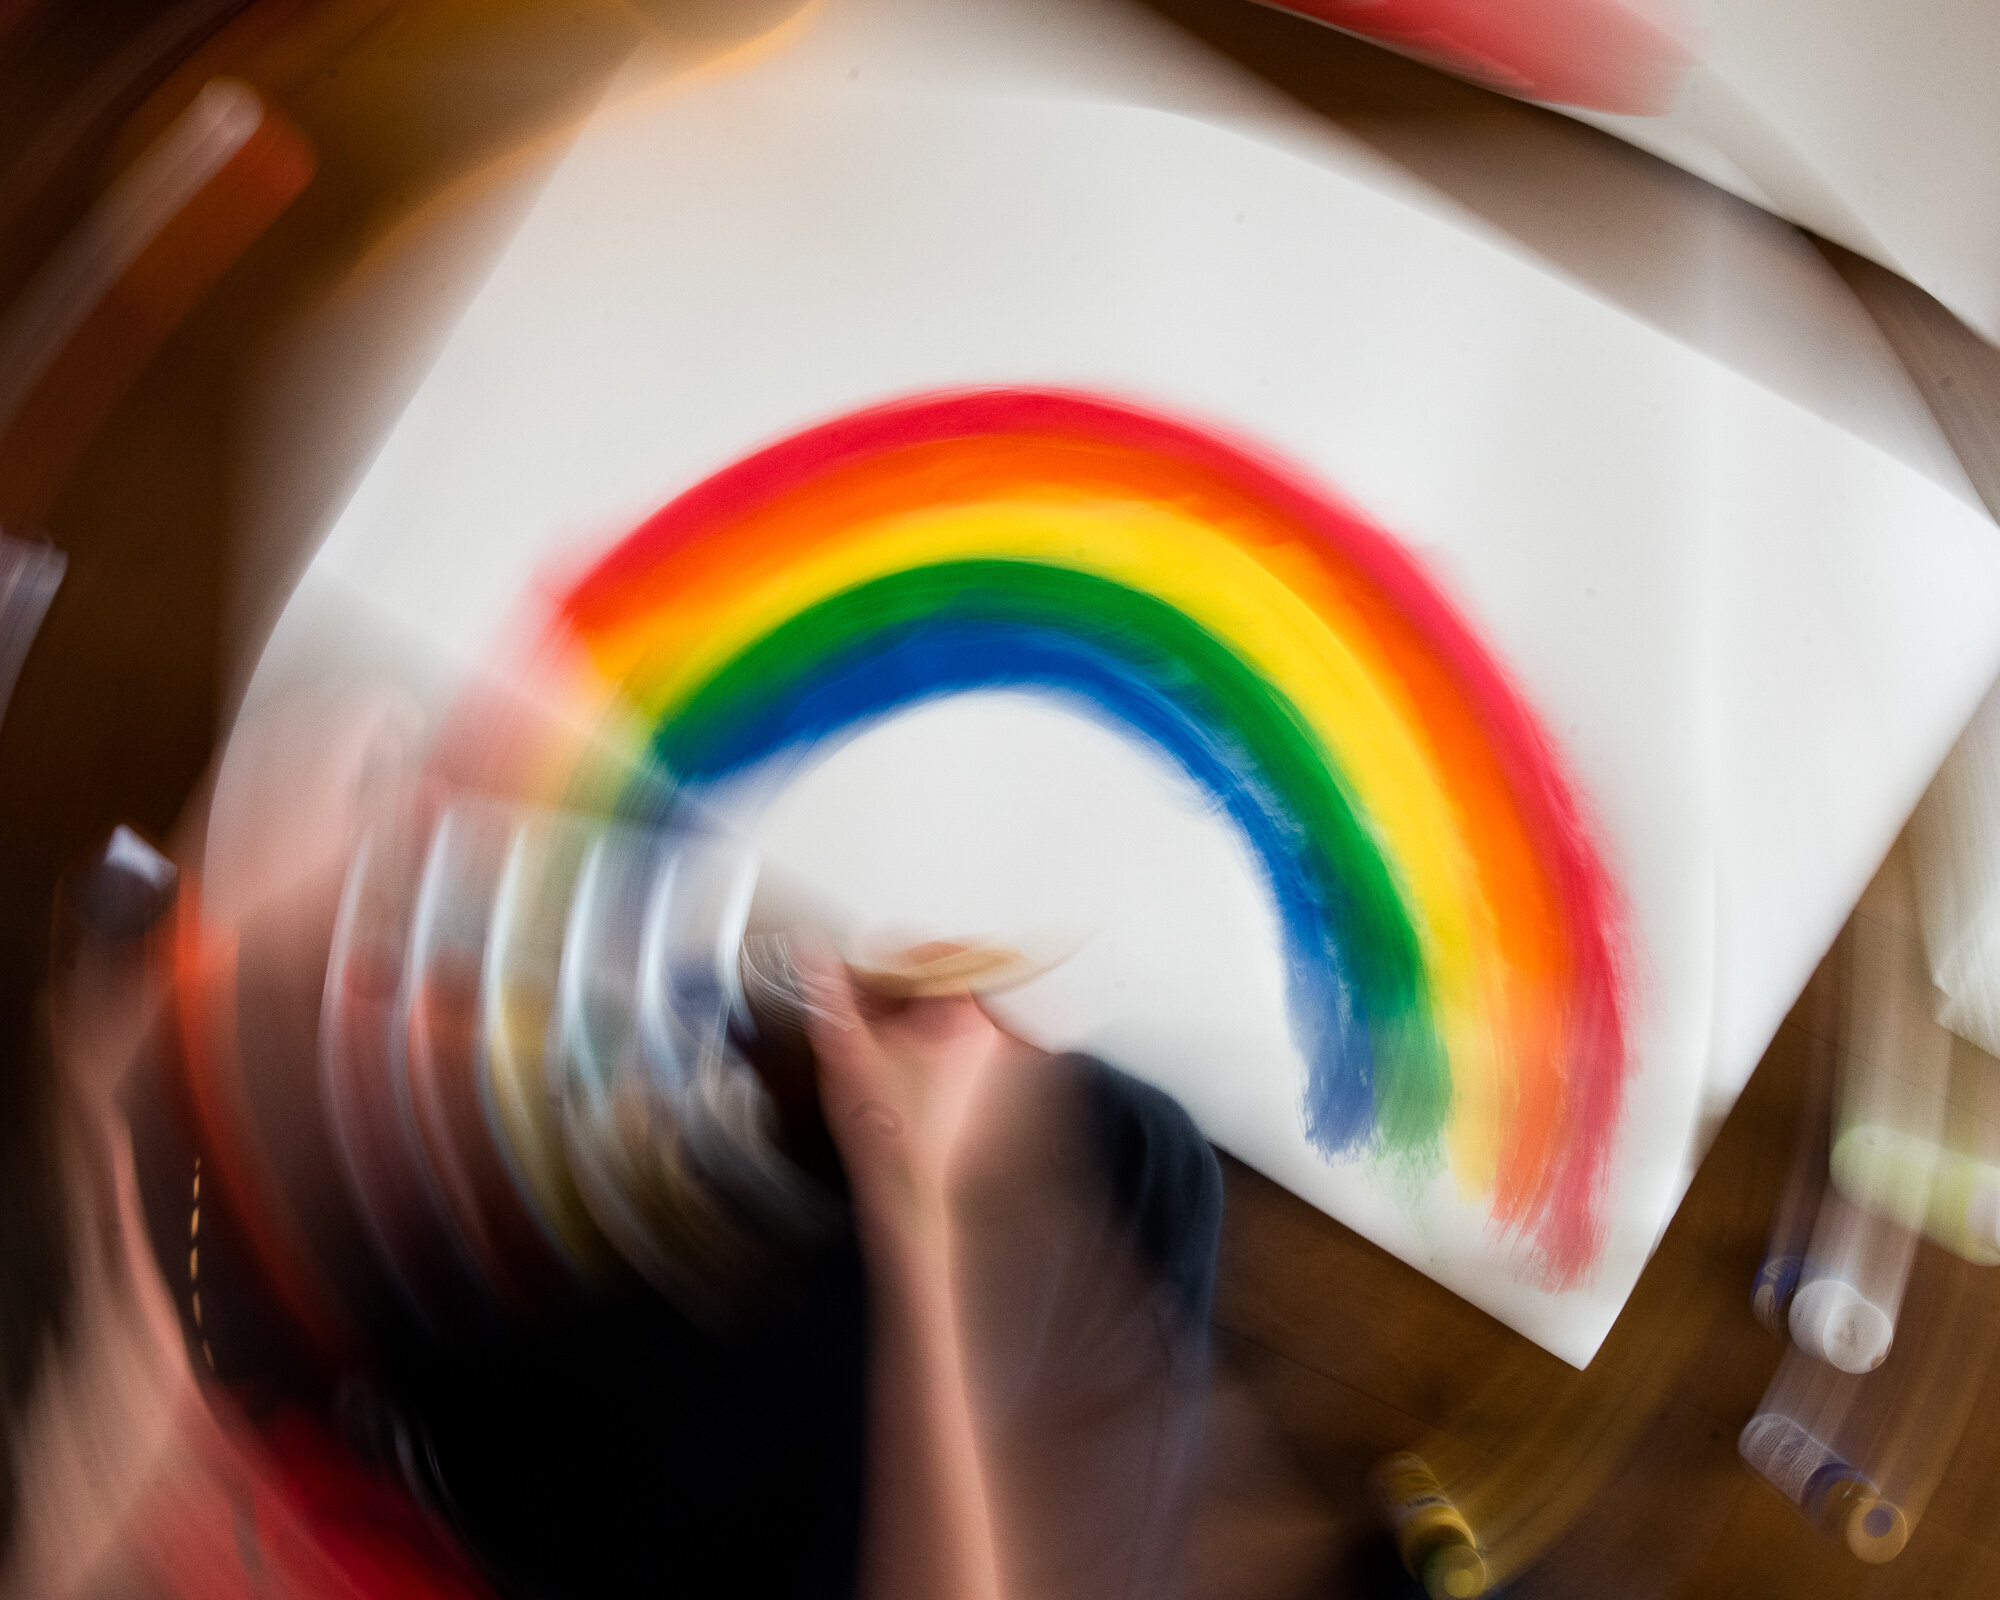
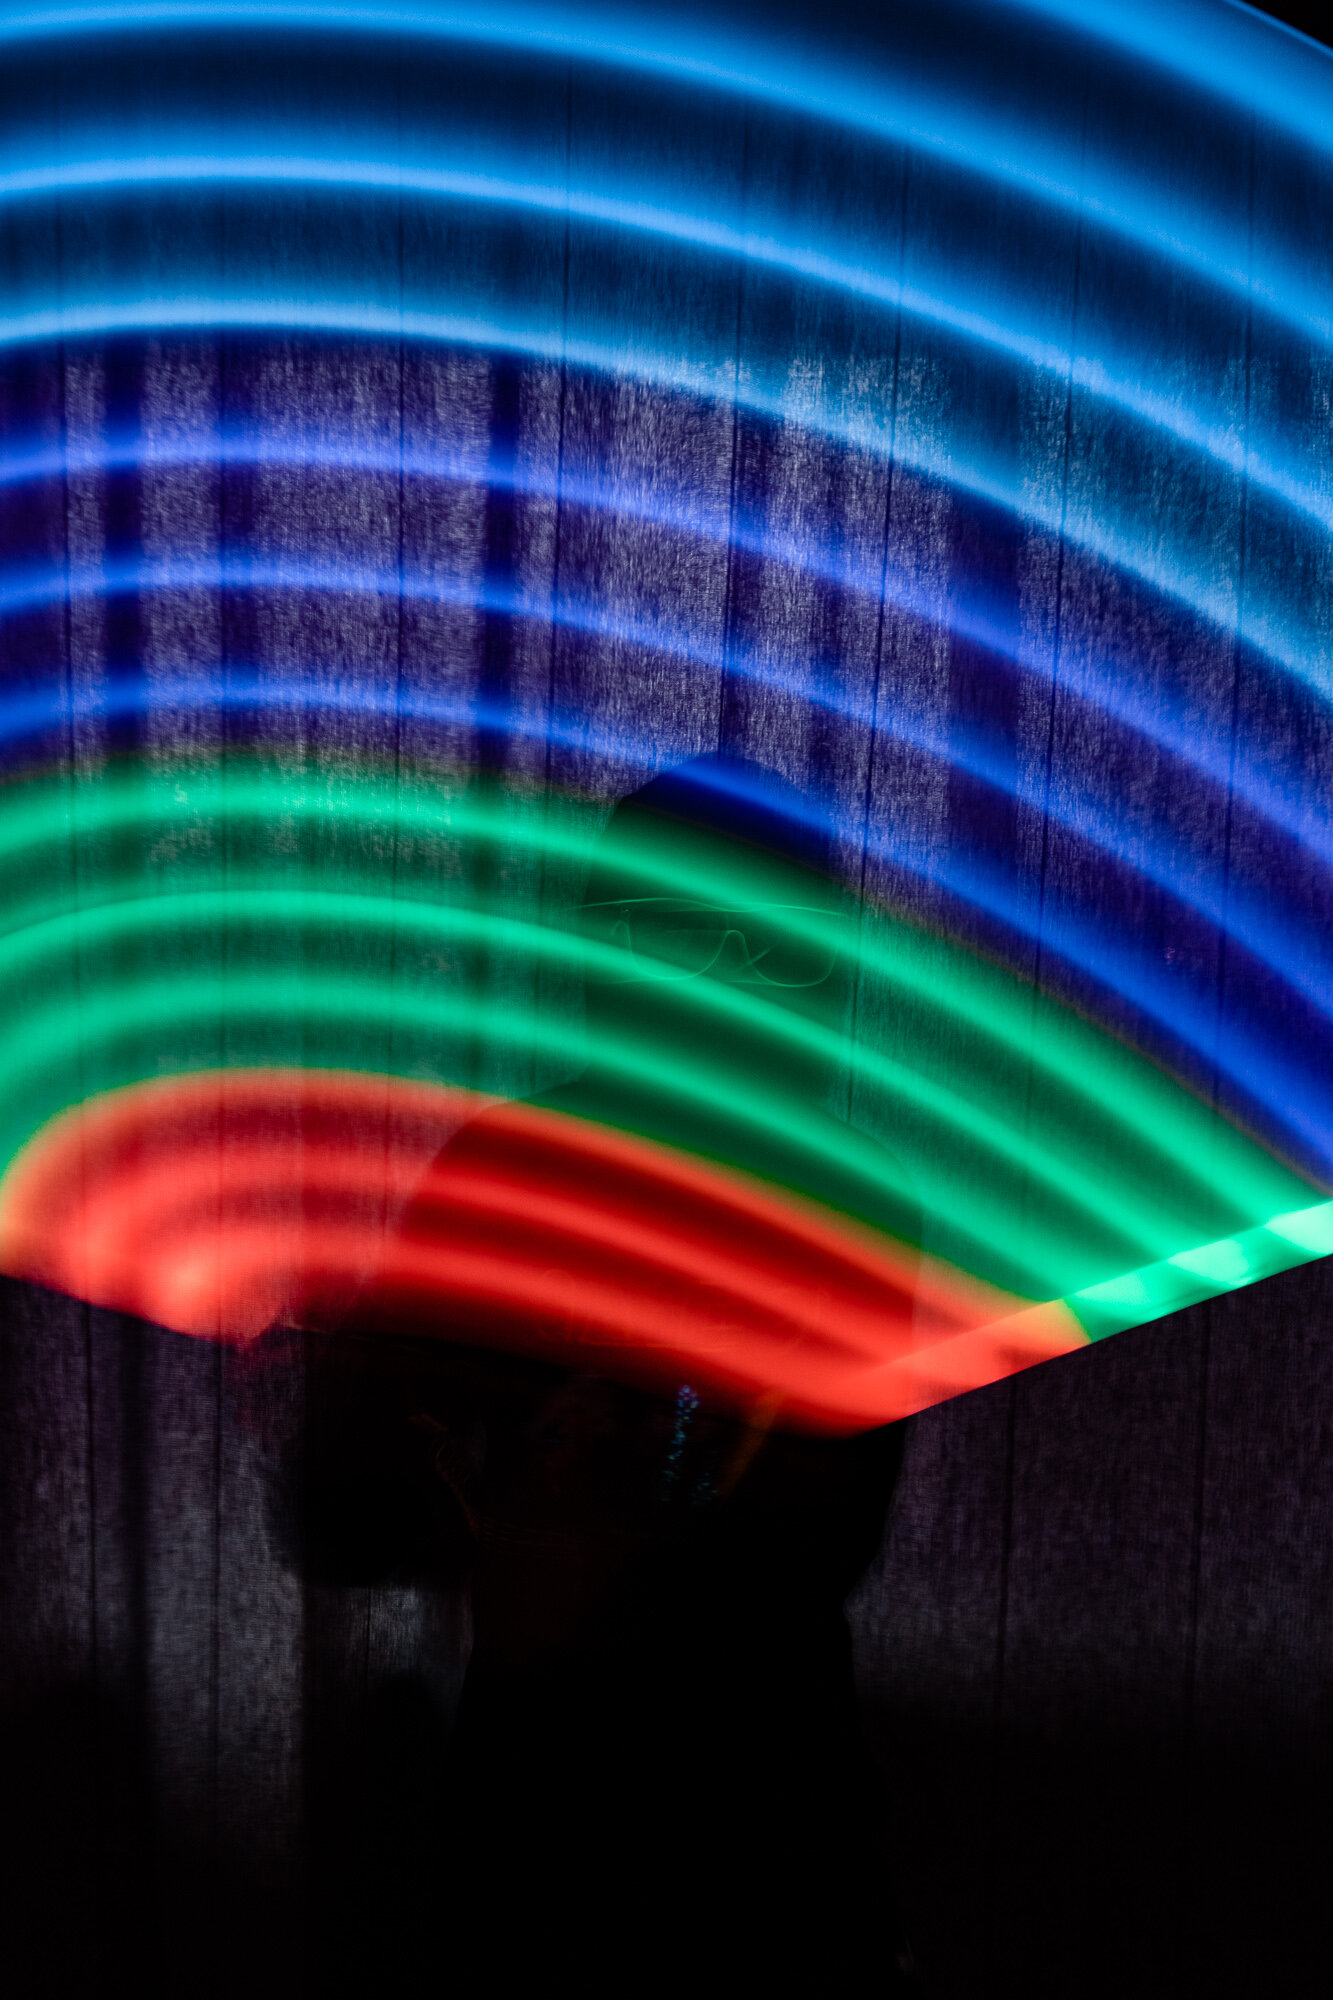
Did you catch our latest newsletter with how to add movement to your photos? Use tip no.06 and get creative with slow shutter speeds to add some fun colorful effects in your photos. You can see the set up I used to create this rainbow portrait of my daughter. I simply place some colourful paper all around her, then shot at a low shutter speed and as I was pressing my shutter button I was moving my camera in a very small circuler motion. Lights with slow shutter speeds work beautifully too, like in the photo of my son and his light sabre.
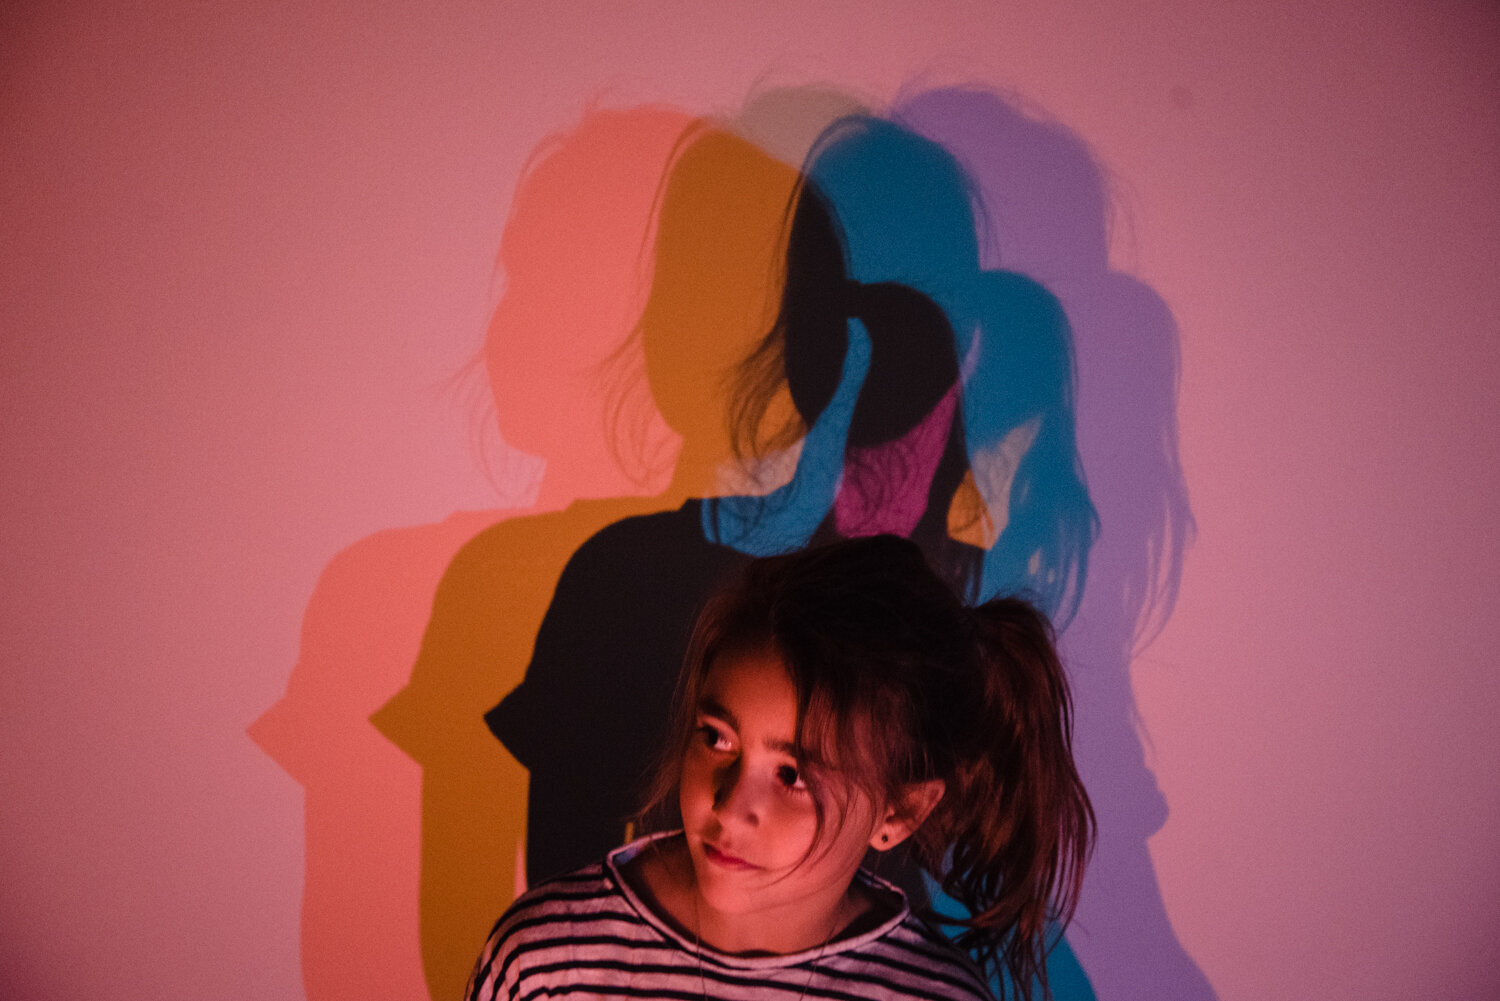
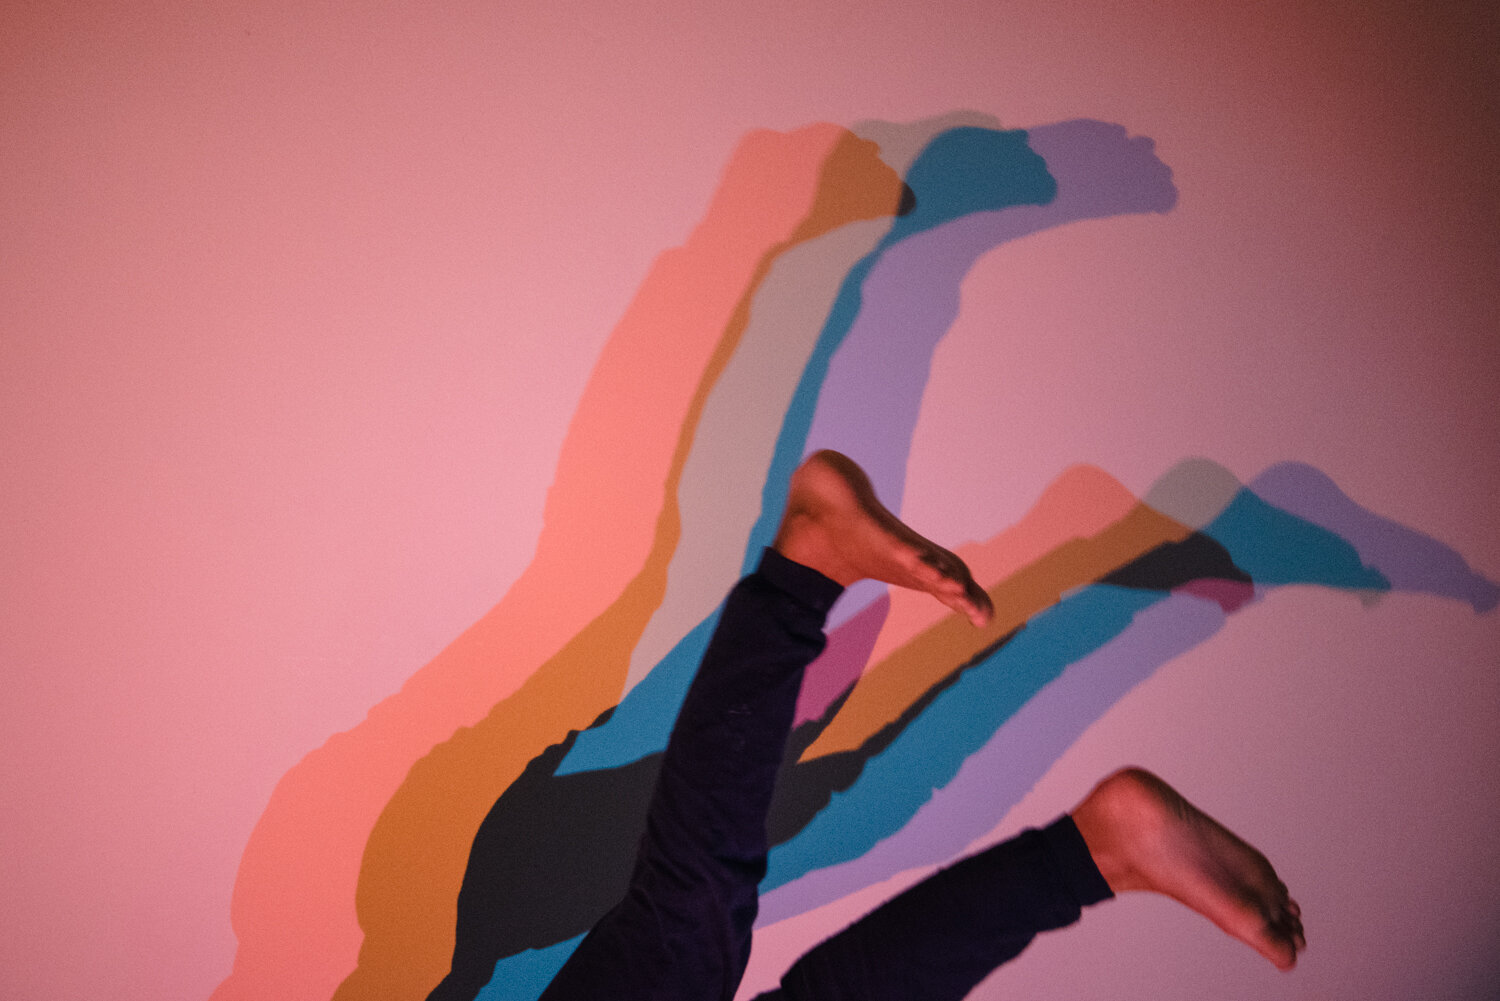
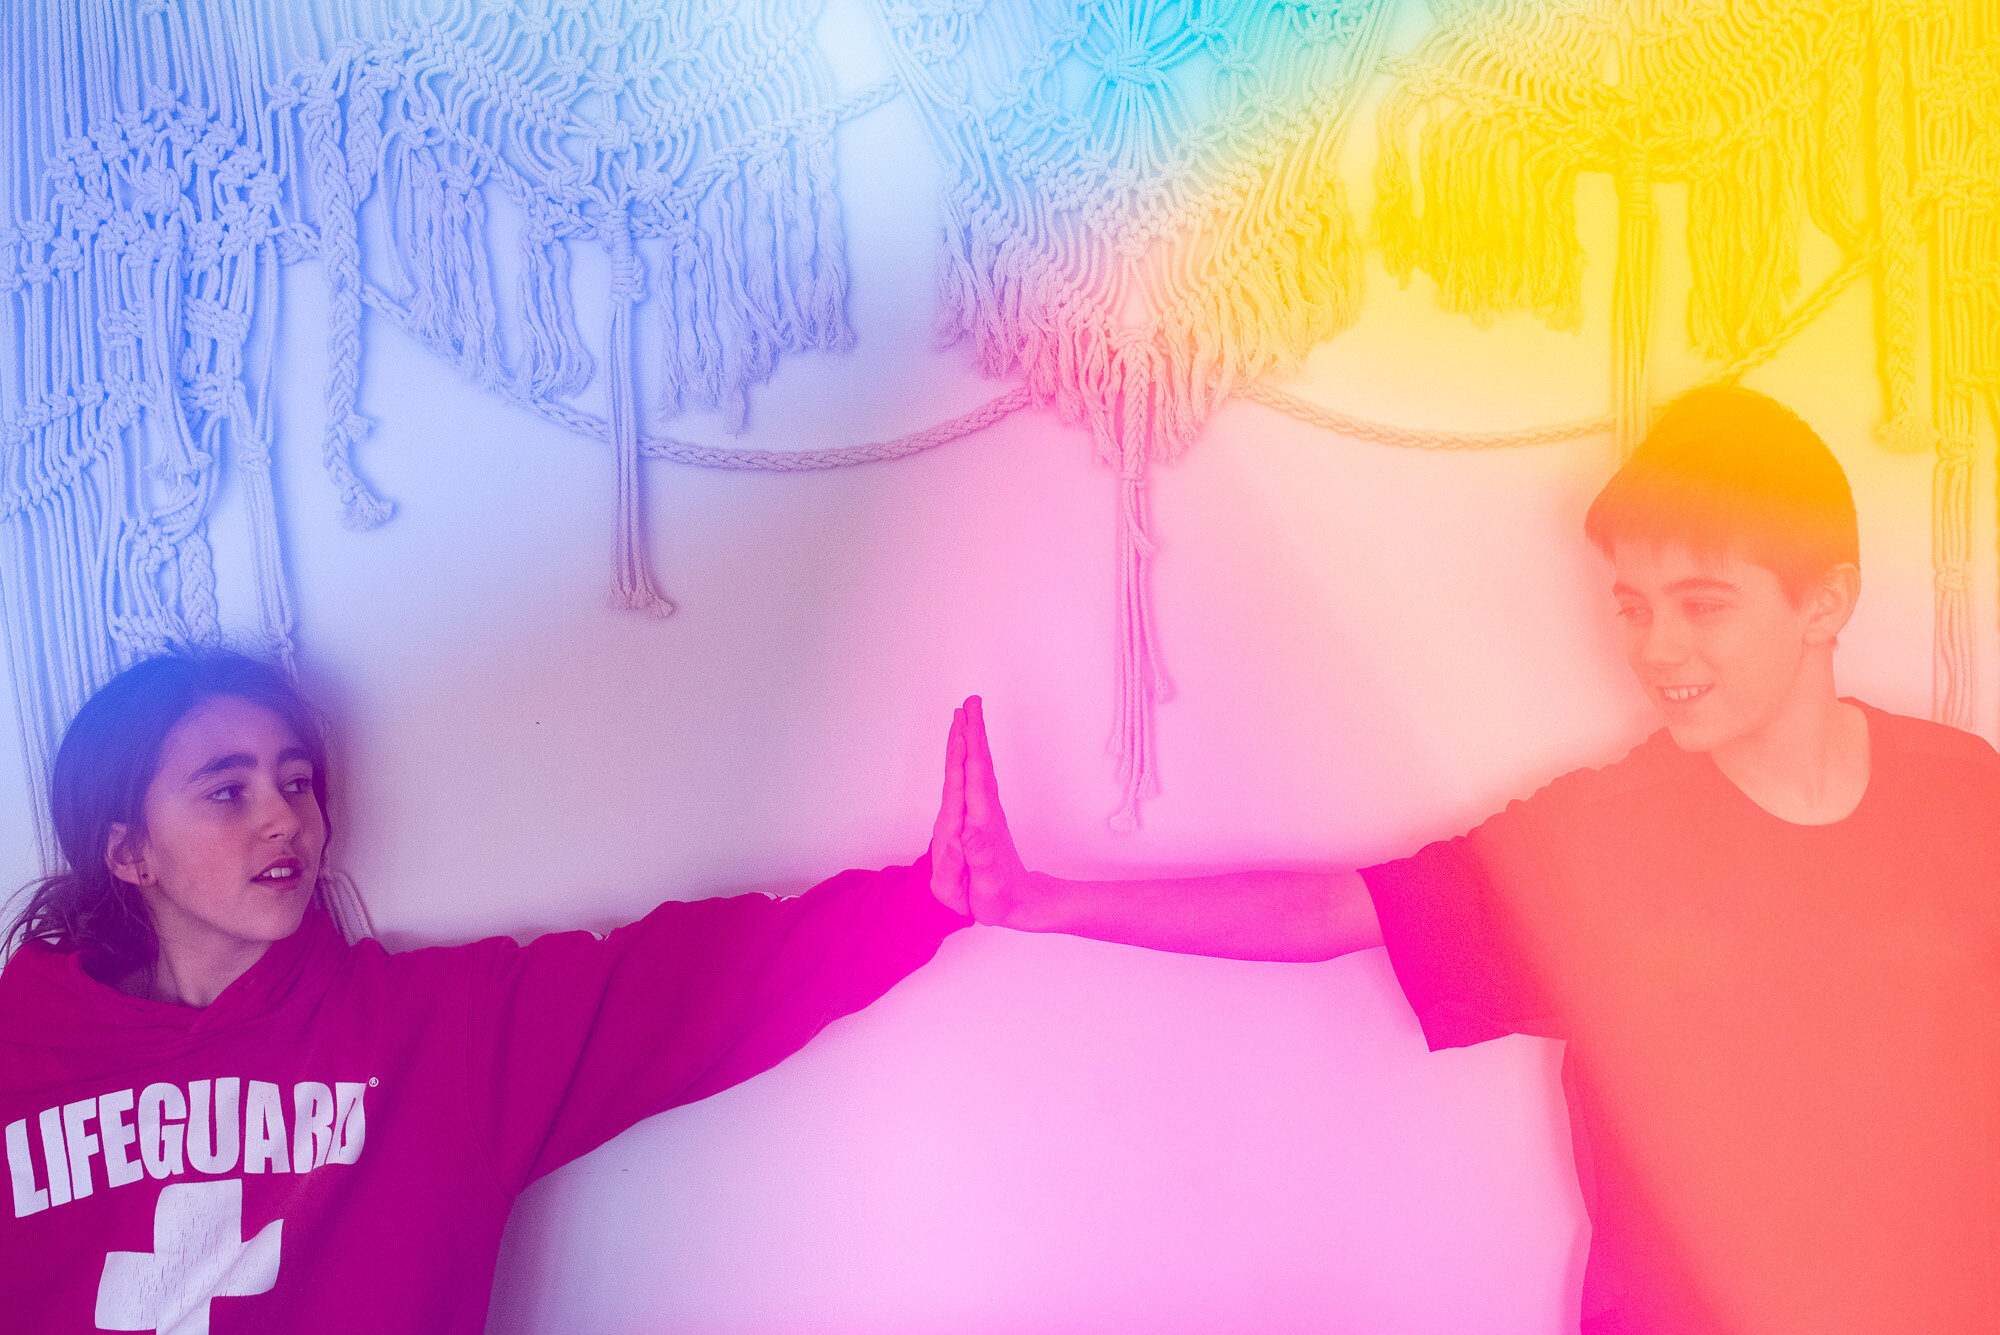
For this series of photos, I set up three lights (small Ikea reading lights) about 1 meter away from each other. Then I placed light filters in front of each reading light, each with a different color, for example red, green & blue. You can play around with the color variation to create different effects. Step in front of the lights and see the magic happen.
If it’s warm enough, pull out the sprinkler and see how the light hits the water. Create your own real rainbow! Make sure the water is against a dark background for the colours to show up clearly.
The funnest way to add rainbows to your photos, in my opinion, is to create in camera double exposures. I’ll share my tips and lot’s of photos to give you different ideas.
In the above photo I took a photo of the sequins rainbow (shown in one the second photo in this post) against a black background and then took a second shot of my daughter. You will notice that whatever is dark in the second photo (my daughter’s hair) will show what you took in the first photo more clearly. When using sequins, play with how the light hits the sequins for some extra cool bokeh effect.
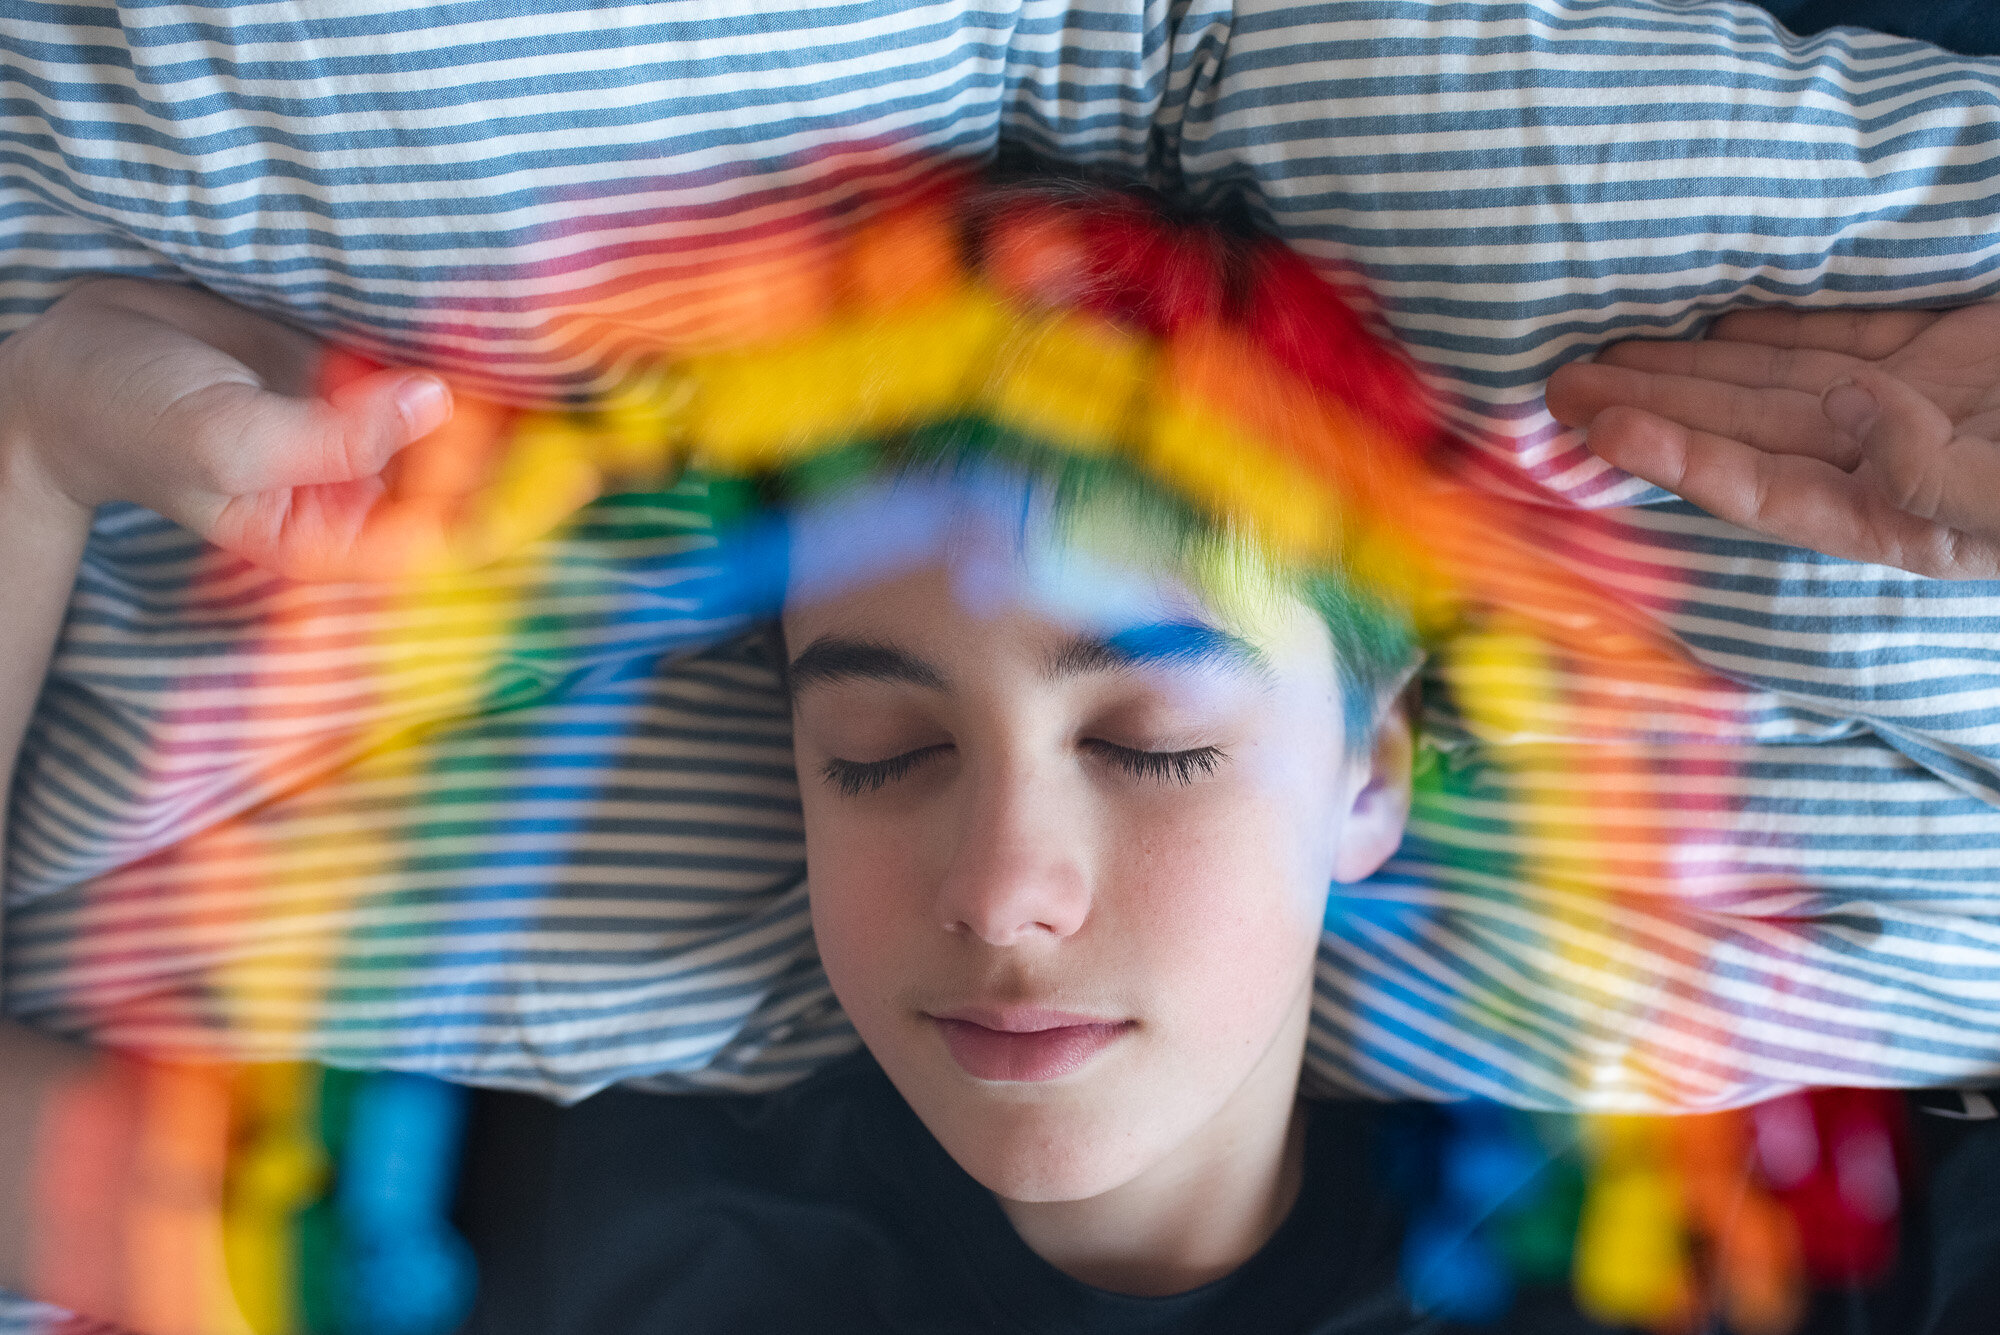
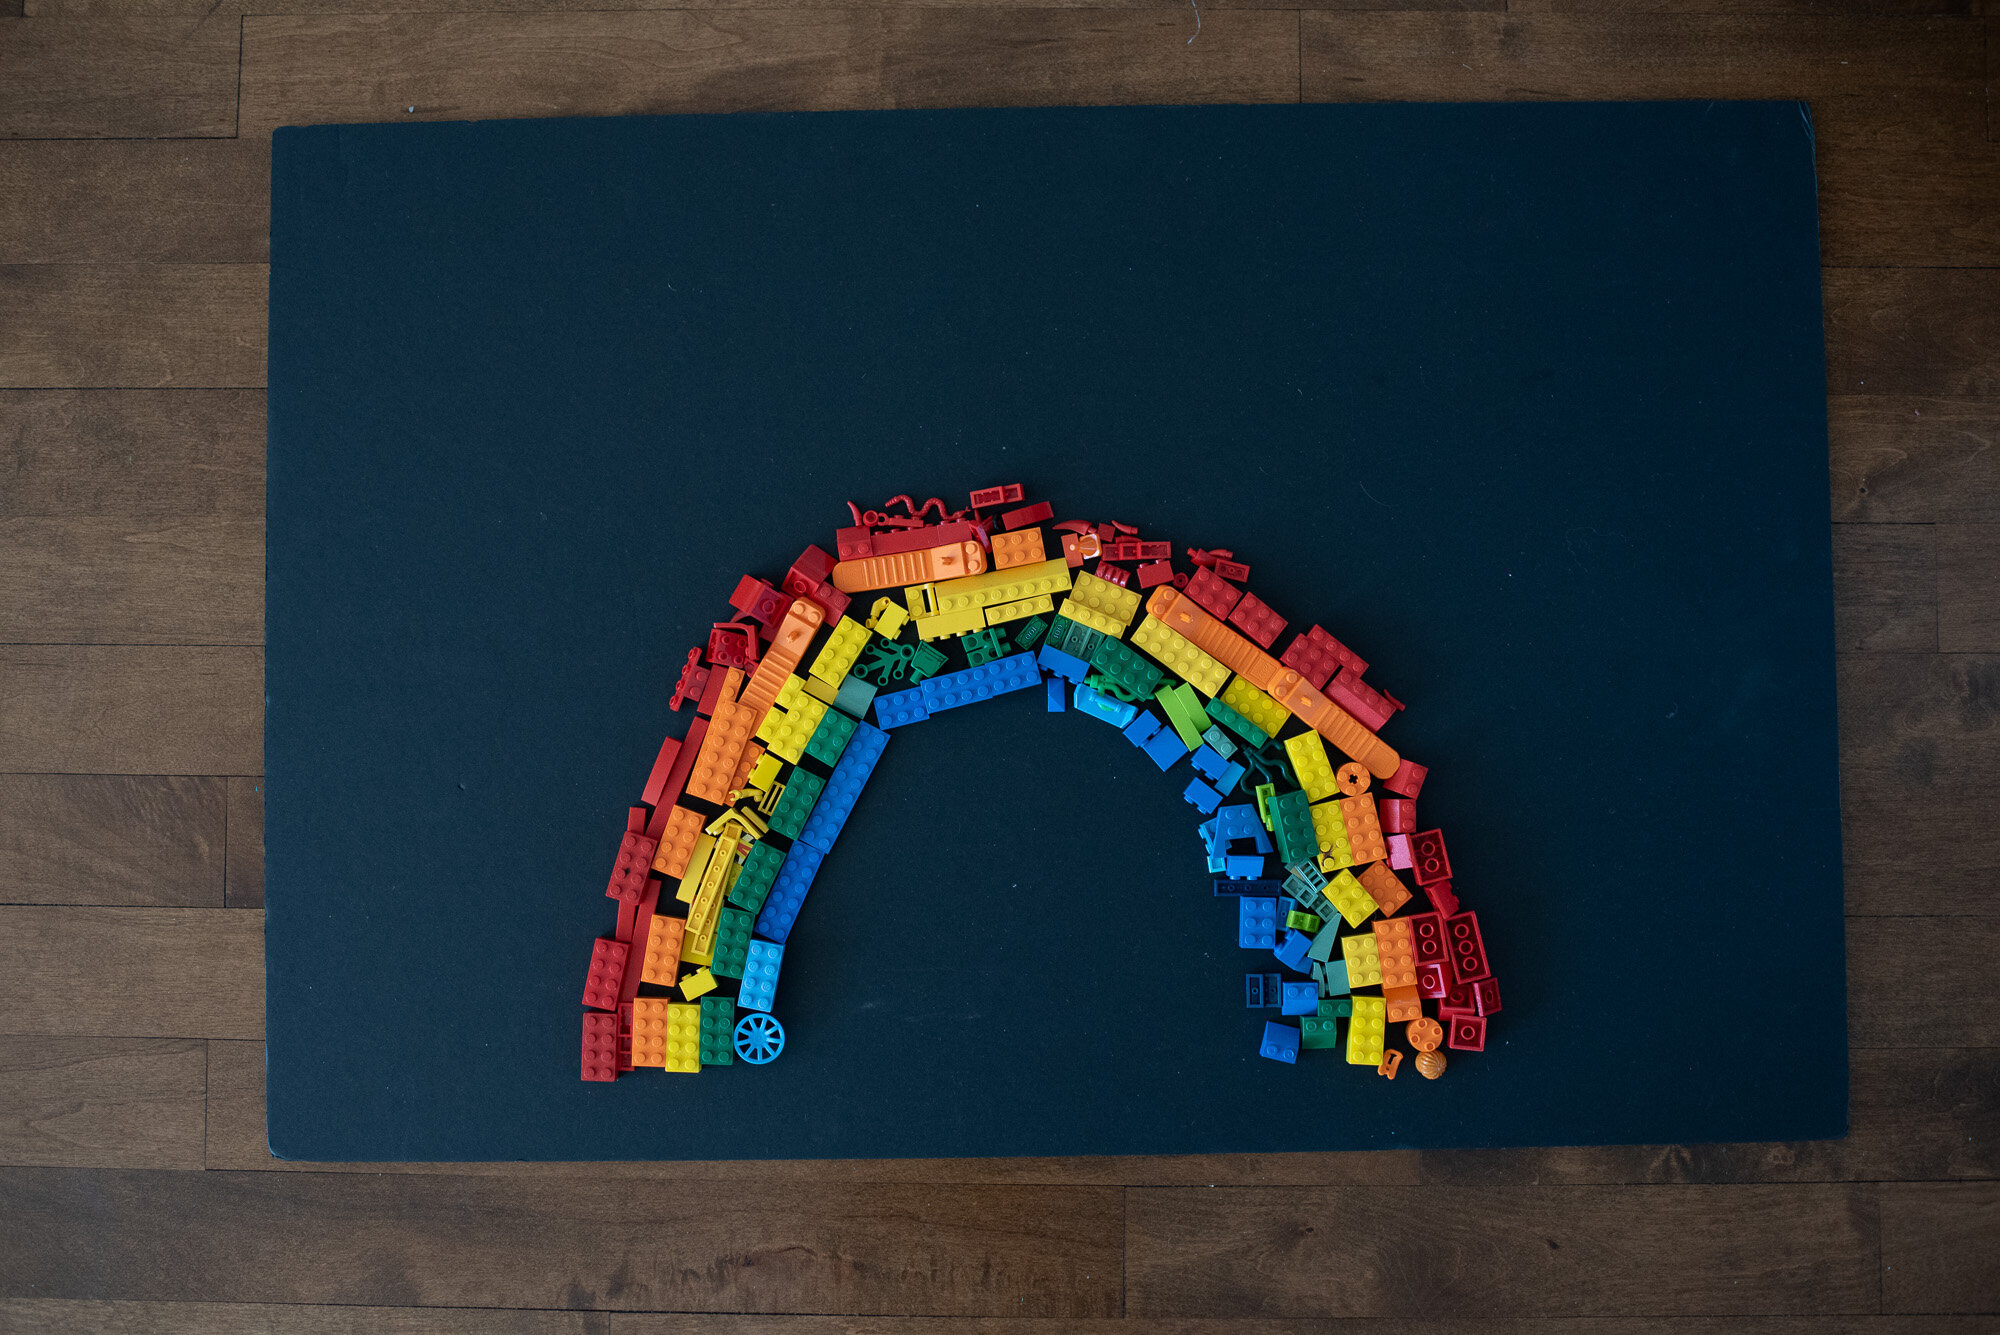
When you are making an in camera double exposure keep in mind that whatever is black will pick up what you are exposing in the second shot. When you shoot something black the shot is not being exposed and no information is recoded. If you shoot against a white or light background, nothing will show up in that area because the photo will have been exposed. This is why I asked my son to make his Lego rainbow on a black background. I then took a blurry shot of the Lego rainbow and then one of my son. I tried to remember where my rainbow was, so that I could frame my son’s face in the middle of the rainbow. You can decide to make your photo (in this case of the Lego rainbow) sharp or blurry, this is a creative choice. When you take your two photos, make sure you are exposing for each lighting situations. In this case I exposed for the rainbow that was in one room withe very little light and then adjusted my exposure when I took my son’s photo. Since you are taking two photos and letting a lot of light in, you might want to reduce your exposure by 1 stop. This means instead of shooting at 1/500s ou shoot at 1/250s or you can change your aperture from F4 to F2.8- so basically you end up under exposing your photos a little.
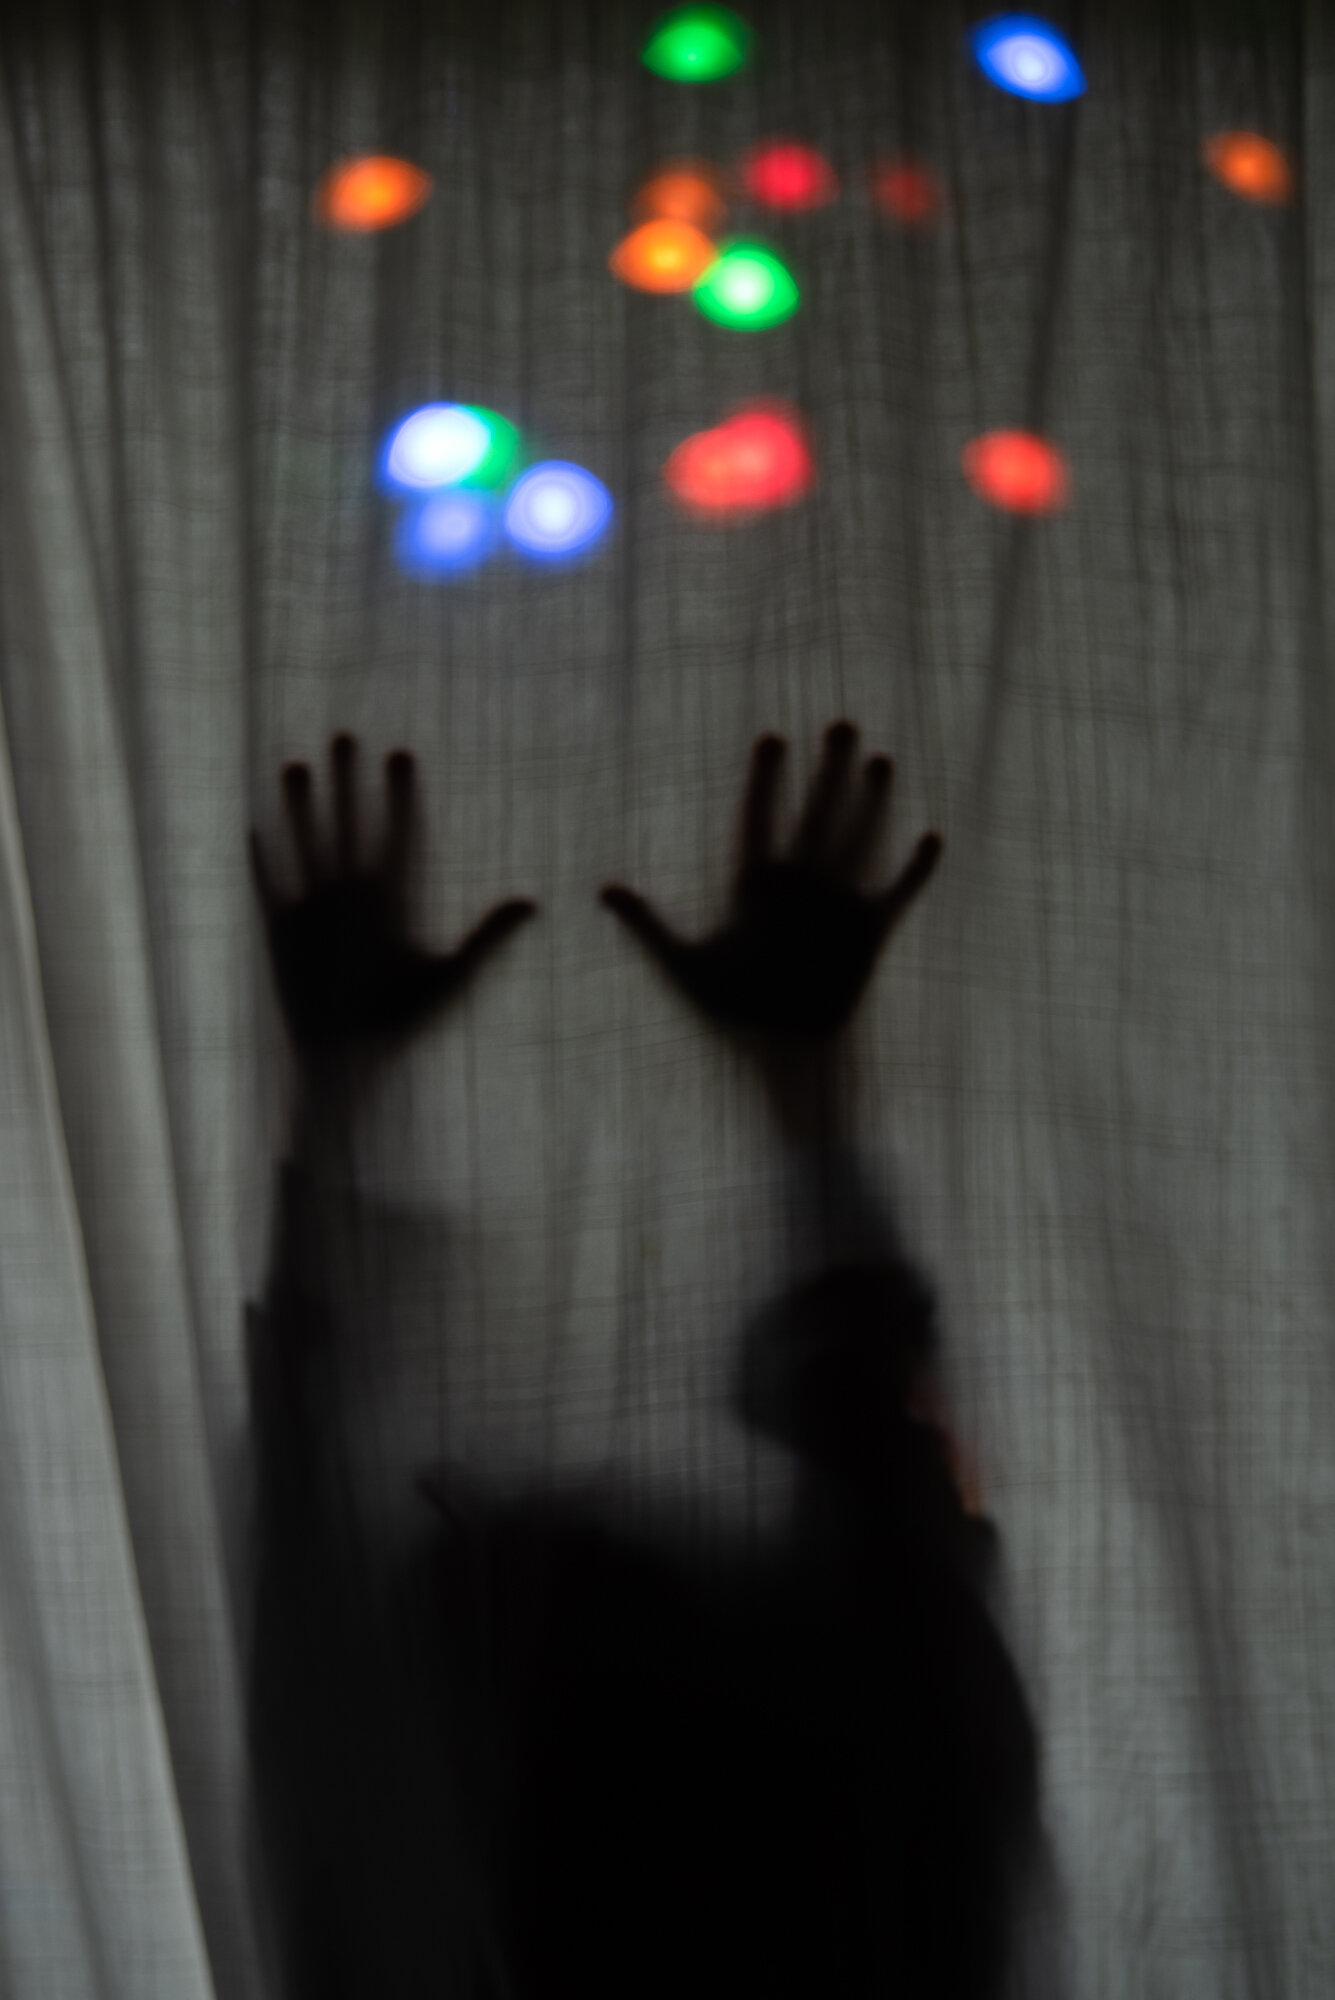
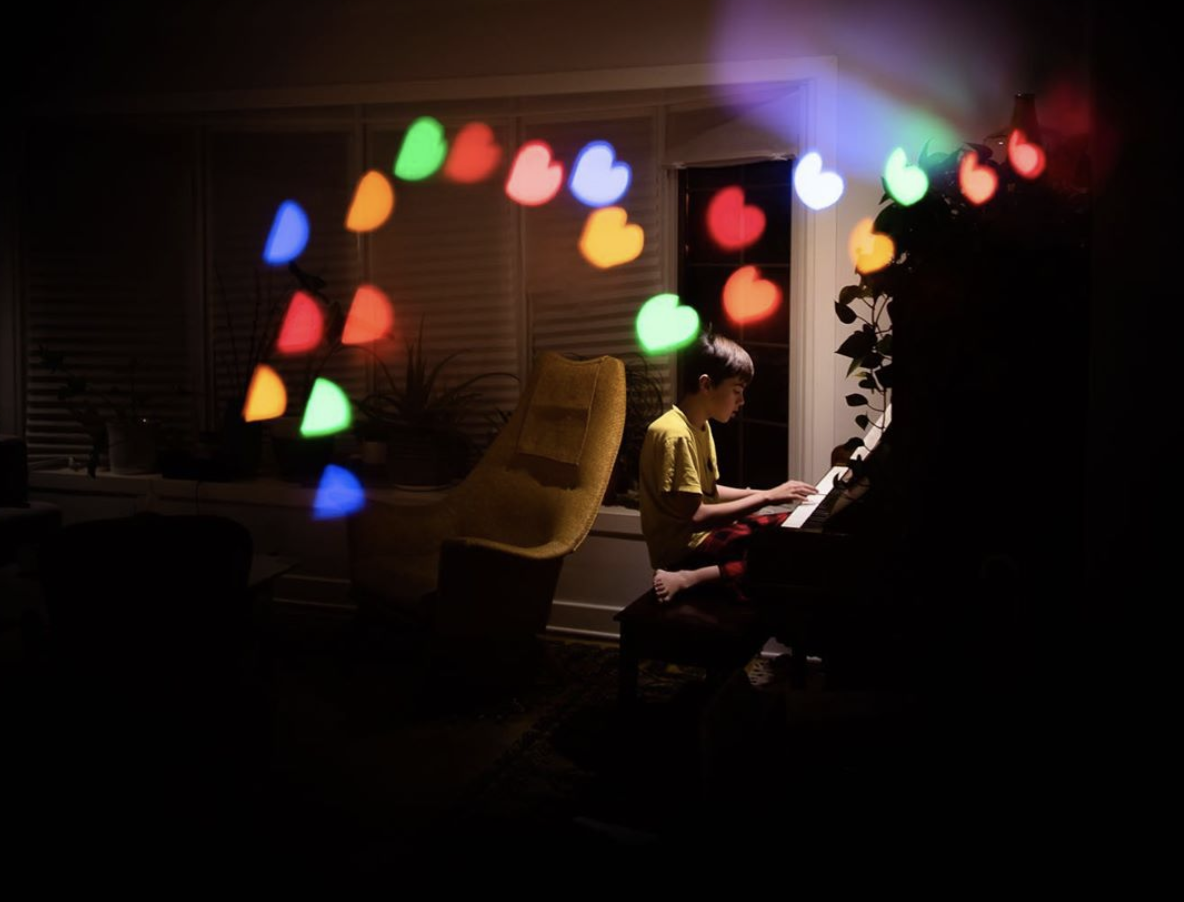
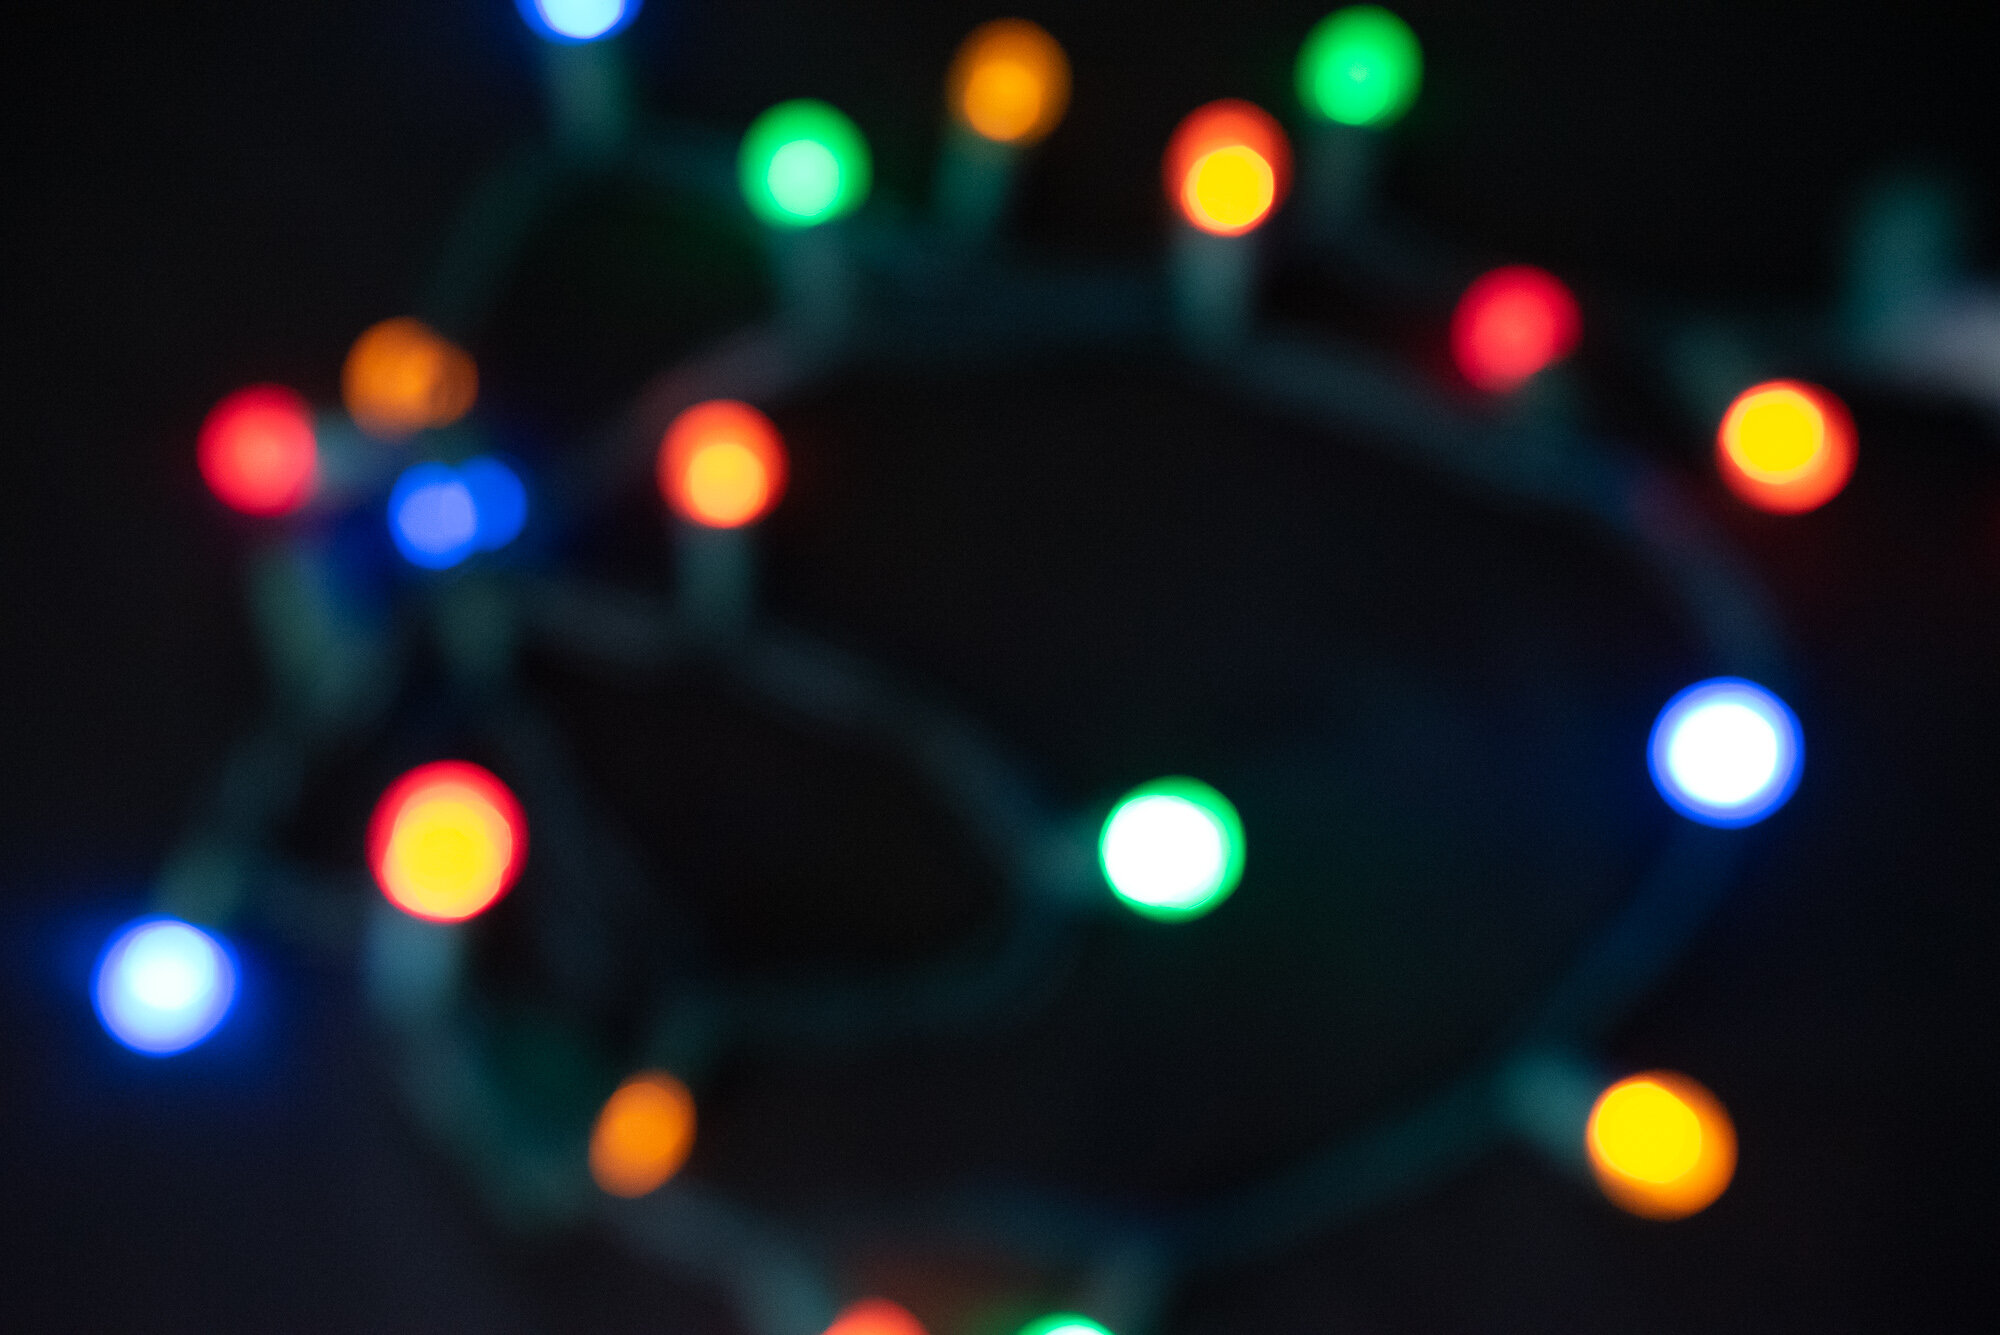
You might want to take your Christmas lights out! They make the best double exposures even when it’s not the holidays.I keep them around all year long. I even have battery operated ones I carry in my camera back with a dark cloth shopping bag that I use as a background. Add them to your everyday photos for some added color. When making your double exposures, use the same principals as with Lego photos. Have fun with the placement of your lights, you can bundle them together or spread them out. You can take the light from really close up or far away. Make them extra blurry or super defined. For better results place them on a dark background so that only the lights appear in your double exposure. Don’t forget to adjust your exposure between the first and second shot.
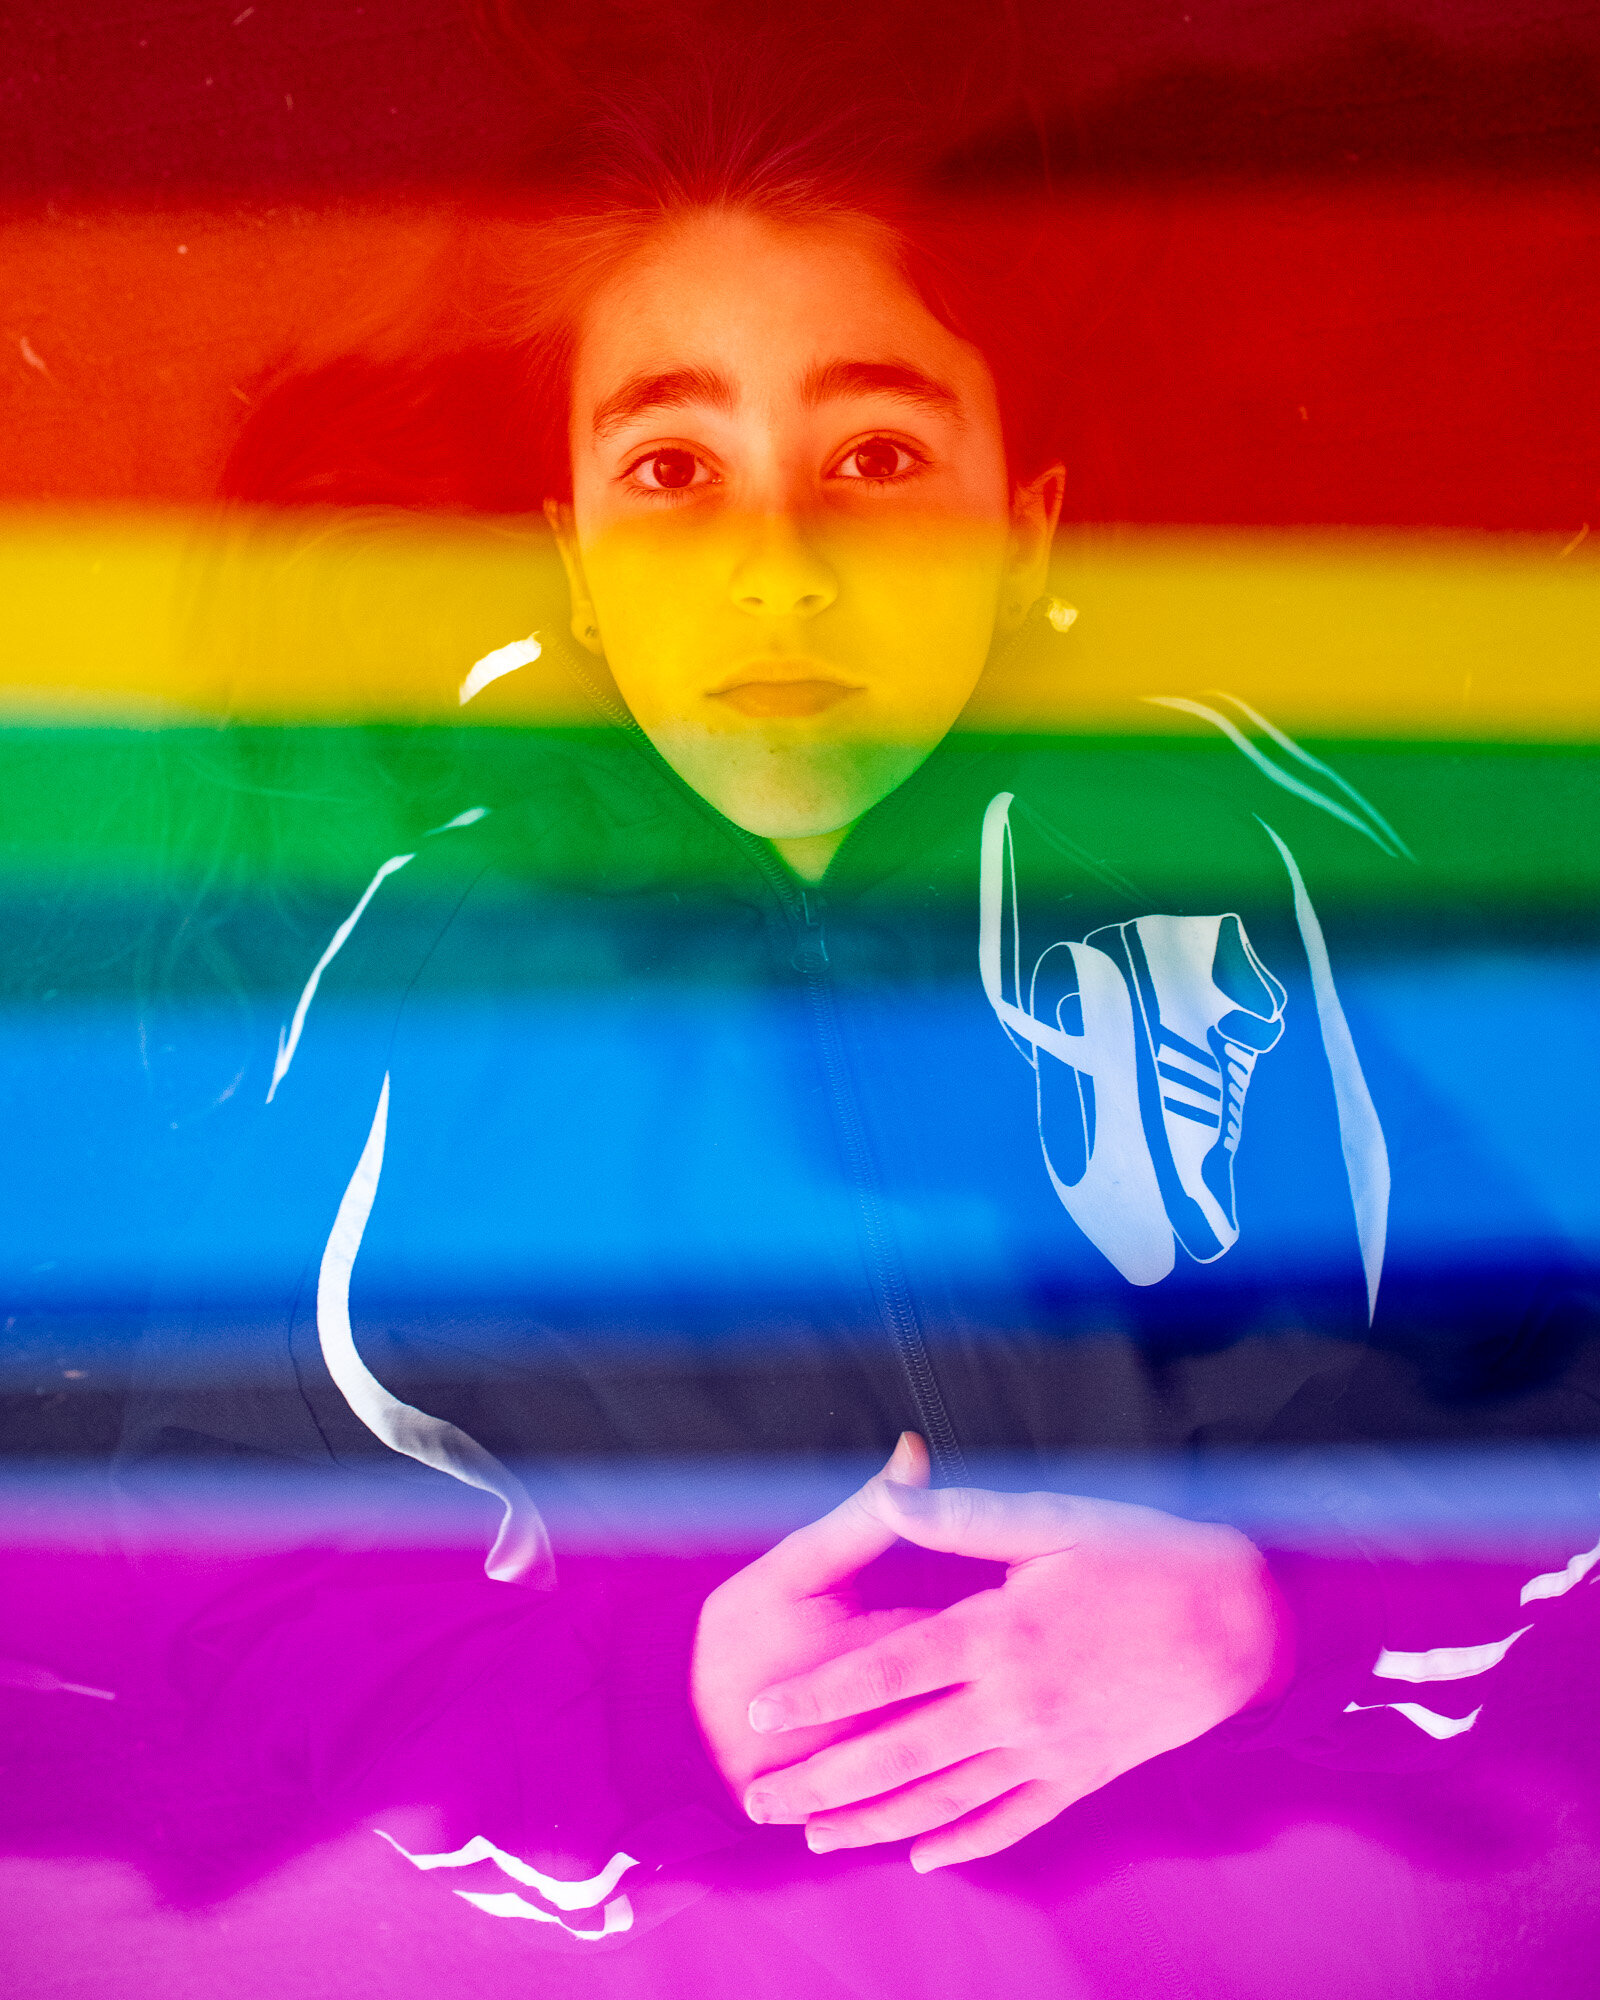
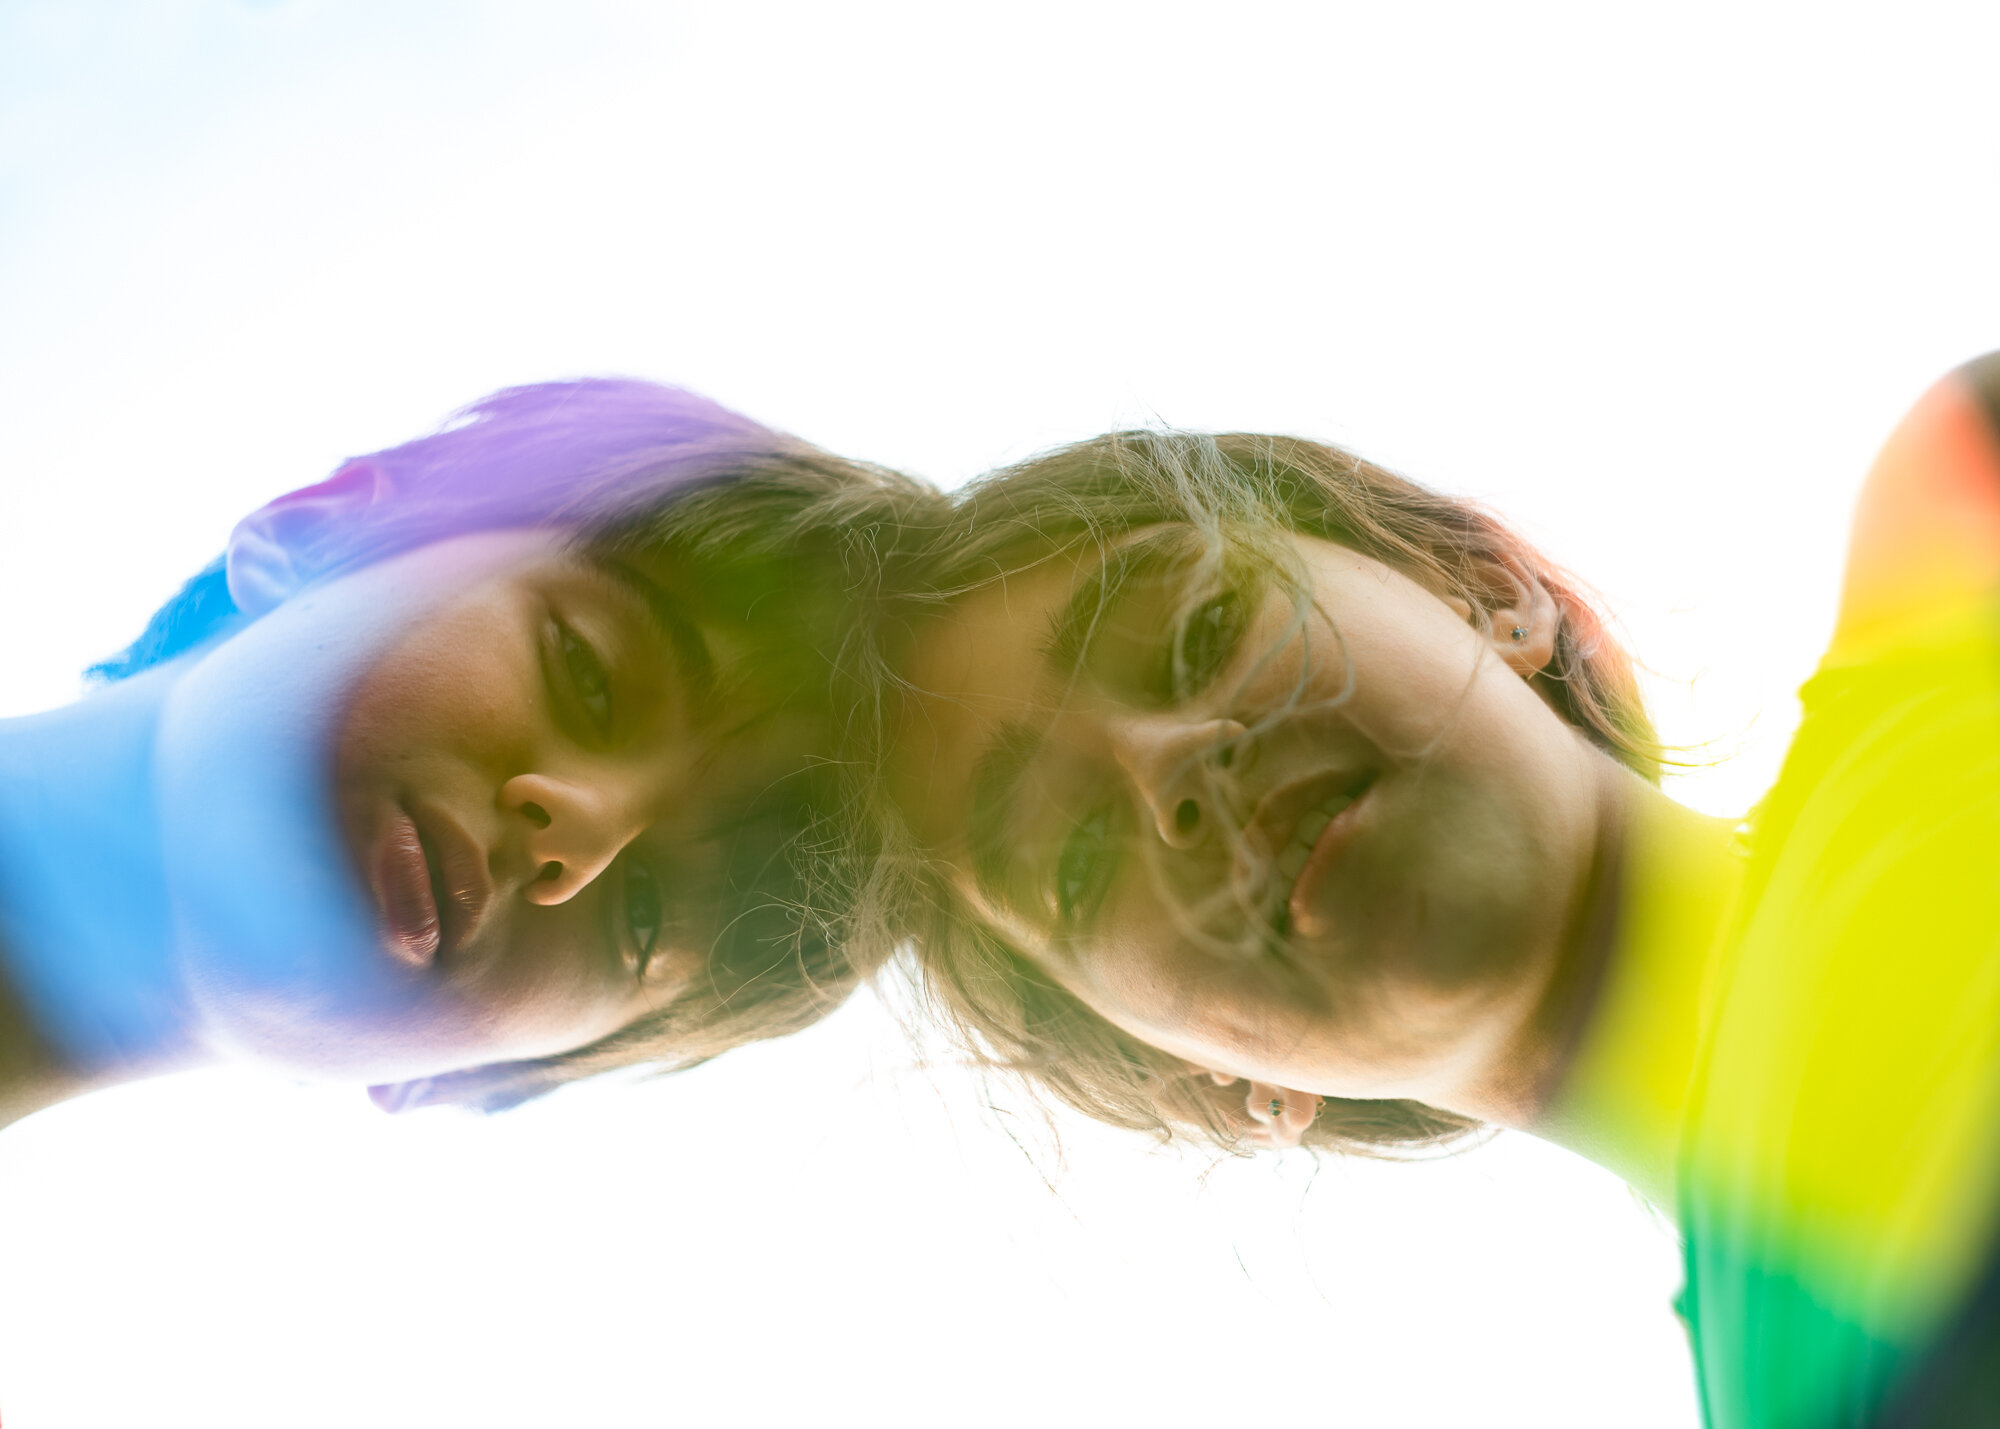

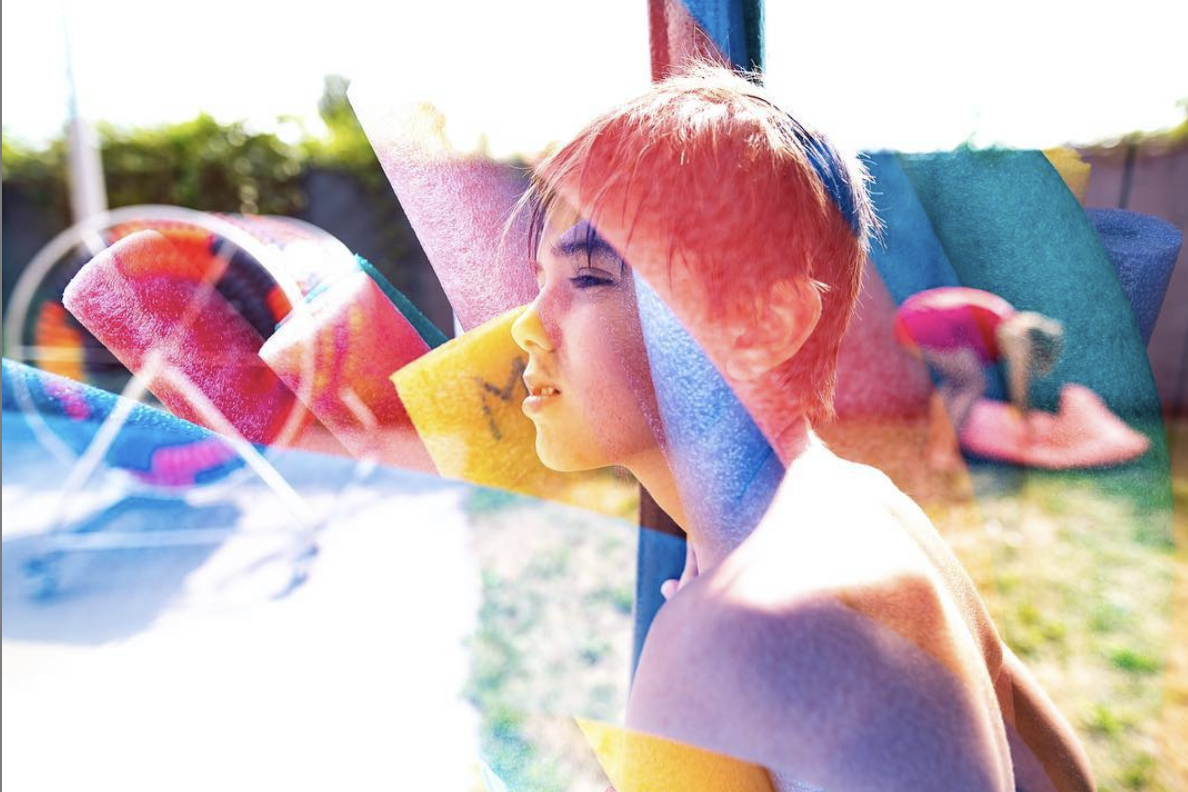
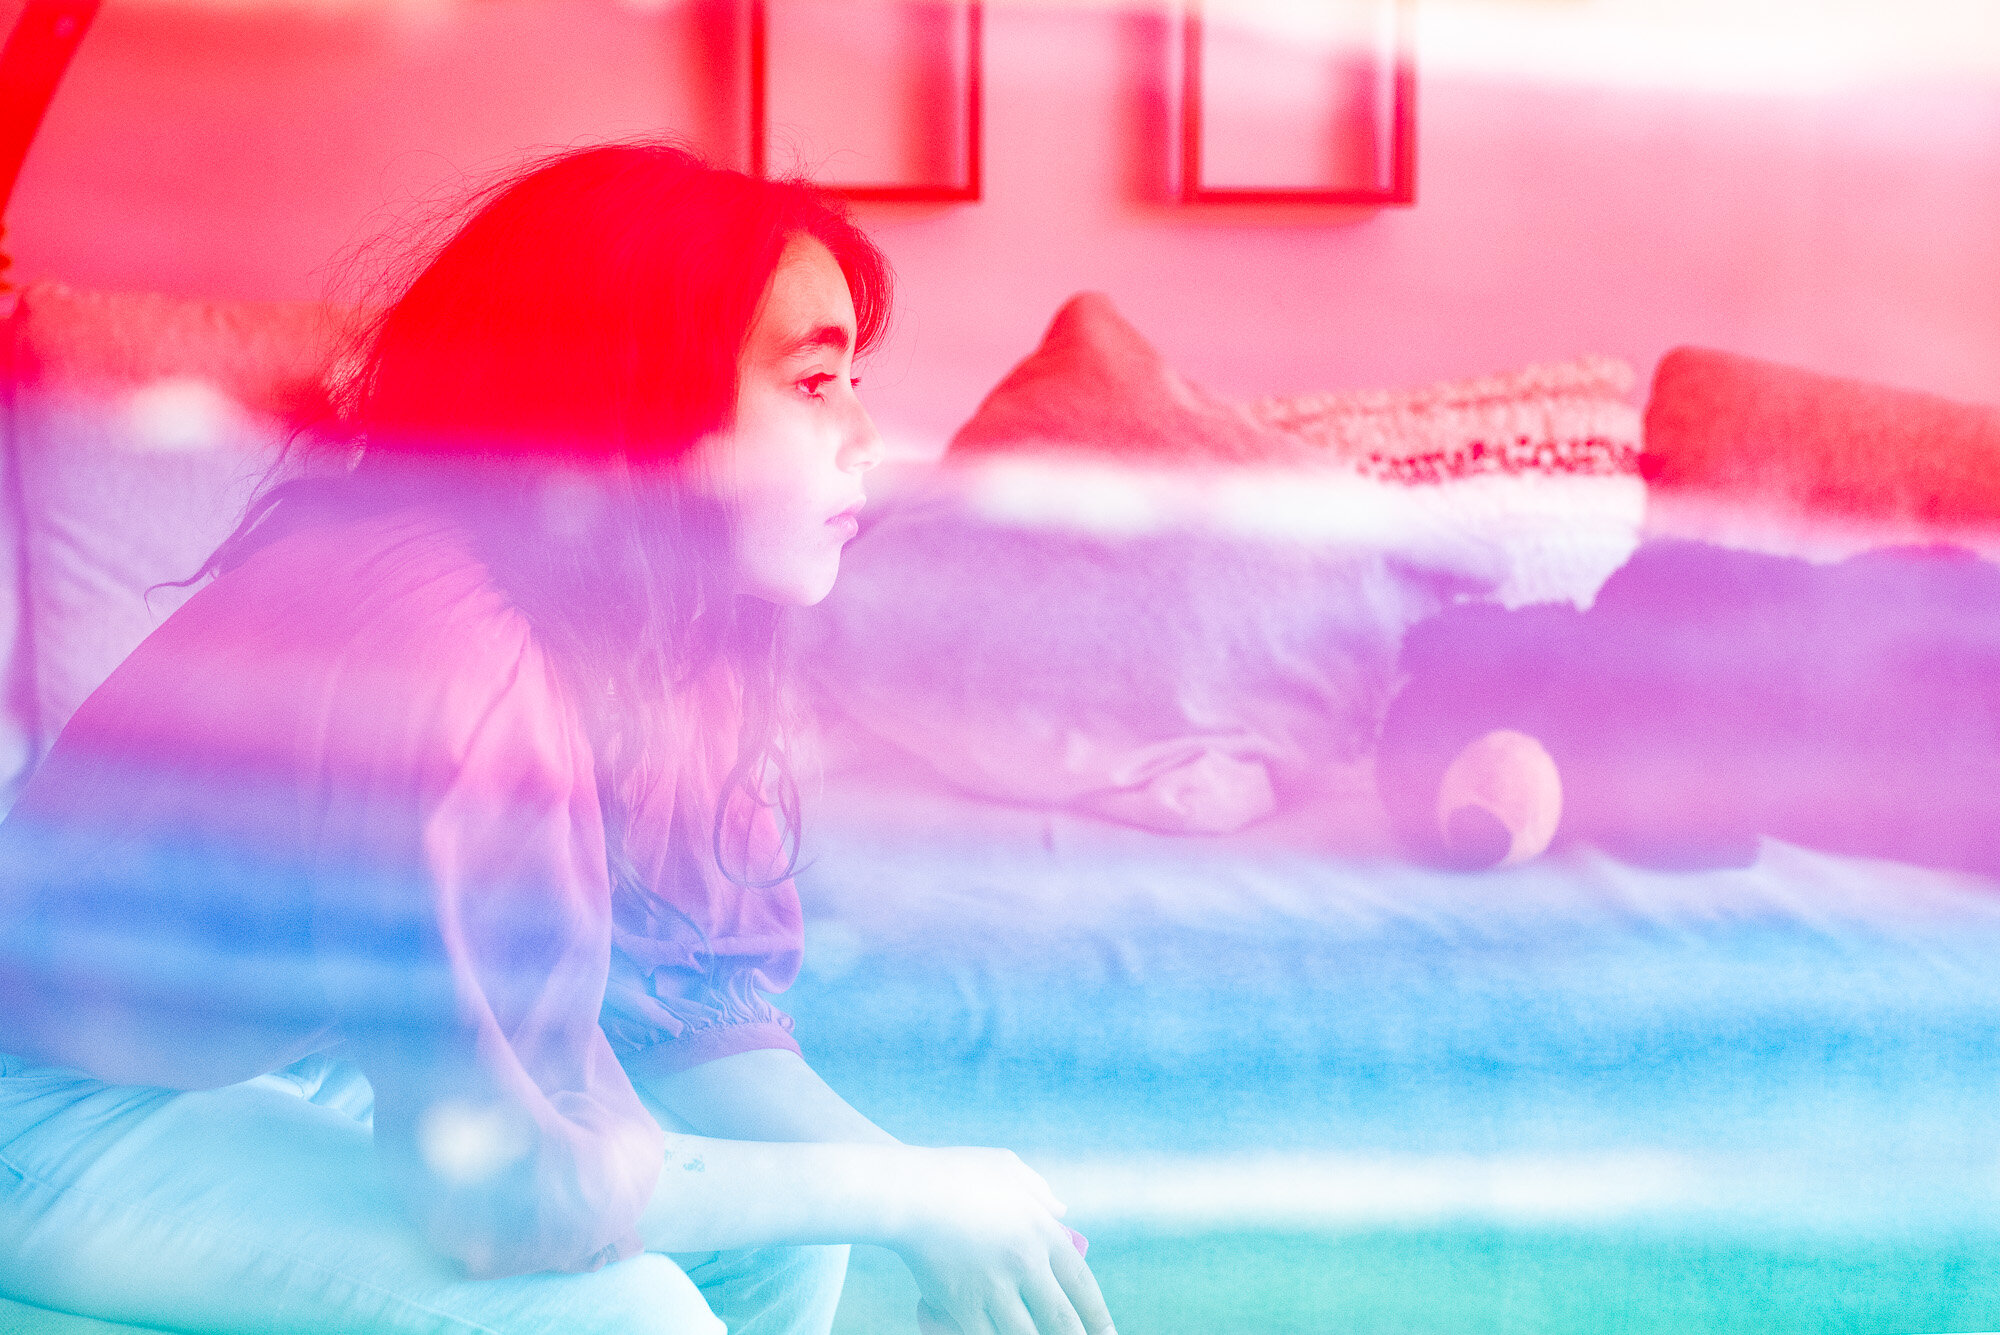
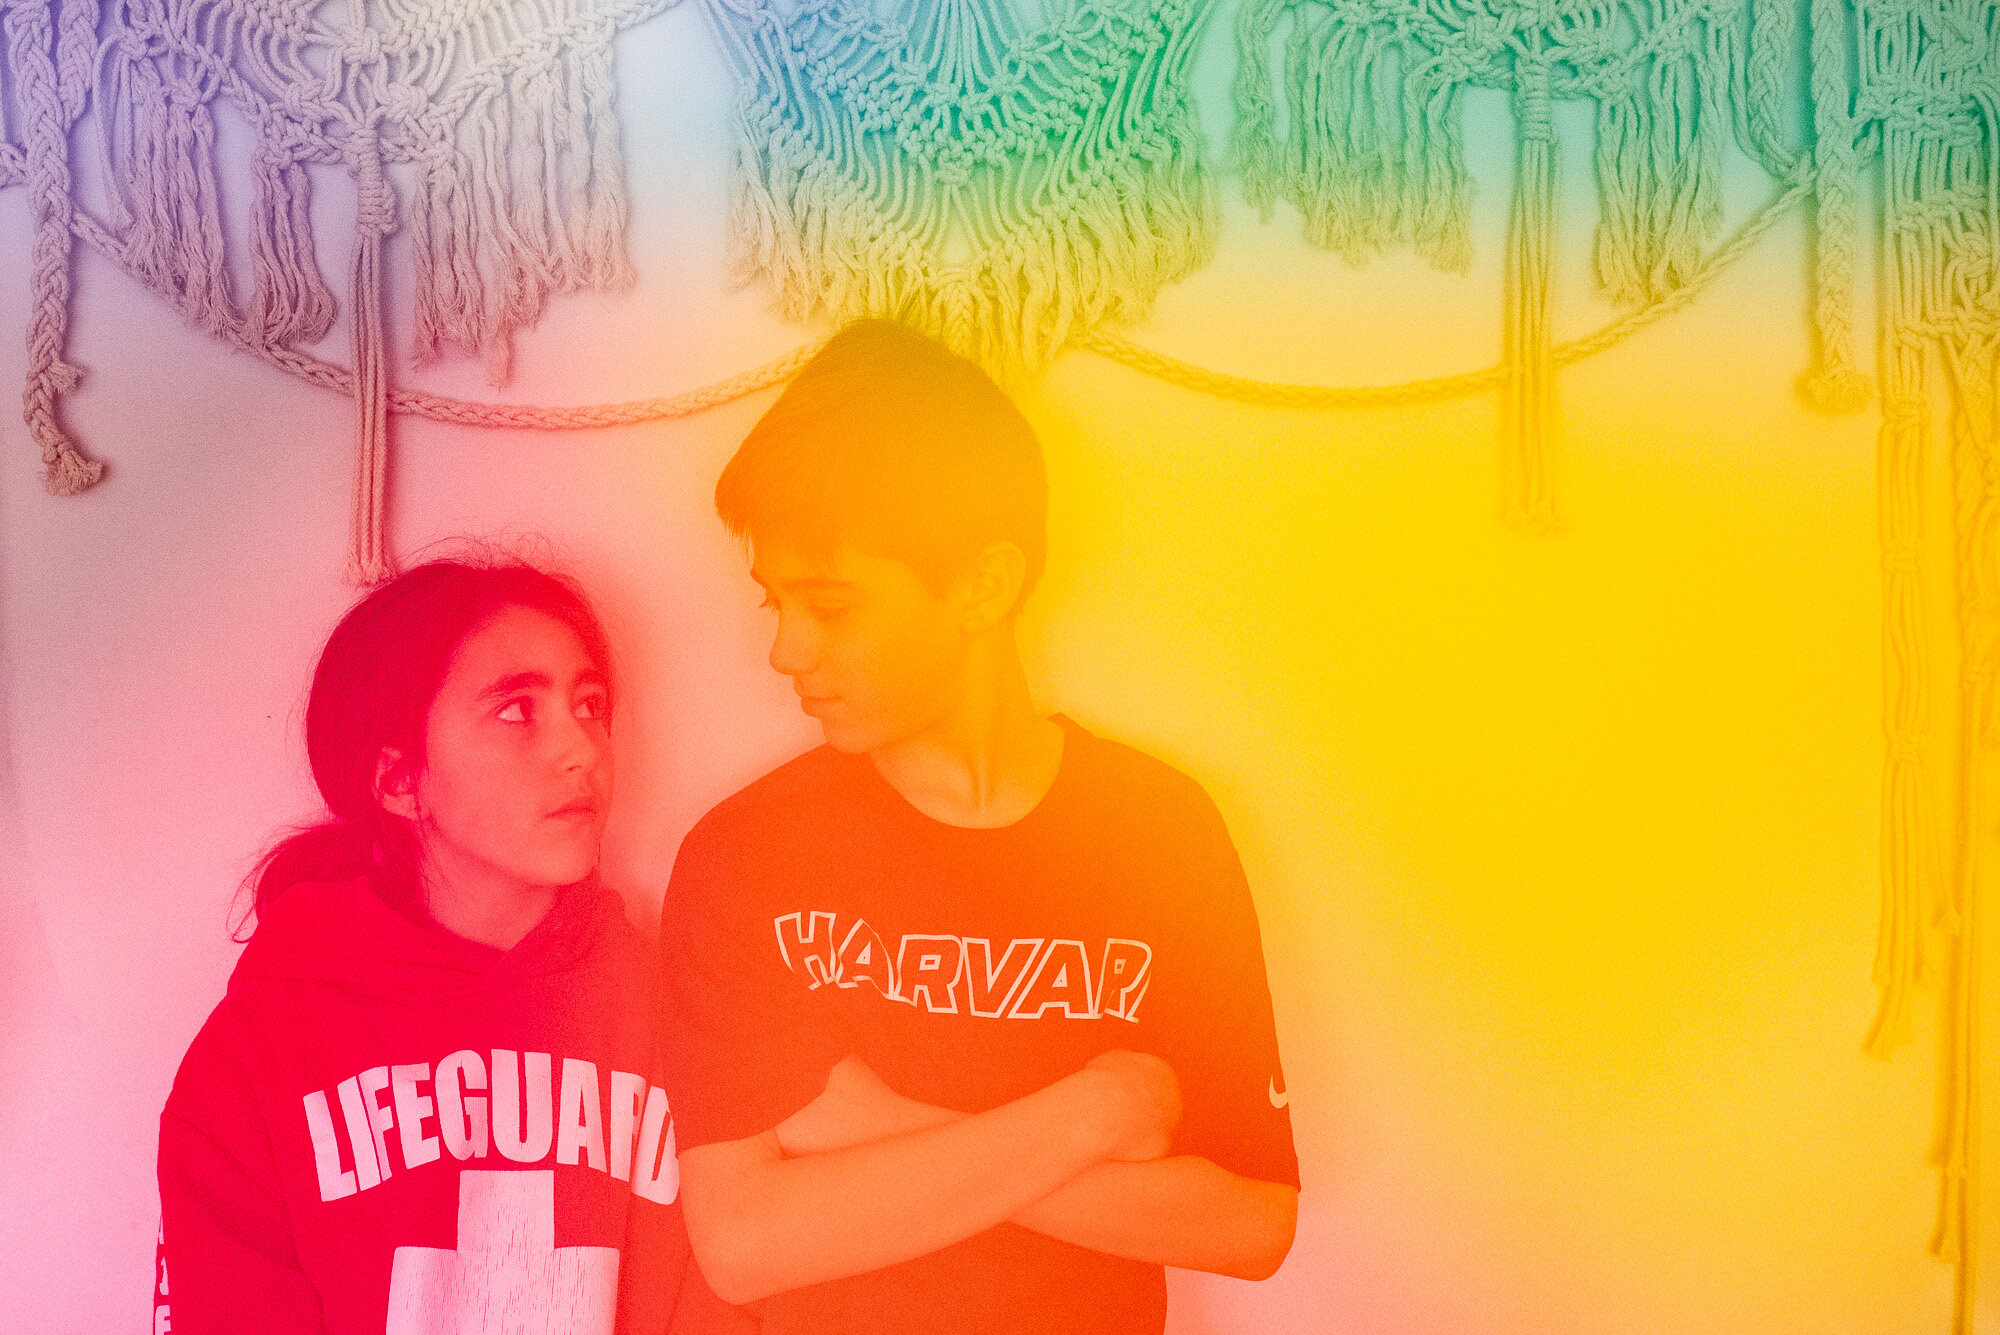
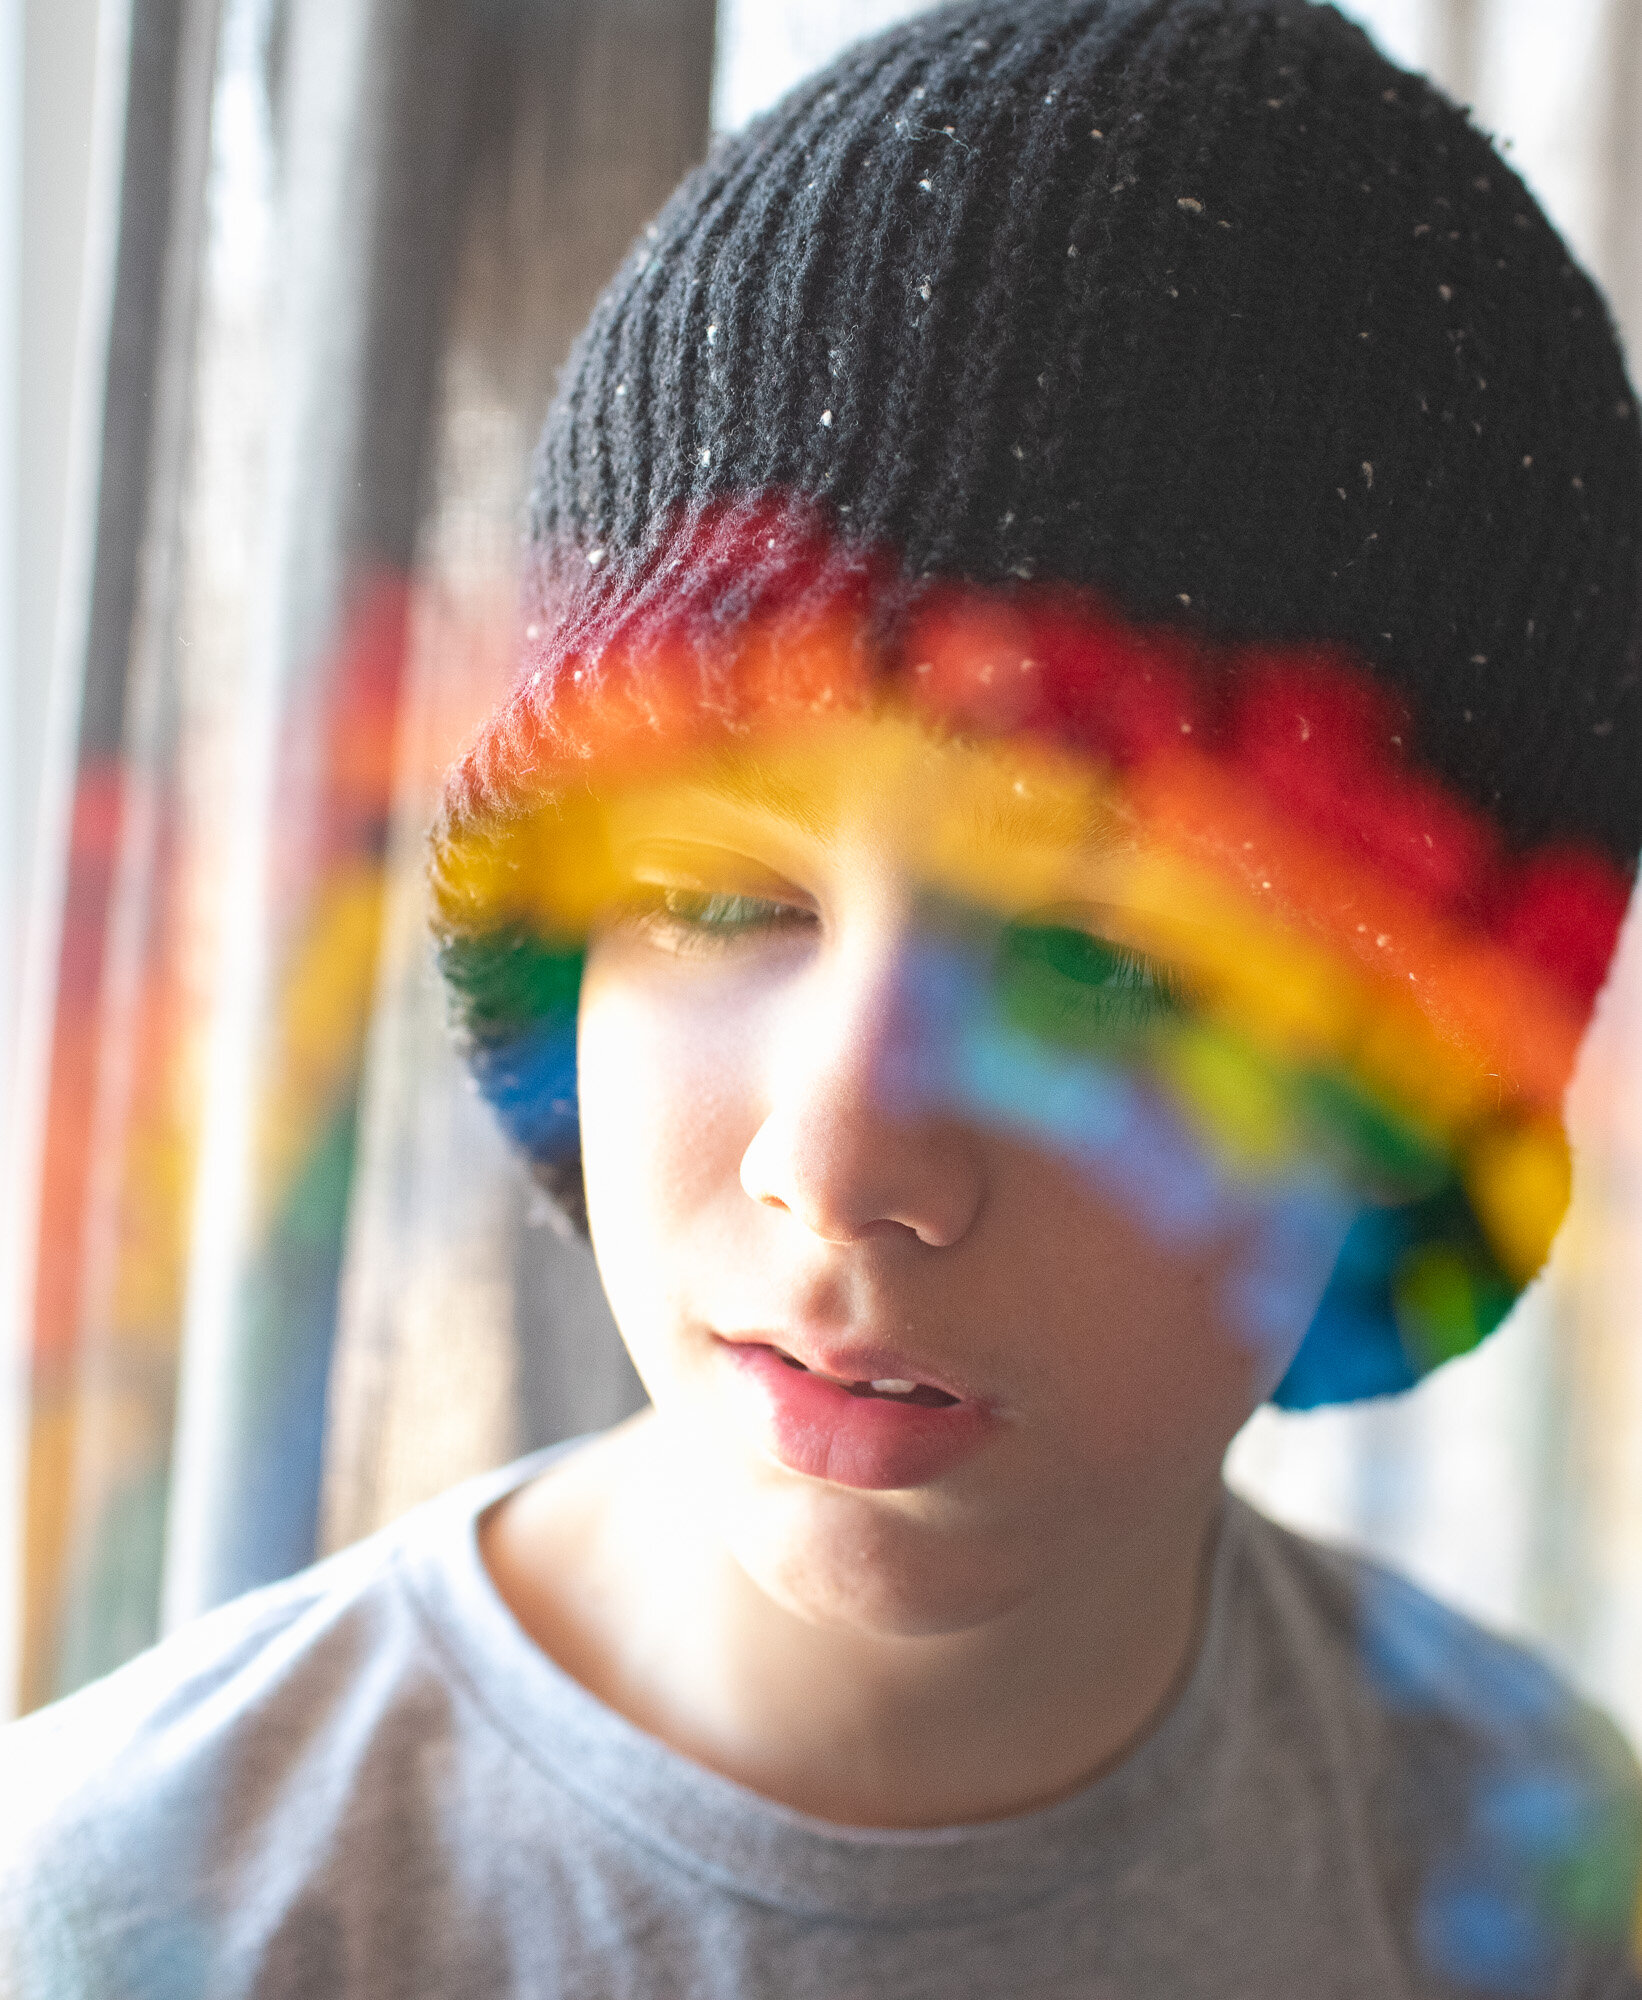
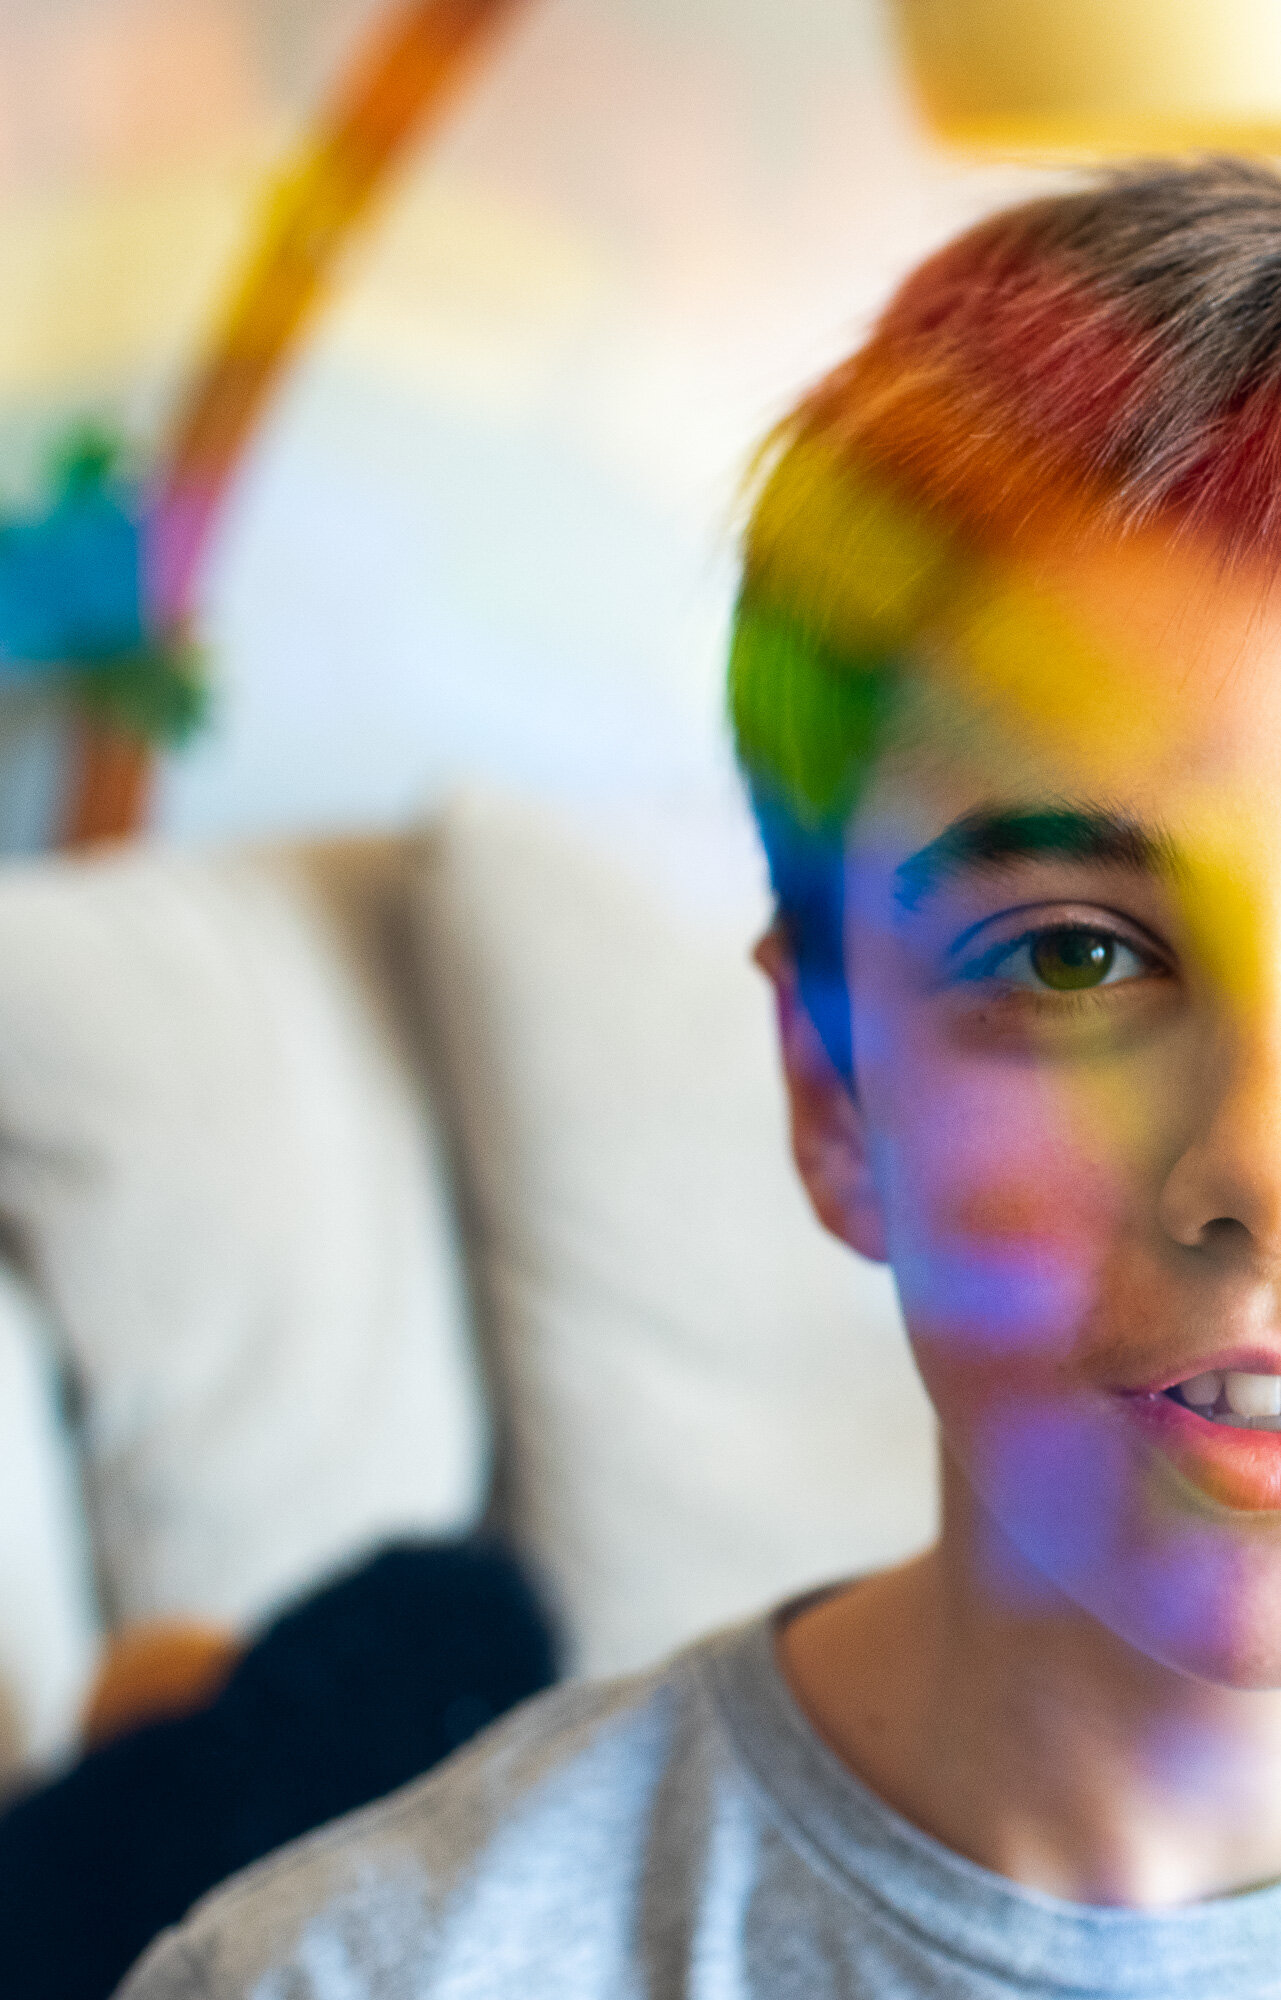
You can make simple double exposures by filling your first shot with a close up shot of a painting of a rainbow or even a stamp pad. Just remember that whatever is black/dark will show more than what is white/light.
When it comes to editing your double exposures, I keep it simple… In Lightroom play with the dehaze sliders, and then you might want to bring up your shadows and whites a tiny bit. You can add a little bit of contrast, but I rarely do, the dehaze tool does a great job already.
Can’t wait to see your rainbow filled images.
All photos by Celina Bailey & Summer Murdock.

